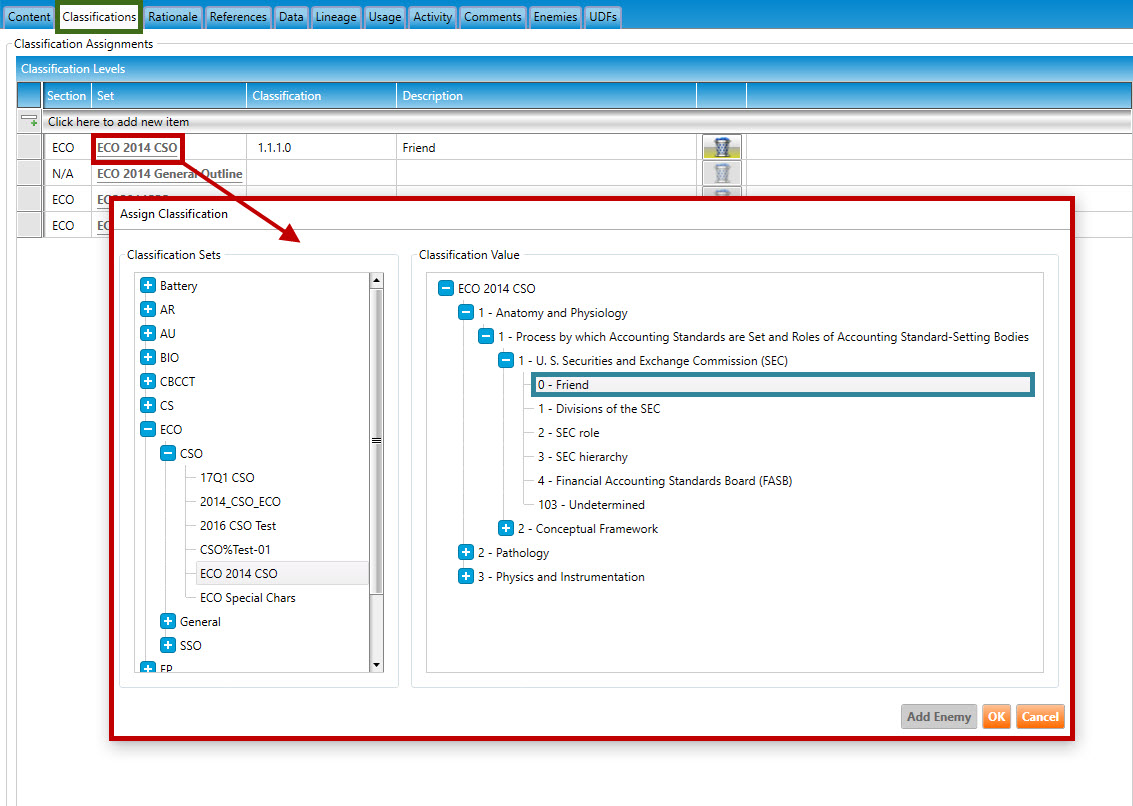
2. Navigate to the item's Classifications tab (highlighted in green, below), and click a classification level hyperlink (highlighted in red, below). In the example below, the user has clicked the link for the ECO 2014 CSO classification level, because they are logged into the ECO section of Pro!.
The Assign Classifications dialog box will open and automatically navigate to the currently-selected classification (highlighted in blue, below):
3. To select a new classification, click the plus signs to drill down to the desired enemy classification value, then click it. Click the OK button to assign the value to the item.
Note: Instead of assigning an existing classification, the user can create a new classification during this step, then assign it to the item. Click here for instructions.
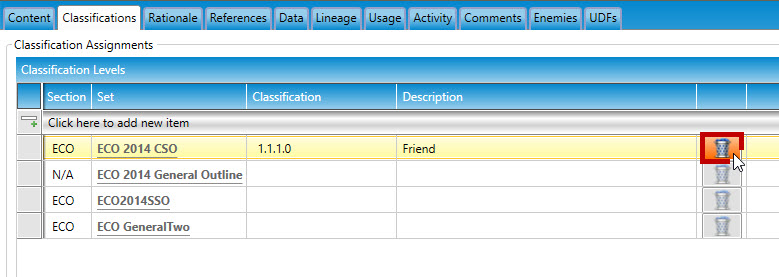
4. To remove an assigned classification value, click the trash can icon next to it (highlighted in red, below).
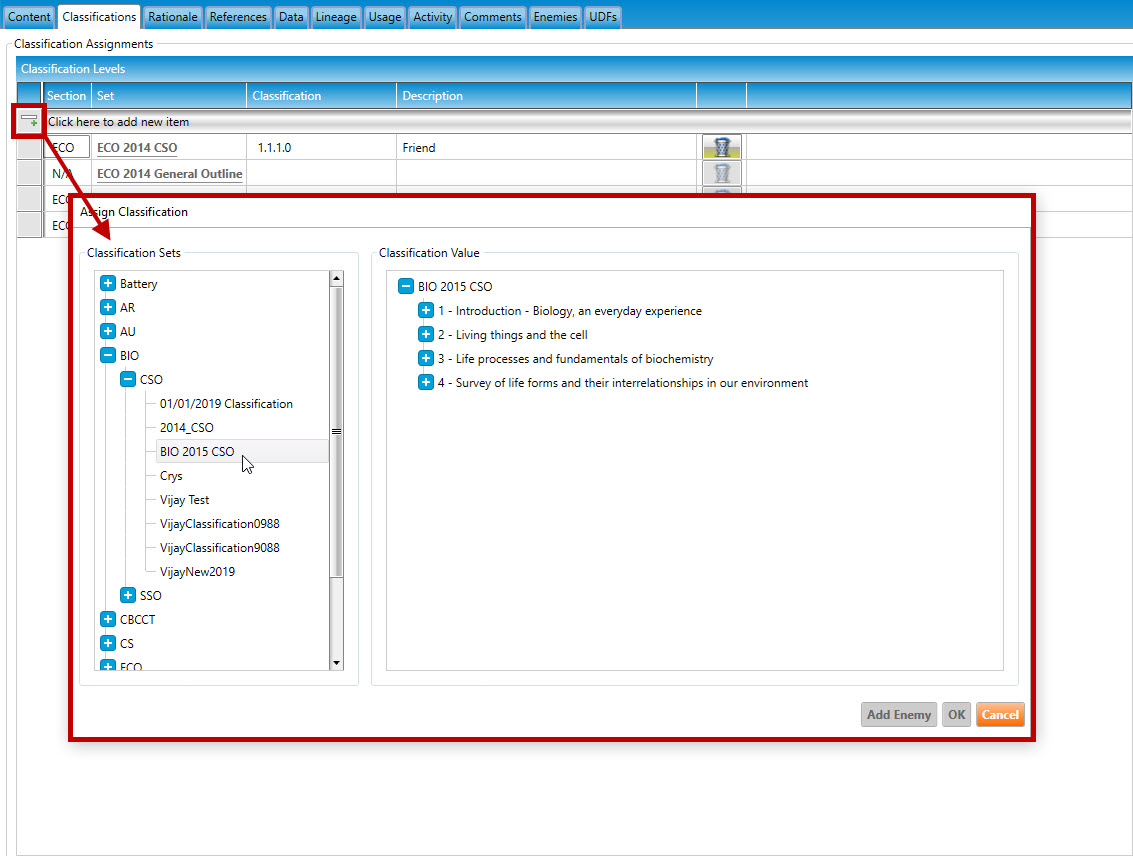
5. To assign additional classifications to an item, click the Add new item button to open the Assign Classifications dialog box:
6. Click the plus signs in the left and right panes to drill down to the desired Classification Set and Classification Value (as described in the steps above).
7. Select a classification value. Note that only one classification can be assigned to an item from a given classification set.
8. Click the OK button to assign the classification value to the item.