Creating a classification value
To create a classification value:
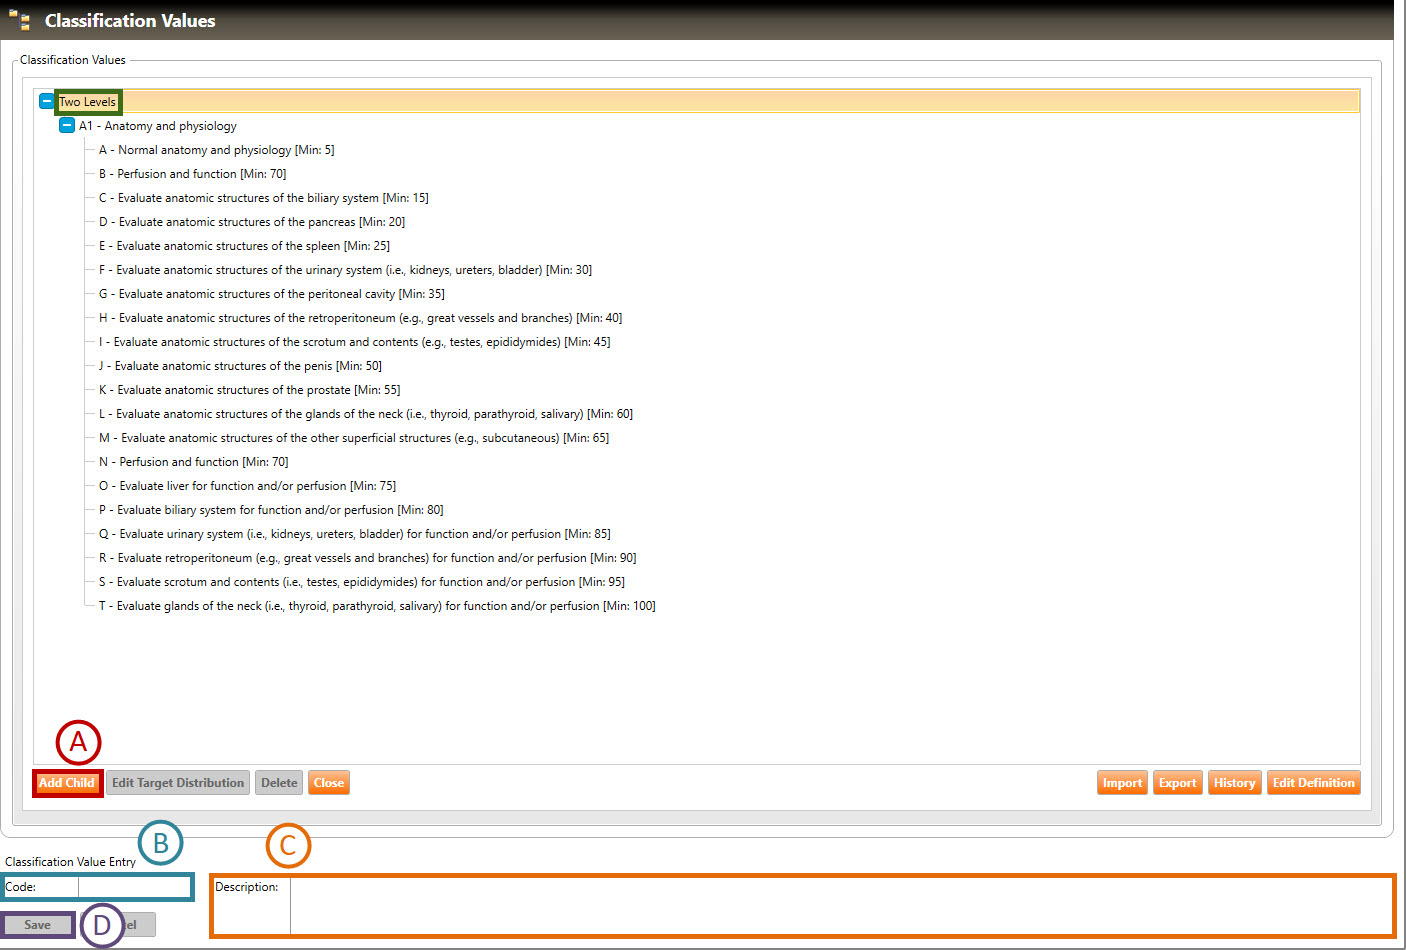
1. Find and view the classification definition you wish to add values to. In the example below, the user is viewing a definition called Two Levels (highlighted in green). Follow Steps A through D, below, to add the first-level classification value entry:
A. Click the Add Child button.
B. Depending on how you set up the classification definition, you may or may not need to enter a Code.
C. Enter a Description for the classification value entry.
D. Click the Save button. The new value will appear under the classification definition.
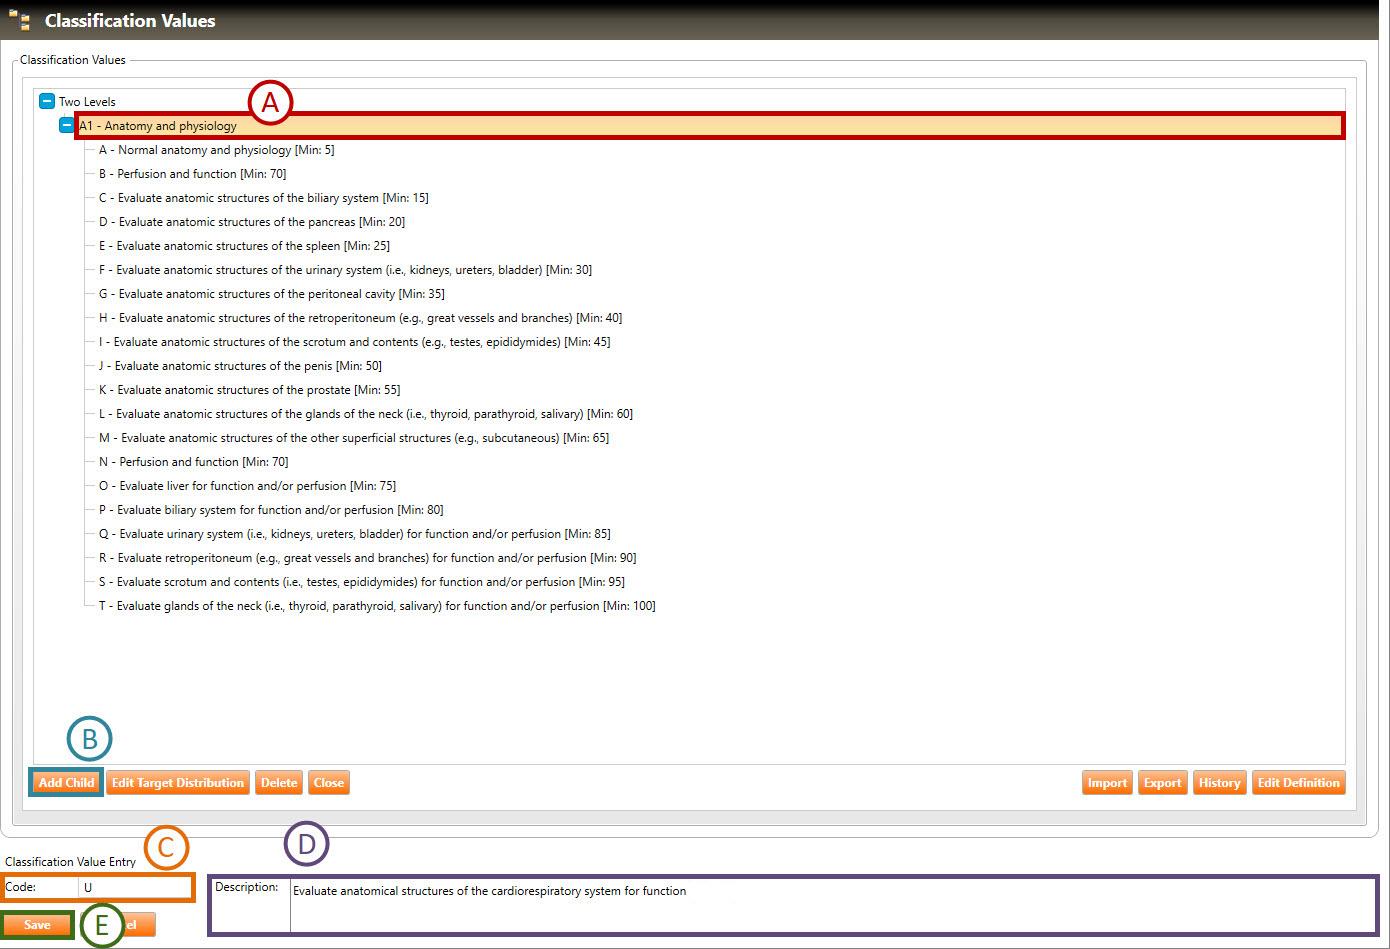
2. To add a second-level value to the Two Levels classification definition, follow Steps A through E, below:
A. Click a first-level value to to add the value to.
B. Click the Add Child button.
C. Enter a Code, which was defined when creating the classification definition.
D. Enter a Description for the classification value entry.
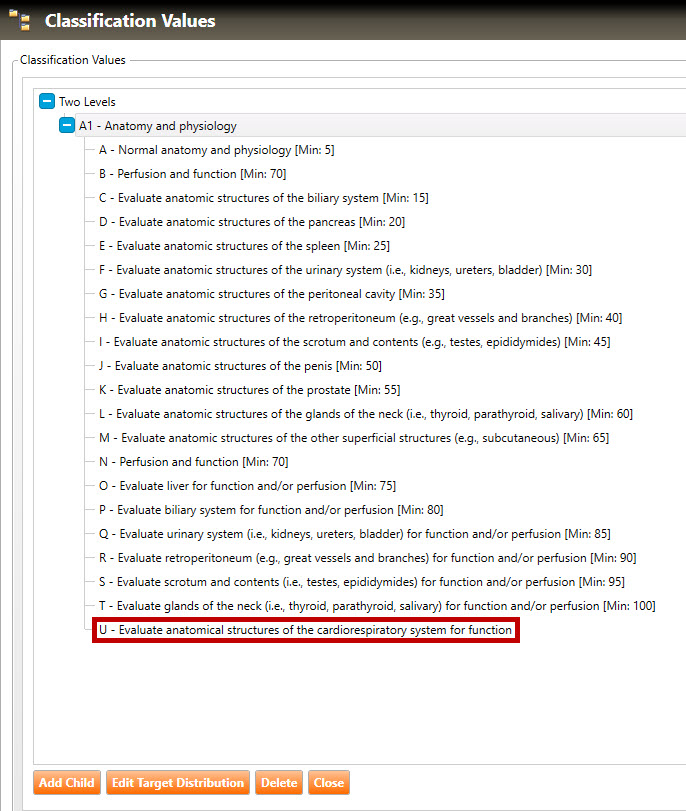
E. Click the Save button. The new second-level value (highlighted in red, below) will appear under the first-level value:
3. If the classification definition calls for it, create additional-level values by repeating Step 2, above.
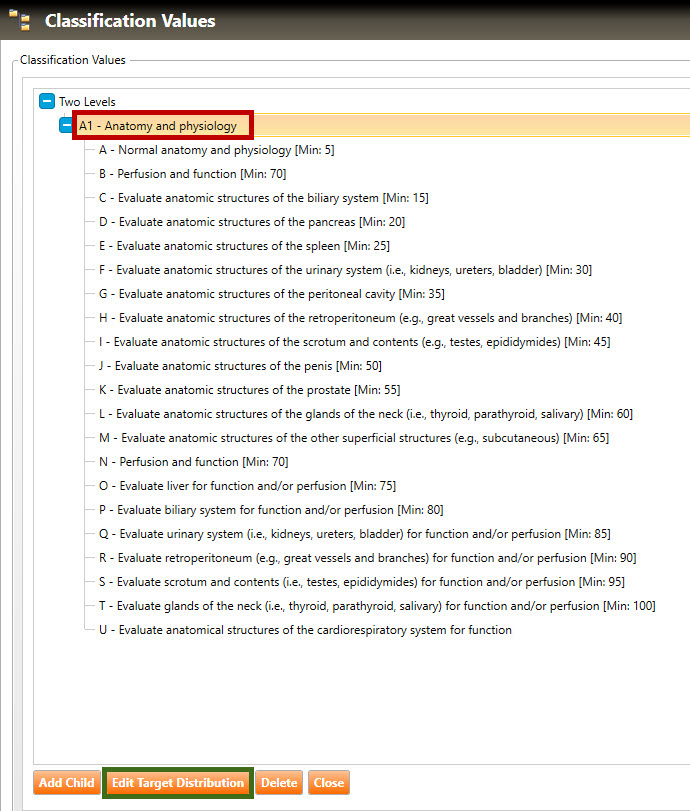
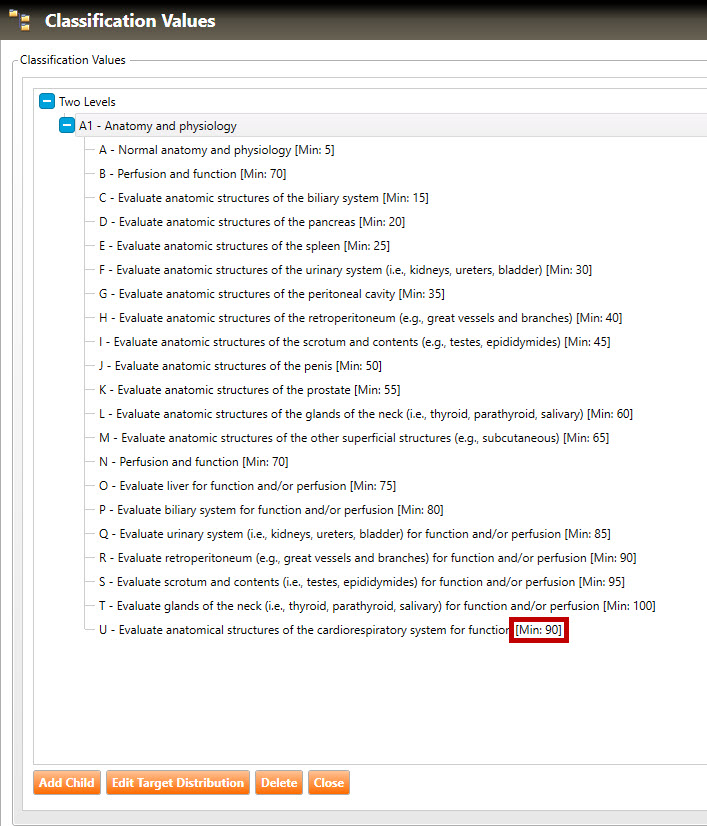
4. To add target distribution values (for an exam) to a level of the hierarchy, click on the desired hierarchy (highlighted in green, below), then click the Edit Target Distribution button (highlighted in red, below):
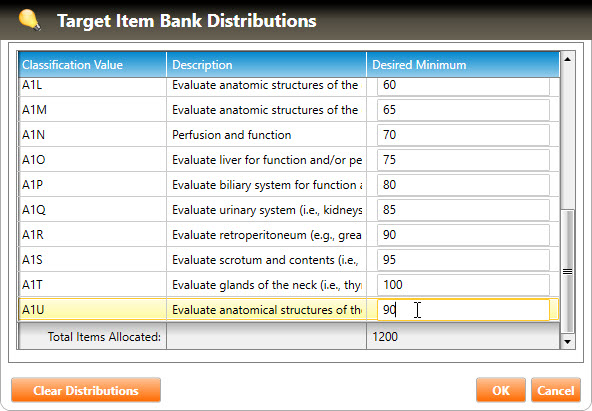
5. When the Target Item Bank Distributions window appears (shown below), enter the Desired Minimum values for each Classification Value of the selected level of hierarchy (to clear all values, click the Clear Distributions button).
6. Click the OK button. The new target distribution values (highlighted in red, below) will appear alongside each classification value in the selected hierarchy.