Viewing classification definitions and values
To view an existing classification definition and its values:
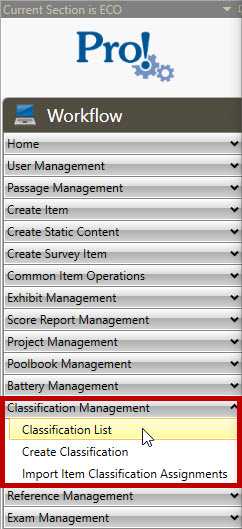
1. In the Workflow menu, click Classification Management > Classification List:
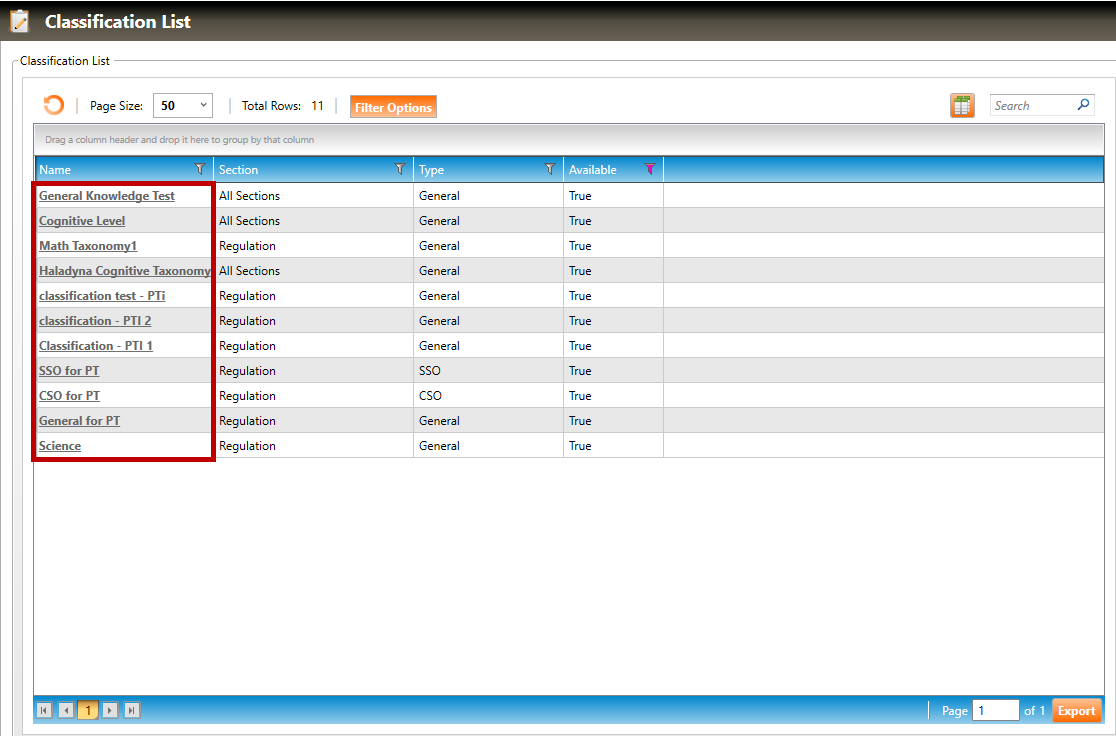
2. The Classification List screen will appear, showing all available classifications within the section, or for the section you are currently logged into (in the example below, the user is logged into the Regulation section).
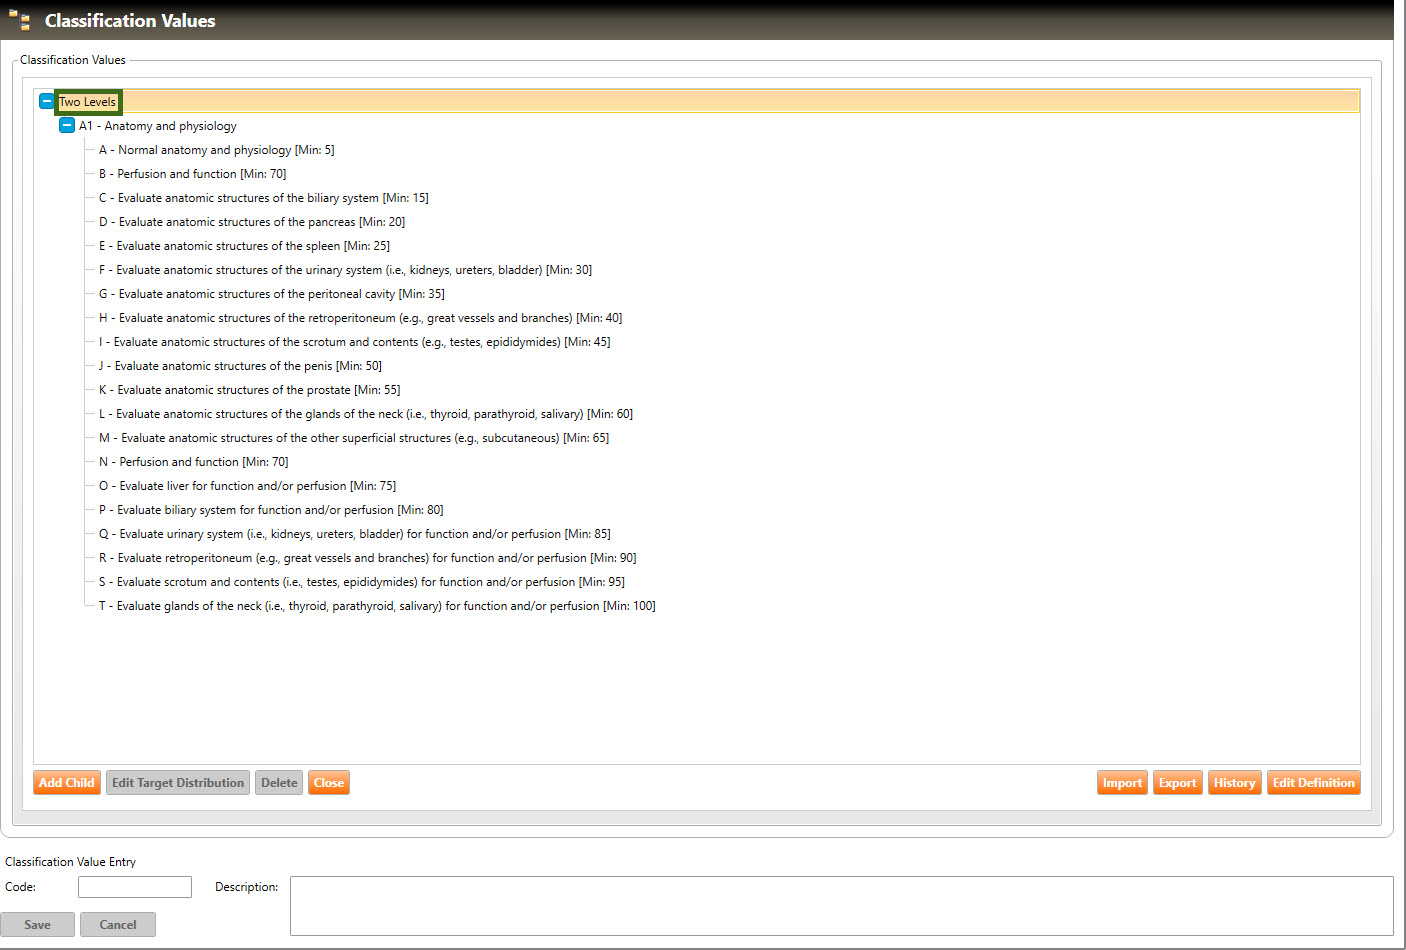
3. Click any of the classification Names (highlighted in red, above) to open that classification. In the example below, the user has opened the Two Levels classification (highlighted below):
4. To view classification values for a classification definition, click the plus sign  for each level of the hierarchy to reveal child values beneath it.
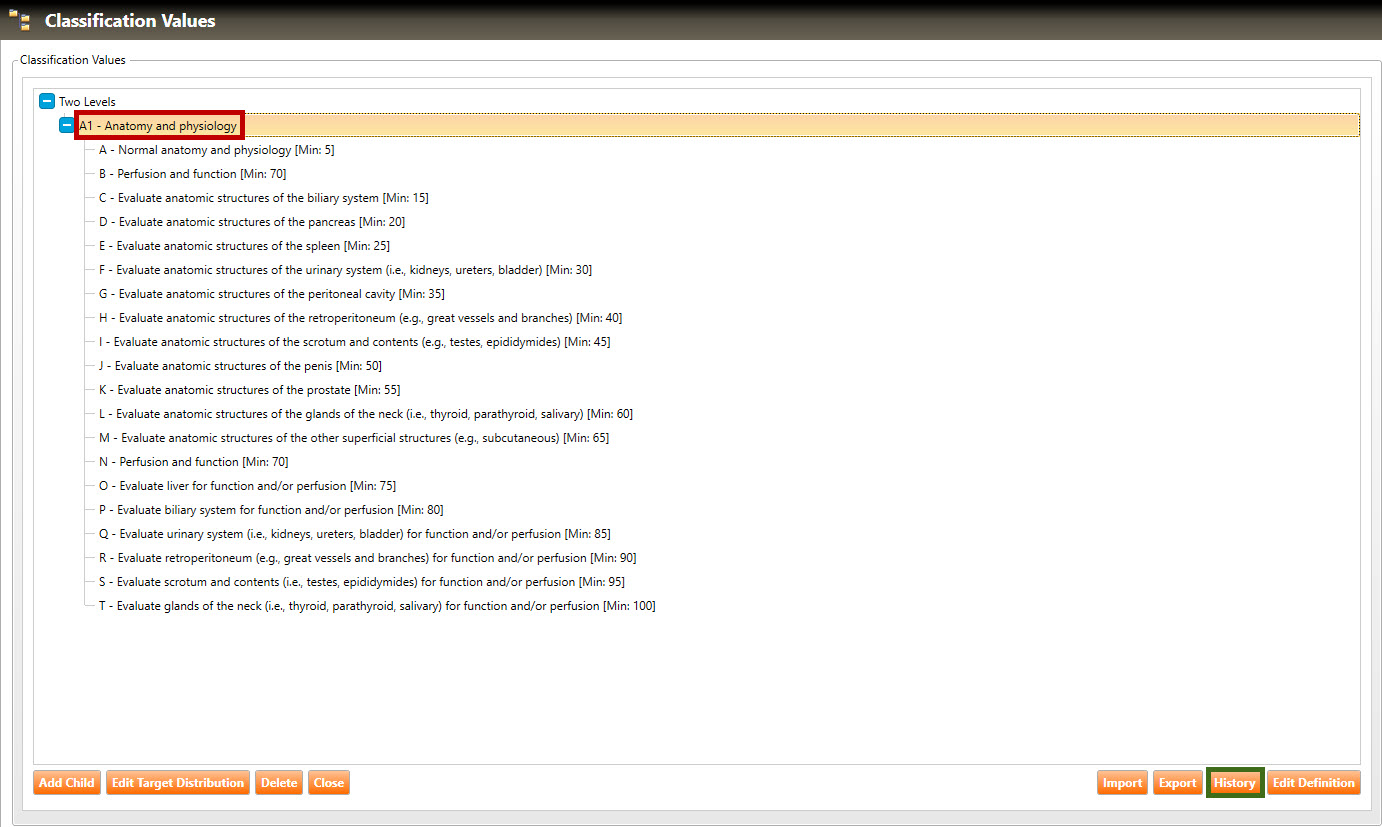
5. To view the history of actions performed on a classification value, select the desired value (highlighted in green, below), then click the History button (highlighted in red, below):
6. The Classification Set History for that value will appear, showing the action performed (Short Comment), timestamp for the action, and the user who performed the action:
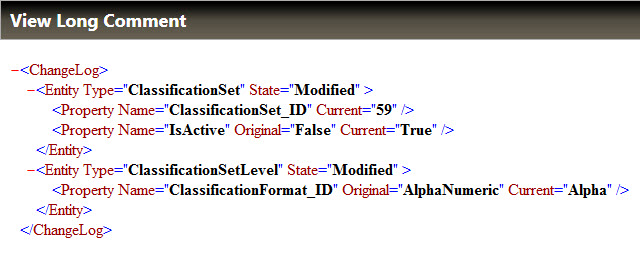
7. To see detailed information for any item in the Classification Set History, click any of the Show Comment links (highlighted above) to open its View Long Comment window:
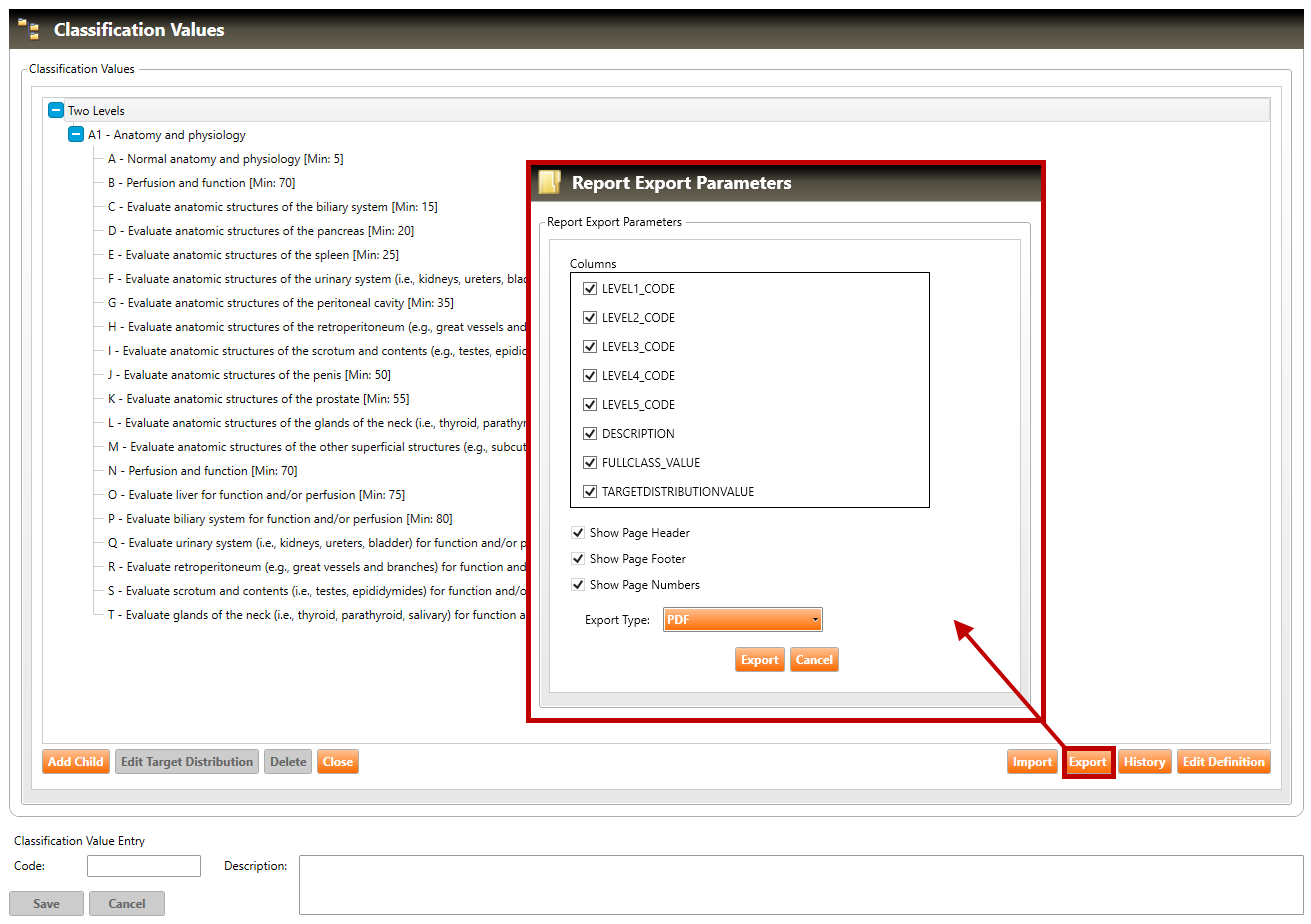
8. To export the Classification Values for the selected Classification Set, click the Export button (highlighted in red below) and the Report Export Parameters dialog box will appear:
9. Select the checkboxes for the Columns that you wish to appear in the exported file. Note that the Columns list is dynamic, and reflects the columns that are available to you to export, based on the content you are exporting.
10. If you want headers, footers, and page numbers to appear in the exported file (PDF and Word documents only), select the appropriate checkboxes.
11. Select the desired file type from the Export Type dropdown list.
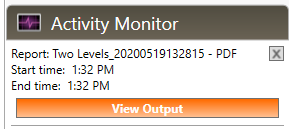
12. Click the Export button. When the exported file has been created, click the View Output button in the Activity Monitor: