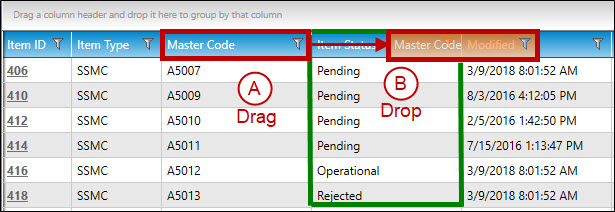
Click and drag a column heading. In the example below, the Master Code column is ordered before the Item Status column.
Drop the column heading before or after the midway point of another column in the tabular display. In the example above, the user has dragged the Master Code column past the midpoint of the Item Status column.
The columns will re-order themselves. In the example below, the Item Status column is now ordered before the Master Code column.
2.To freeze columns in the tabular display:
Place your cursor over the freeze column bar until it changes to a double-headed cursor:
Click and hold the freeze column bar:
Drag and drop the freeze column bar to the right of the column you wish to freeze:
In the example below, the user has frozen the first three columns (highlighted in red). When the user scrolls to the right, the first three columns will always be visible.
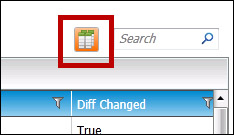
3.To manage the columns that are displayed in the tabular display:
Click the Column Management button:
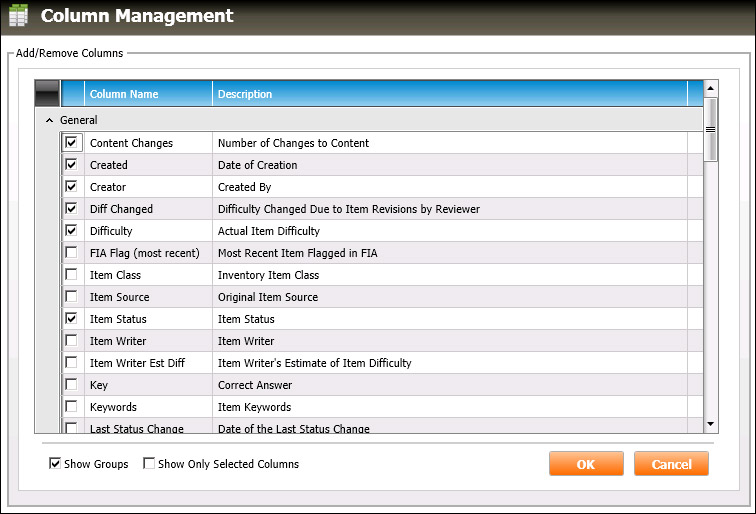
The Column Management dialog box will appear (shown below). By default, the Column Names are grouped by their type (e.g., General, Poolbook).
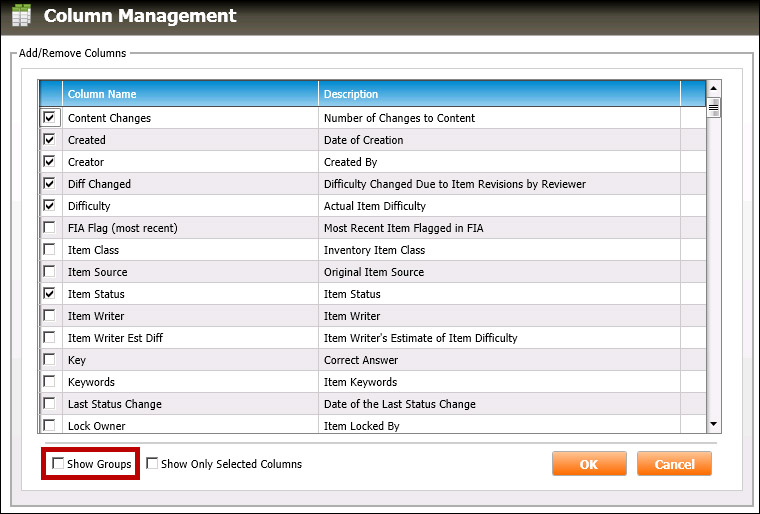
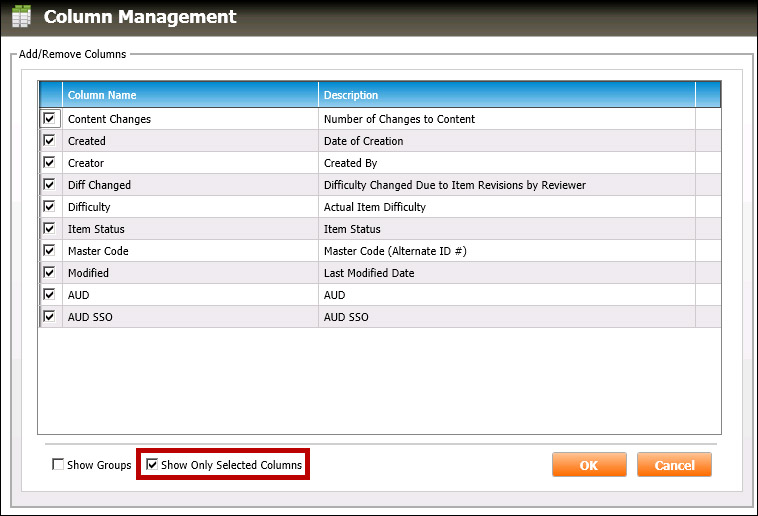
To turn off viewing the column groups within this dialog box, uncheck the Show Groups checkbox (highlighted in red, below). The Column Management dialog box will remove the groups and list the column names alphabetically:
The columns that are displayed in the tabular display are selected in the Column Management dialog by default. To view only the currently displayed columns, check the Show Only Selected Columns checkbox (highlighted in red, below):
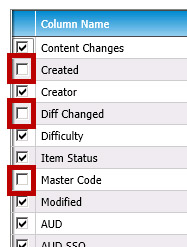
To add or remove columns being displayed, check or uncheck individual columns (unchecked columns are highlighted in red, below):