After authoring the content of an item, you can identify enemies and partners for the item.
Enemy items should not be given to the same candidate in the same testing session. There are several reasons this would be undesirable. For example, two items ask almost the same question, which places too much weight on one competency. It could also be that the wording of one item implies the answer to the other item, which gives the candidate an unfair advantage over candidates that were not presented with those two items.
Partner items will be delivered to the same candidate in the same testing session. The purpose of the partner item is as a follow up question, if the item is answered incorrectly. The partner item is intended to retest the same competency.
To identify a relationship for an item:
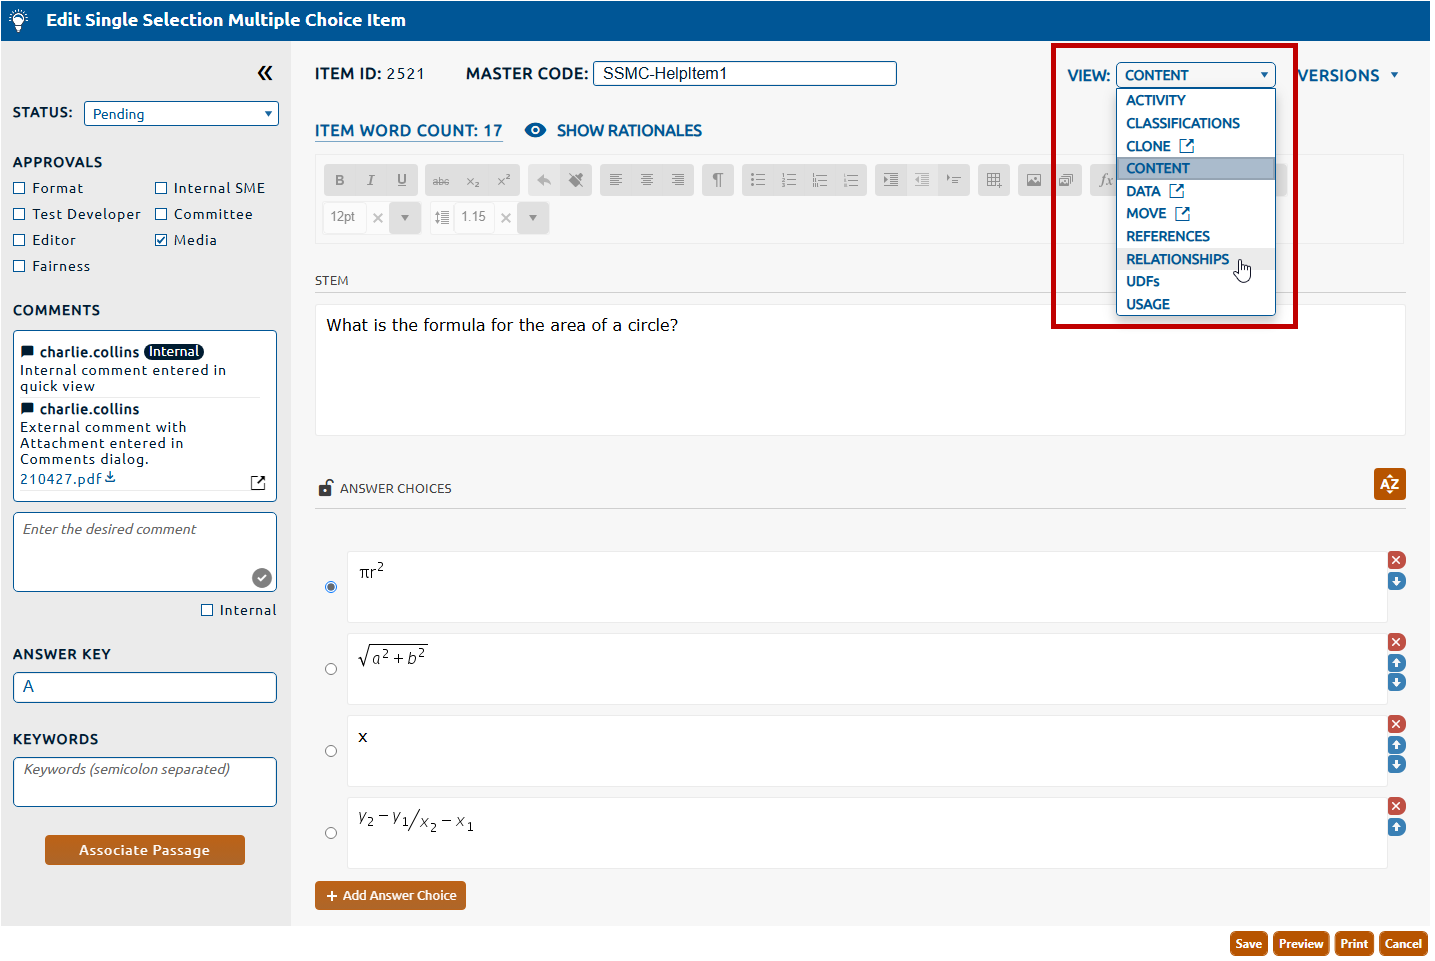
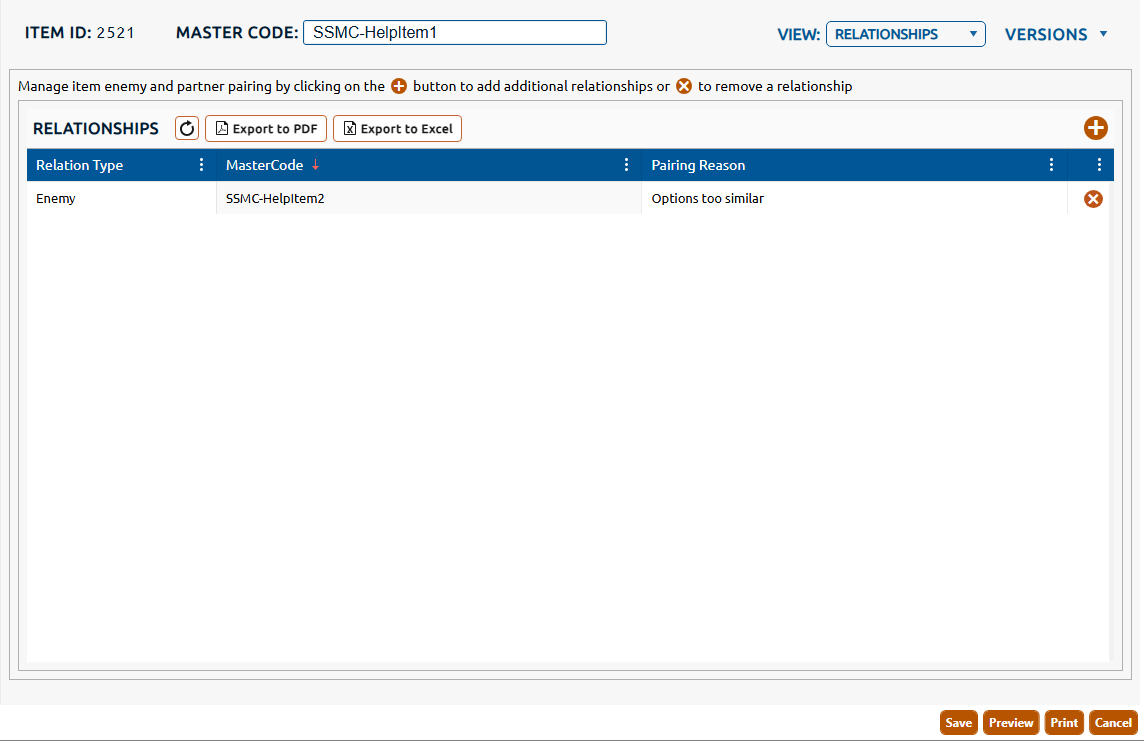
1. Select Relationships from the View dropdown (highlighted in red, below).
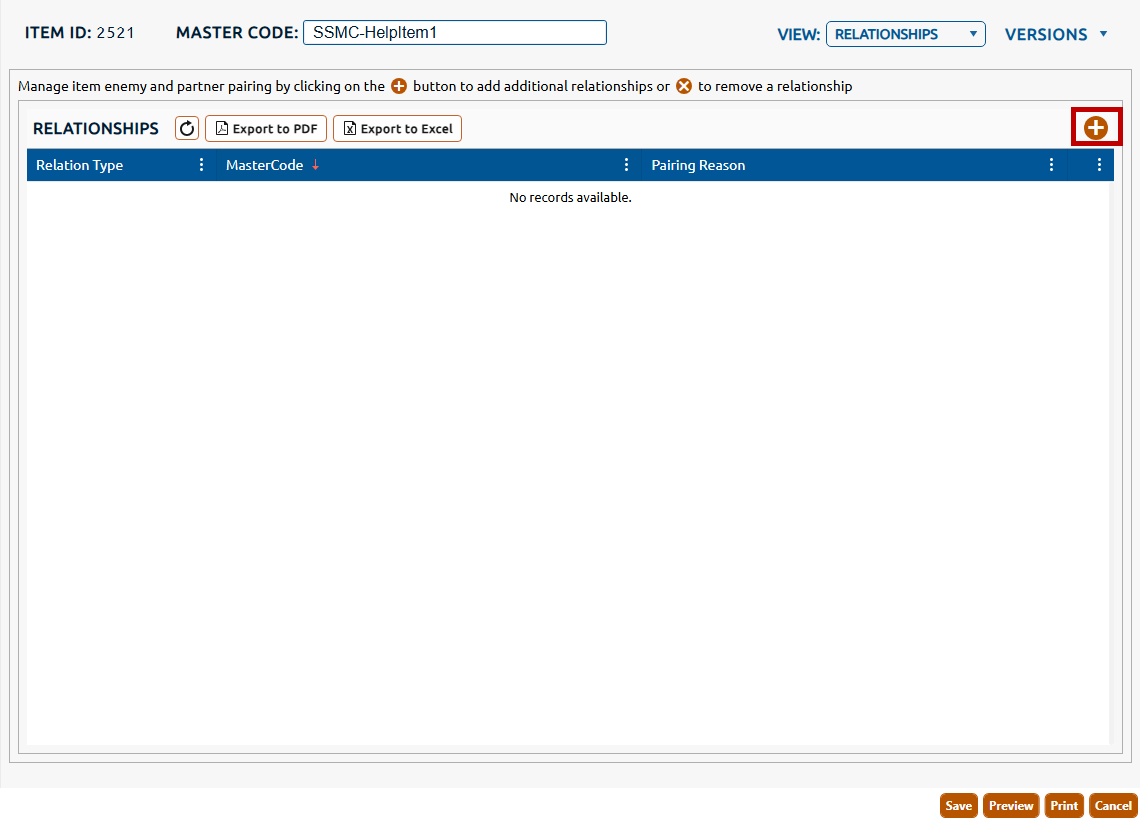
2. The Relationships view is displayed. Click the + icon (highlighted in red, below) to identify a new relationship for the item.
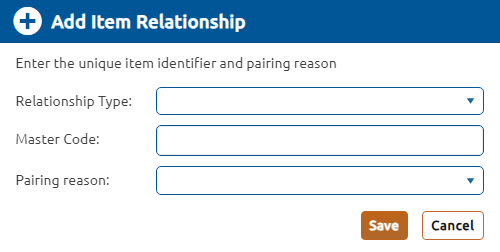
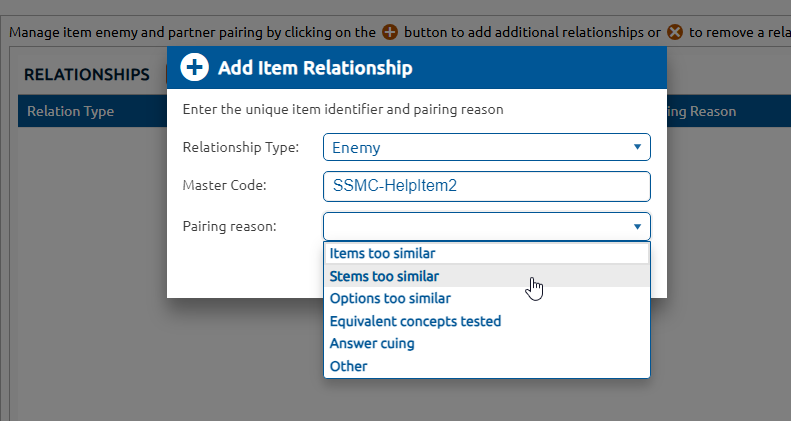
3. The Add Item Relationship dialog is opened. All fields on the dialog must be populated for a successful item paring.
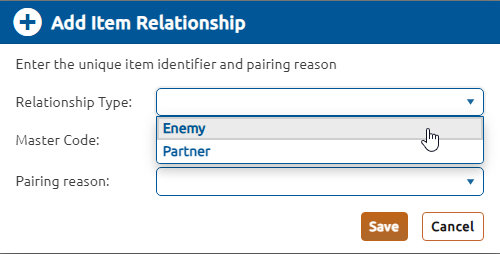
4. Select the type of relationship being identified (Enemy or Partner) from the Relationship Type dropdown.
5. Provide the Master Code for the item to be paired.
6. Select a Pairing reason that from the dropdown list that most closely matches the reason for the relationship.
7. To open a potential enemy, click the desired Item ID to open the item in its own tab.
8. Click Save to persist the item relationship.
9. Saved relationships will be displayed in a list below Relationships.
10. You may identify additional relationships for the item by repeating the steps above.