The Pro! editor allows you to insert tables, then format them by applying borders, colors, and shades, merging cells, etc. These table formatting features are similar to those found in Microsoft Word.
Inserting tables
To insert a table:
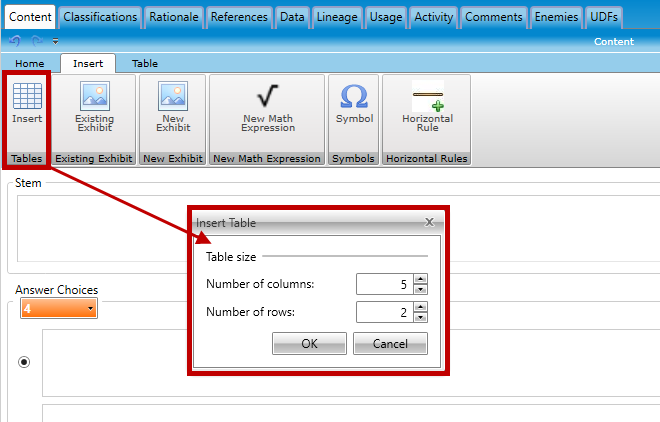
Click your cursor where you wish to insert the table.
In the Insert toolbar, click the Insert Table button to open the Insert Table dialog box:
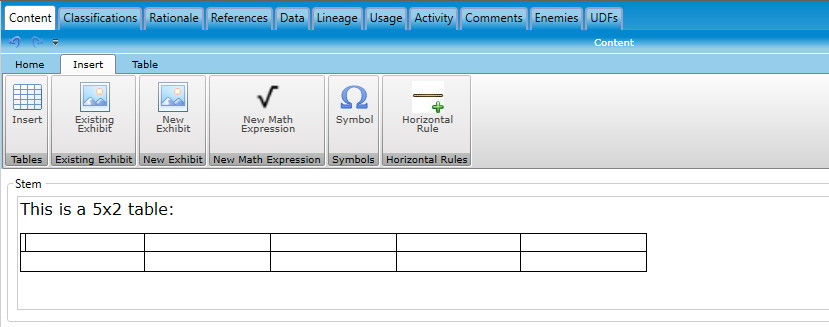
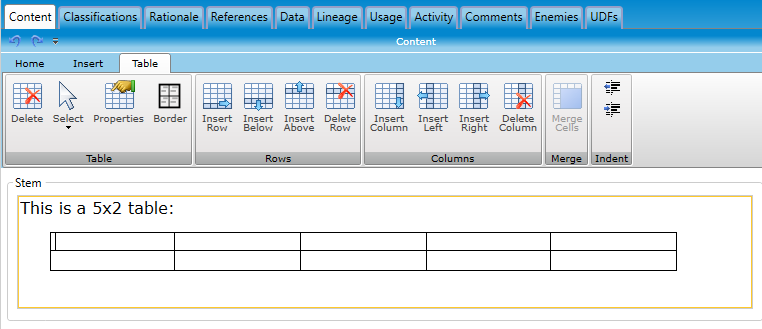
Enter the number of columns and rows for the new table, then click the OK button. The new table will be inserted:
Click into table cells to enter text, images, symbols, etc.
Editing tables
After inserting a table, it may be edited or formatted using Pro!'s built-in table editor. Since the table editing features are similar to those found in many commercial and free word processing programs, this help file only provides a high-level overview of them.
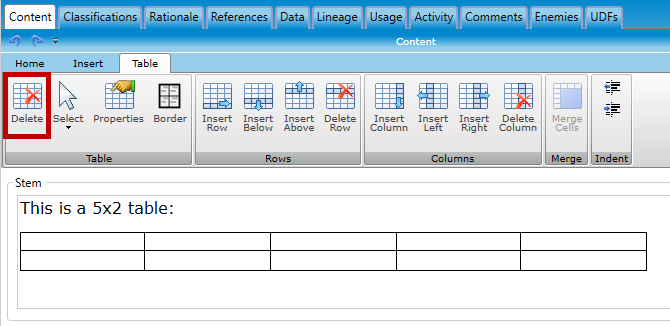
Deleting an entire table
Click anywhere within the table.
In the Table toolbar, click the Delete button:
Alternatively, you can select the entire table and then click the <Delete> key (or press <Ctrl>X).
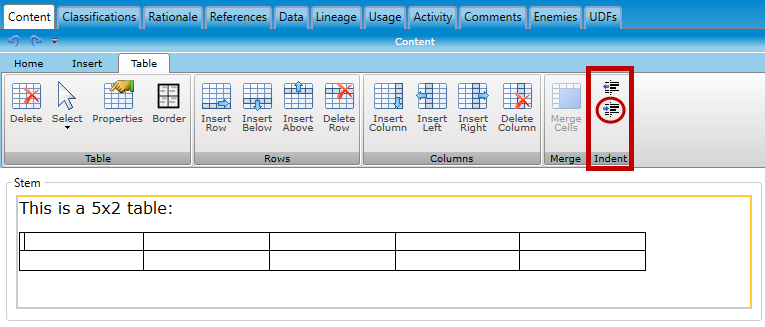
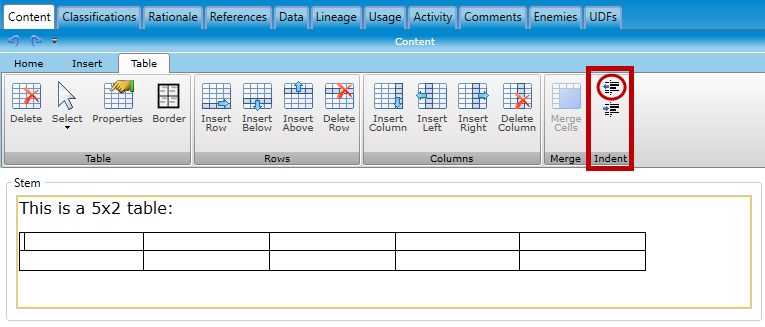
Indenting a table
Click anywhere within the table.
In the Table toolbar, click the lower Indent button:
The table will indent a set amount of space:
At any time, you can reverse the indentation of the table by clicking the upper Indent button:
Inserting/deleting rows and columns
Click your cursor within an existing row or column.
In the Table toolbar (highlighted below), click the desired button.
Example 1: If you wanted to insert a row above the row where you clicked your cursor, click the Insert Above button in the Rows section of the toolbar.
Example 2: If you want to delete the column where you clicked your cursor, click the Delete Column button in the Columns section of the toolbar.
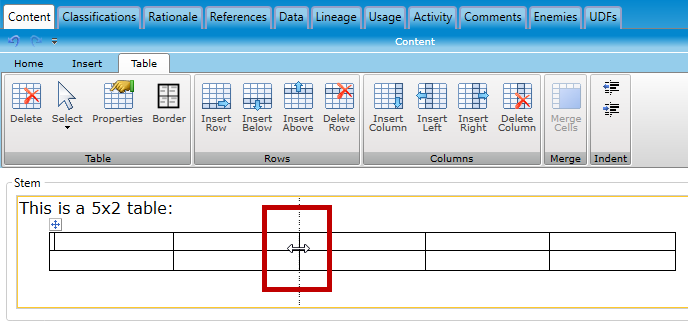
Resizing rows and columns
Place your mouse over the dividing line between the rows or columns you wish to resize. Your cursor will change to a double-headed arrow:
For column resizing, drag the column dividing line left or right. For row resizing, drag the row dividing line up or down.
Release the mouse.
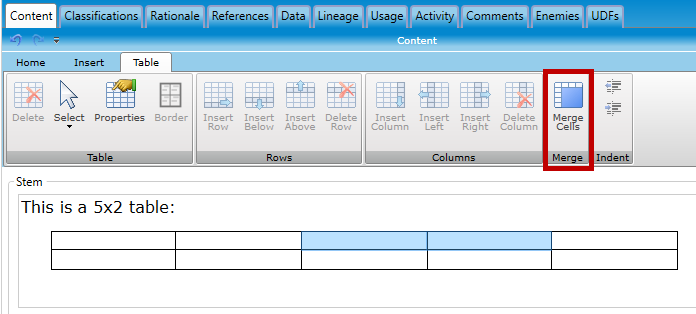
Merging cells
Select the cells you wish to merge.
In the Table toolbar, click the Merge Cells button:
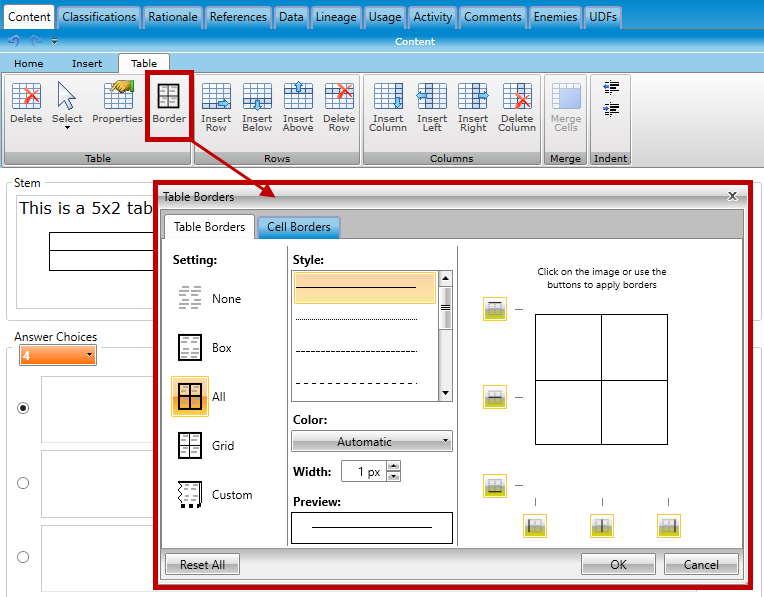
Applying borders to tables and cells
When applying a border style to an entire table, click anywhere in the table. For individual cells, highlight the cell(s) you wish to apply the border style to.
In the Table toolbar, click the Border button to open the Table Borders dialog box:
Select the desired border style, color, width, etc., then click the OK button.
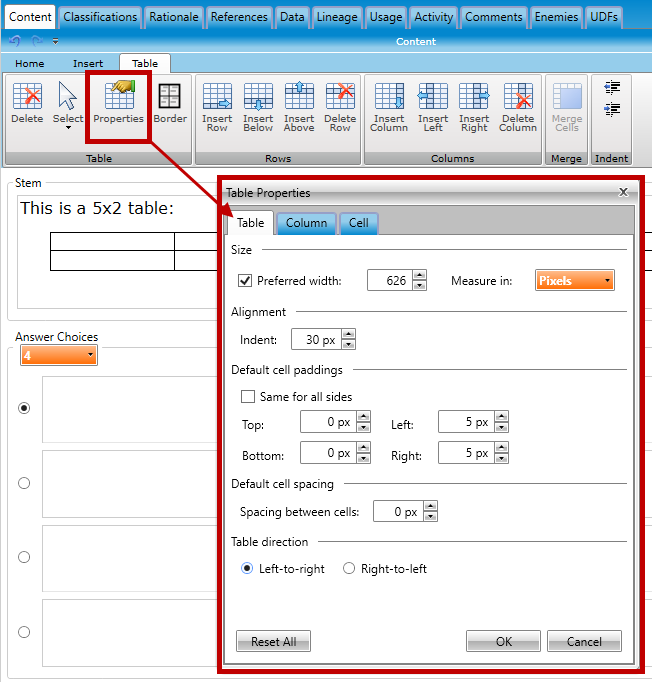
Applying other table formatting properties
The table editor allows you to apply other formatting properties to your table and cells, such as alignment, column and table widths, padding and spacing, and cell background colors.
When applying a table properties to an entire table, click anywhere in the table. For individual cells, highlight the cell(s) you wish to apply the properties to.
In the Table toolbar, click the Properties button to open the Table Properties dialog box:
Select the desired properties, then click the OK button.