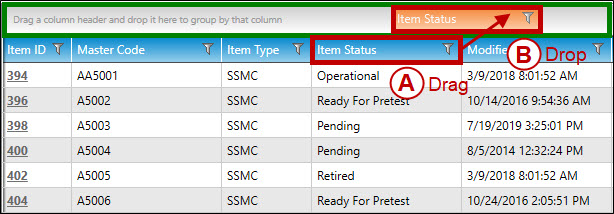
1. To group the tabular display by a single column:
Click and drag a column heading (shown in A, below):
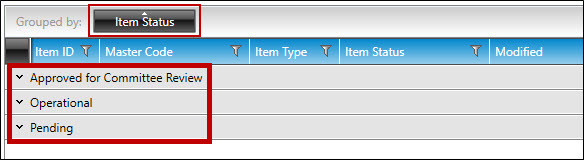
Release the column heading (shown in B, above) on the Grouping area (highlighted in green, above). In the example below, the tabular results are now grouped by Item Status:
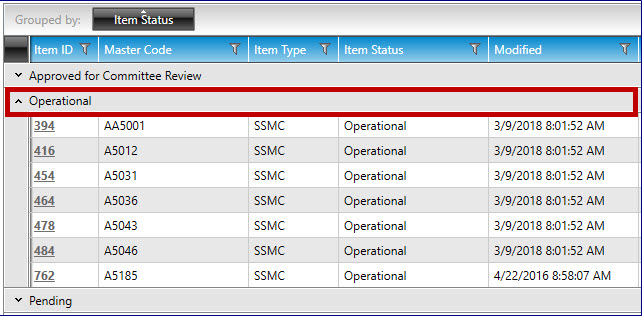
The tabular display groups can be expanded/collapsed individually by clicking anywhere in the grey group region for the grouped value:
2.To ungroup a column from the tabular display:
Hover your cursor over a grouped column in the Grouped by region of the tabular display, and then click the X that appears next to the column name (highlighted in red, below). The tabular display will ungroup.
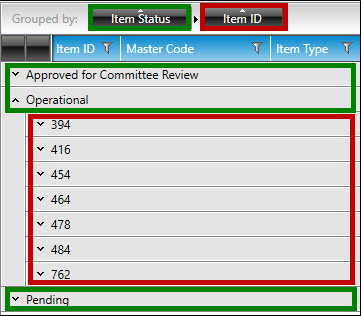
3. To group the tabular display by multiple columns:
As described in Step 1, above, click and drag a second column heading into the Grouping area of the tabular display to add it to the current tabular display grouping. The tabular display will display multiple levels of groups. In the example below, the user has first grouped the results by Item Status (highlighted in green), then by Item ID (highlighted in red).
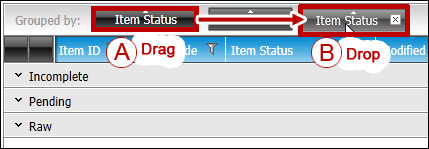
4.To re-order the grouping of multiple columns:
Click and drag a column heading in the Grouping region (shown in A, below):
Release the column heading (shown in B, above) before/after another column in the Grouped by region.
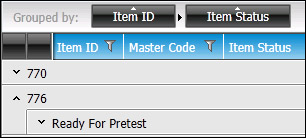
The tabular display will refresh with the new grouping levels. In the example below, the user has re-ordered the results by Item ID, then by Item Status.