On many screens within Pro!, the user has the option of exporting the contents of the screen to an external file (in PDF, Word, Excel, or CSV formats).
To perform an export:
1. Click the Export button at the bottom of the screen (highlighted in red):
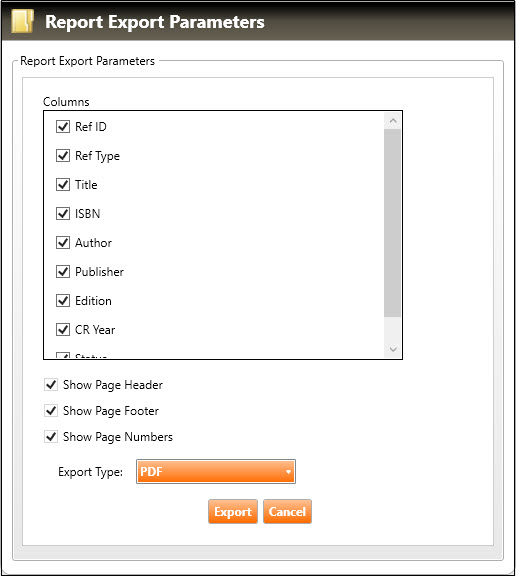
2. The Report Export Parameters dialog box will appear:
3. Select the checkboxes for the Columns that you wish to appear in the exported file. Note that the Columns list is dynamic, and reflects the columns that are available to you to export, based on the content you are exporting.
4. If you want headers, footers, and page numbers to appear in the exported file (PDF and Word documents only), select the appropriate checkboxes.
5. Select the desired file type from the Export Type dropdown list.
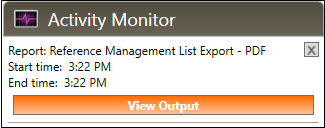
6. Click the Export button. When the exported file has been created, click the View Output button in the Activity Monitor:
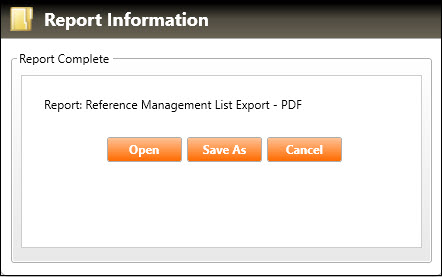
7. The Report Information dialog box will appear (shown below).
If you want to immediately save the file to your local machine, click the Save As button, then follow the prompts to save the file.
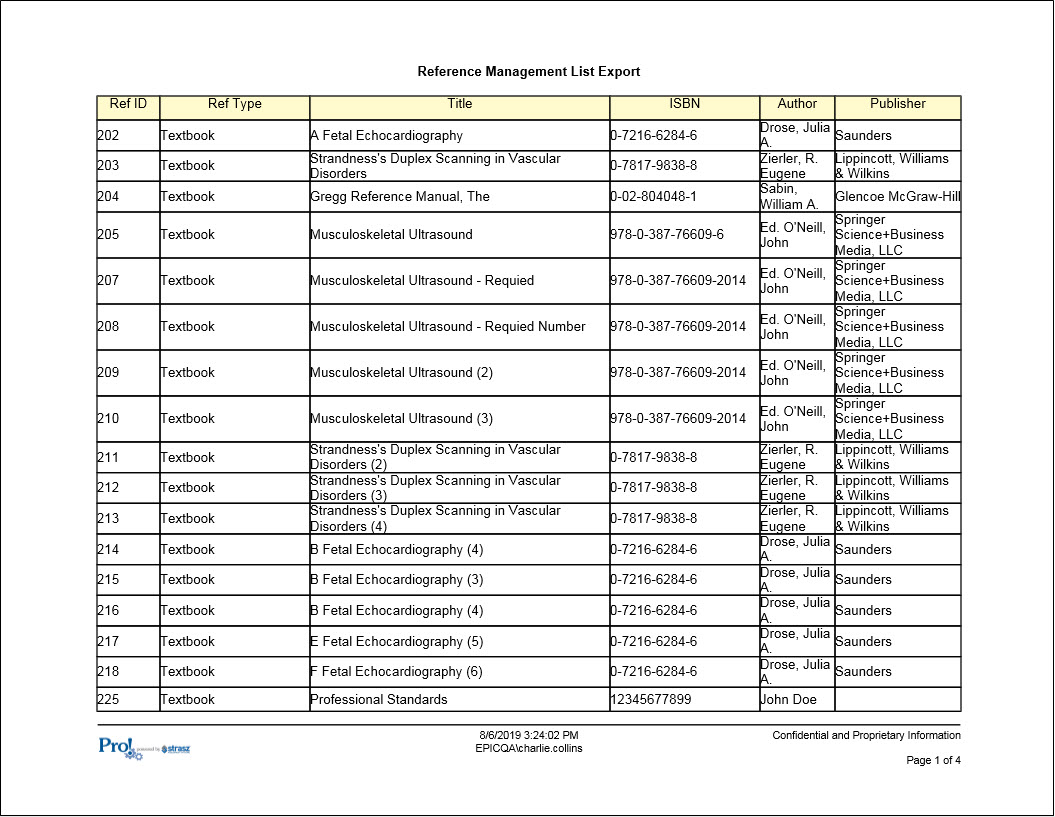
If you want to immediately open the file to your screen, click the Open button. The file will open on your local machine (in the default application that opens that type of file). You can then save the file to your local machine using the application. The example below shows the Reference Management List exported as a PDF to the user's screen.