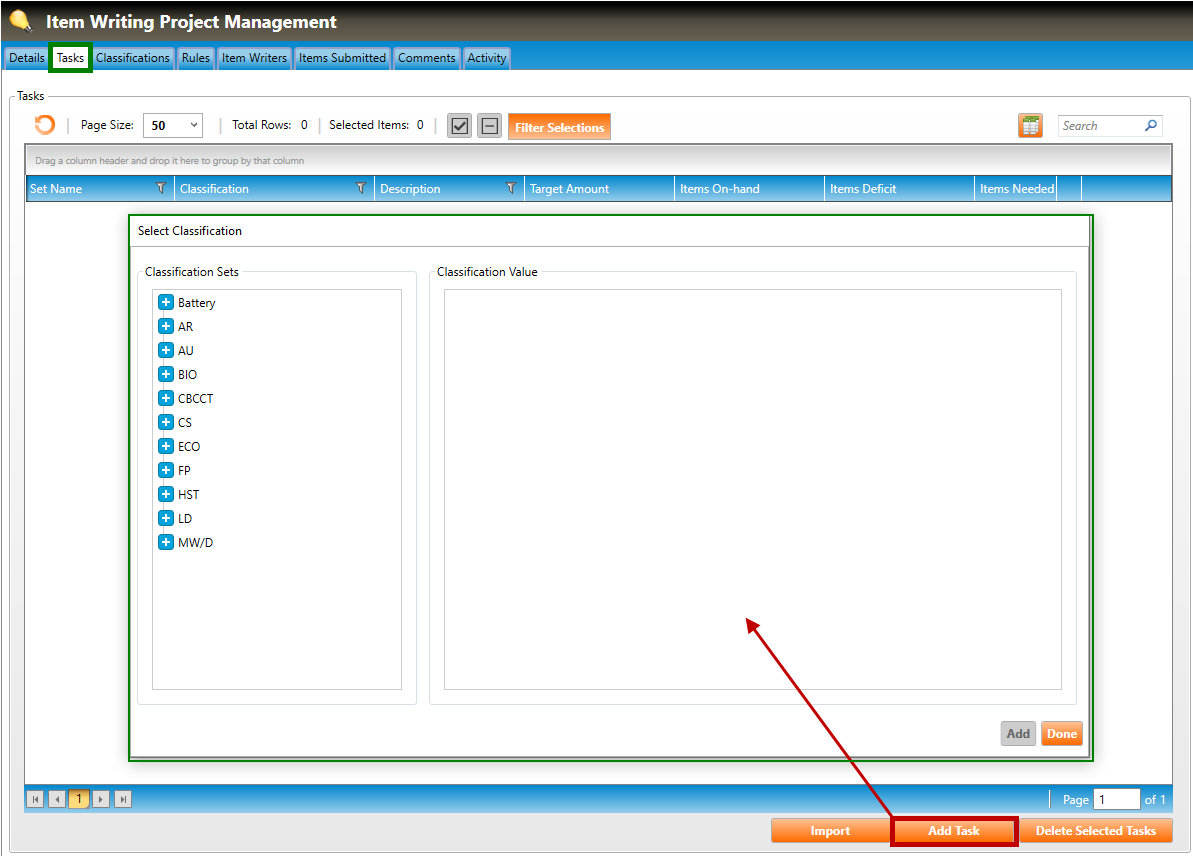
1. Navigate to the Tasks tab of the Item Writing Project Management screen (highlighted in green, below), and click the Add Task button to open the Select Classification popup window (highlighted in red, below):
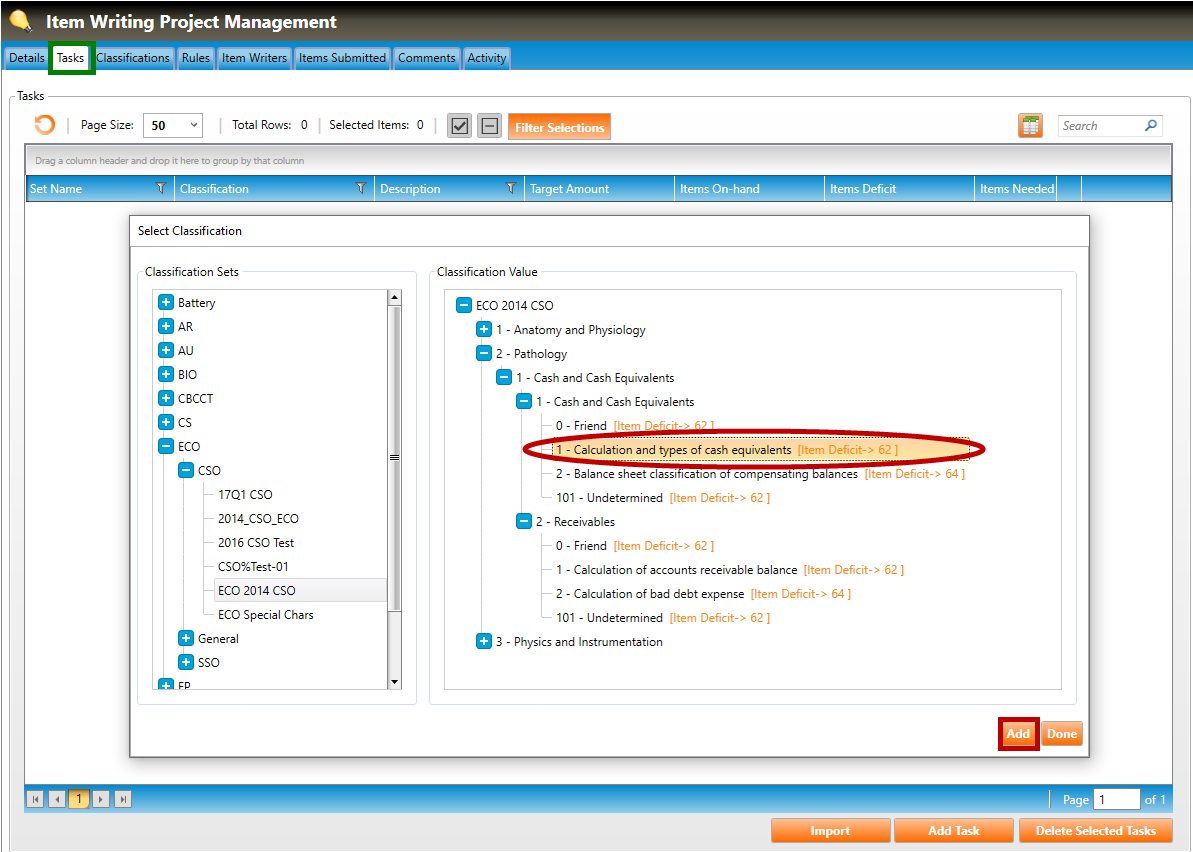
2. From the Select Classification popup, click the plus signs to drill down the classification hierarchy.
3. Select the desired classification (circled in red, above) and click the Add button (or double click the selection) to add the classification to the project. The Select Classification popup window will remain open allowing for the selection of multiple classifications. Select the Done button to exit the popup (shown below). The Task Name has been added, along with a Target Amount of items that should be authored, the number of Items On-hand (already authored) for that classification, the Items Deficit (number of items still to be authored for that classification), and the Items Needed to reach the Target Amount. If desired, you may edit the Items Needed field (highlighted in red, below).
4. To add more classifications, click the Add Task button, then follow Steps 2 and 3, above.
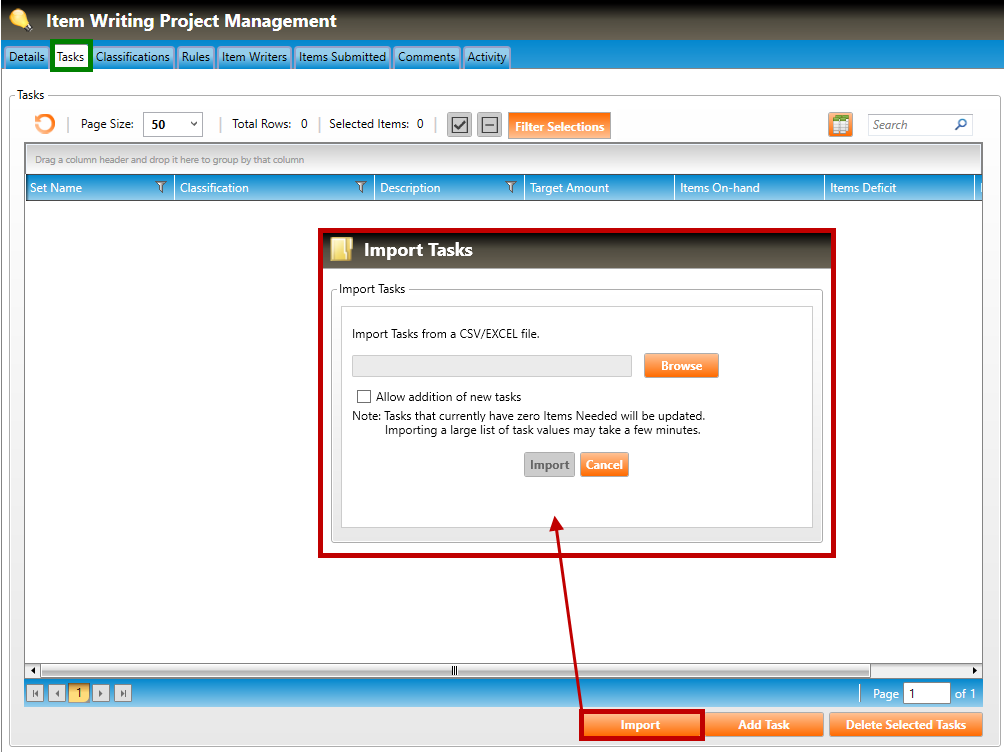
5. Tasks can also be added to the project in bulk by importing a properly formatted file (CSV or EXCEL). Click the Import button to open the Import Tasks popup window. Click the Browse button to find (on your local or network drive) and select the .csv or .xlsx file to import. Click the Import button on the popup window to initiate the import.