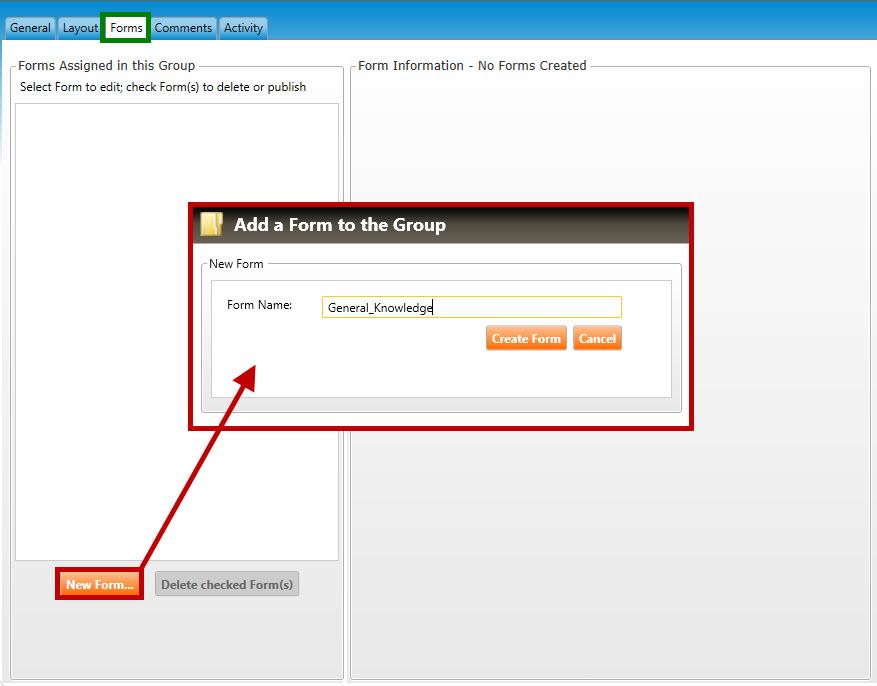
You are now ready to create and add Forms (and items) to your measurable sections. Navigate to the Forms tab (highlighted in green, below), and click the New Form button to open the Add a Form to the Group popup window (highlighted in red, below).
Enter a Form Name, and then click the Create Form button.
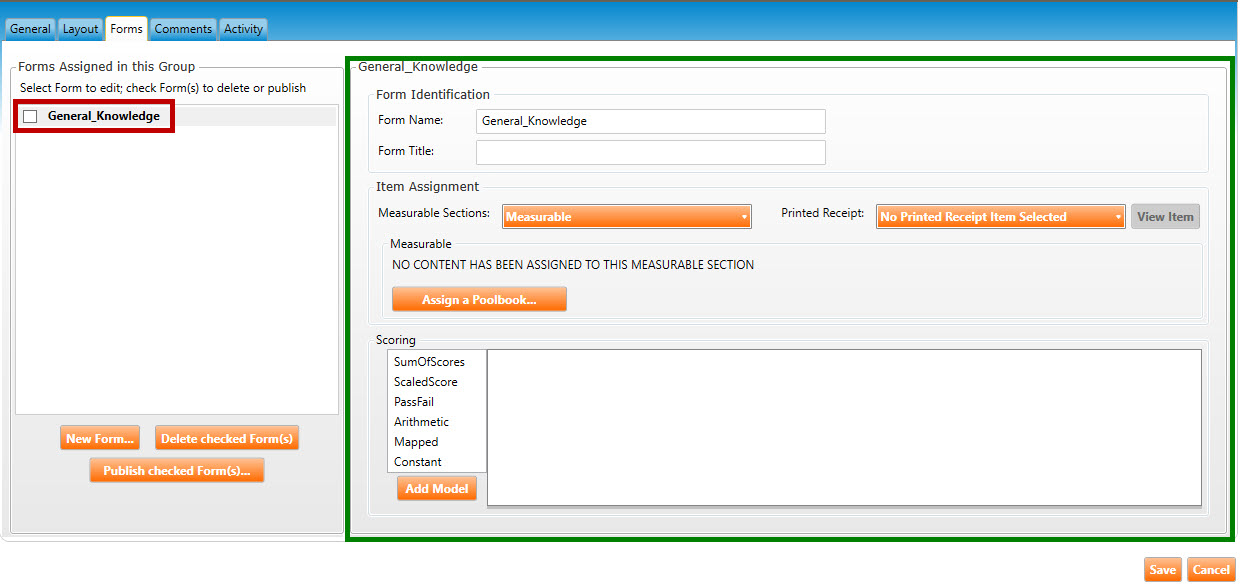
The Forms tab will populate with the new form (see figure below). The new form name (called General_Knowledge in the example below) is listed on the left side of the screen (highlighted in red), while the details of the section are listed on the right side (highlighted in green).
You may now enter more information for this form:
Enter a Form Title for the new form.
From the Measurable Sections drop-down list, select a section (which you created in Step 2, above) that this form will reside in.
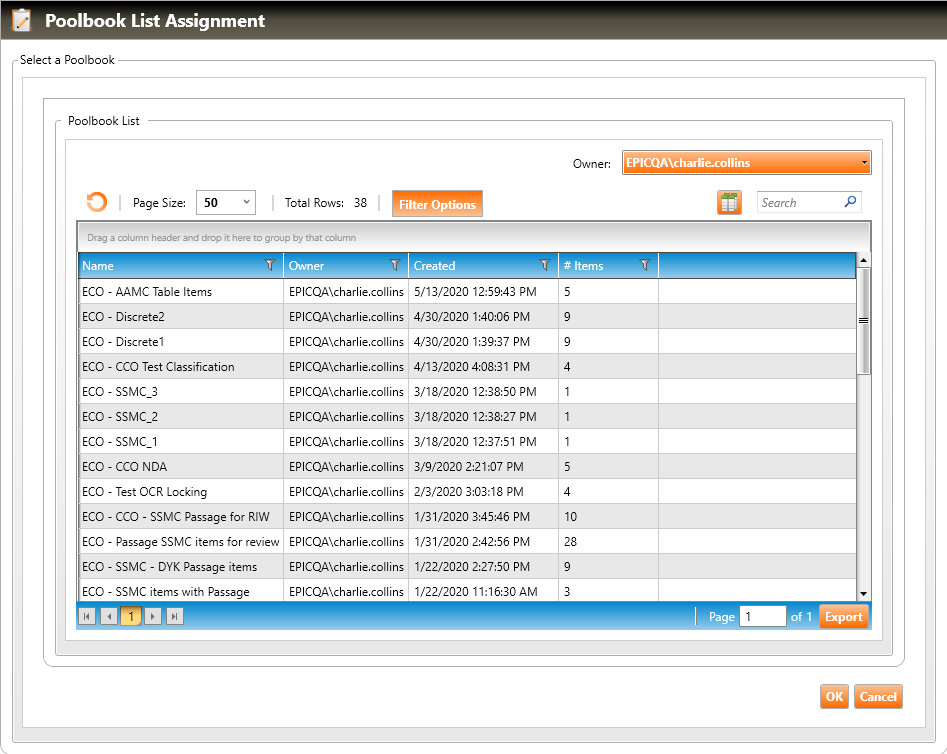
Since this is a measurable section, you will need to assign items to it. Click the Assign a Poolbook button to open the Poolbook List Assignment popup box (shown below). Select the poolbook that contains the desired items, and then click the OK button.
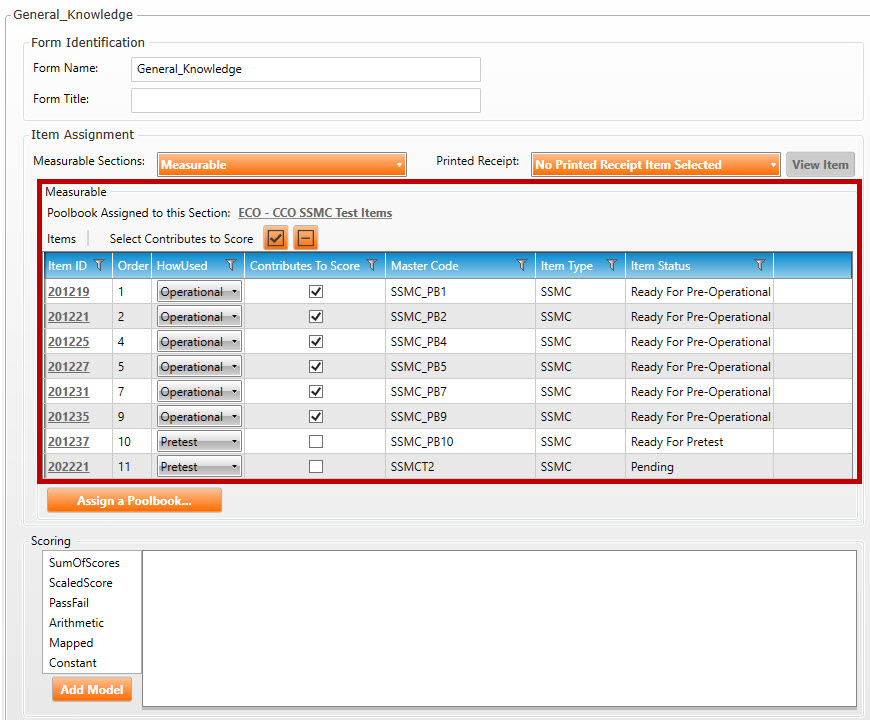
The items in the poolbook have been added to the Items list (highlighted in red, below).
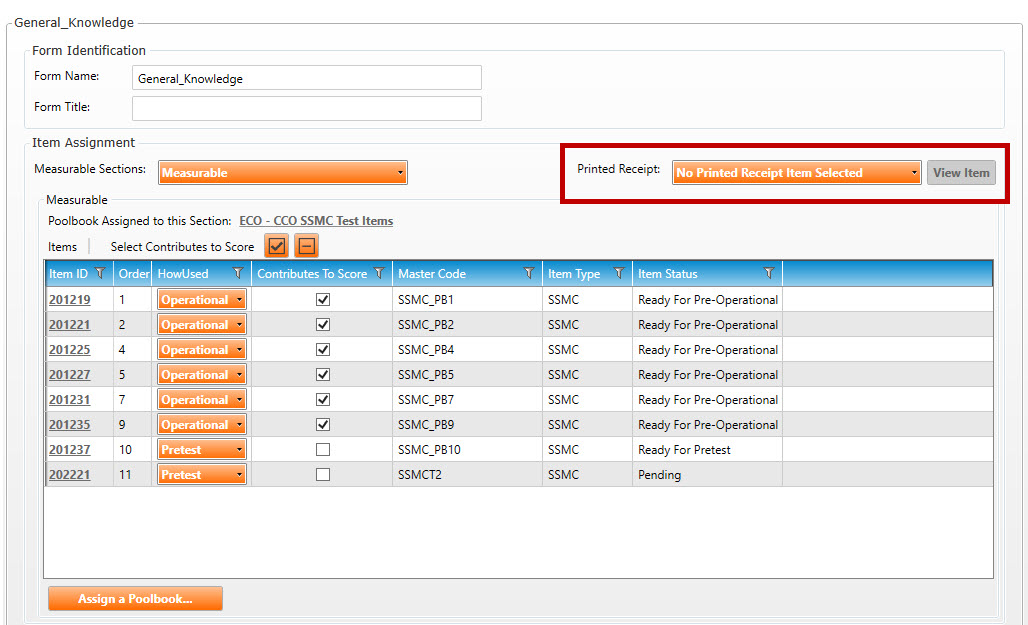
Click the Printed Receipt drop-down list (highlighted in red, below), to select an optional printed receipt from the list of score report items. The printed receipt will be printed when the candidate completes the selected exam form.
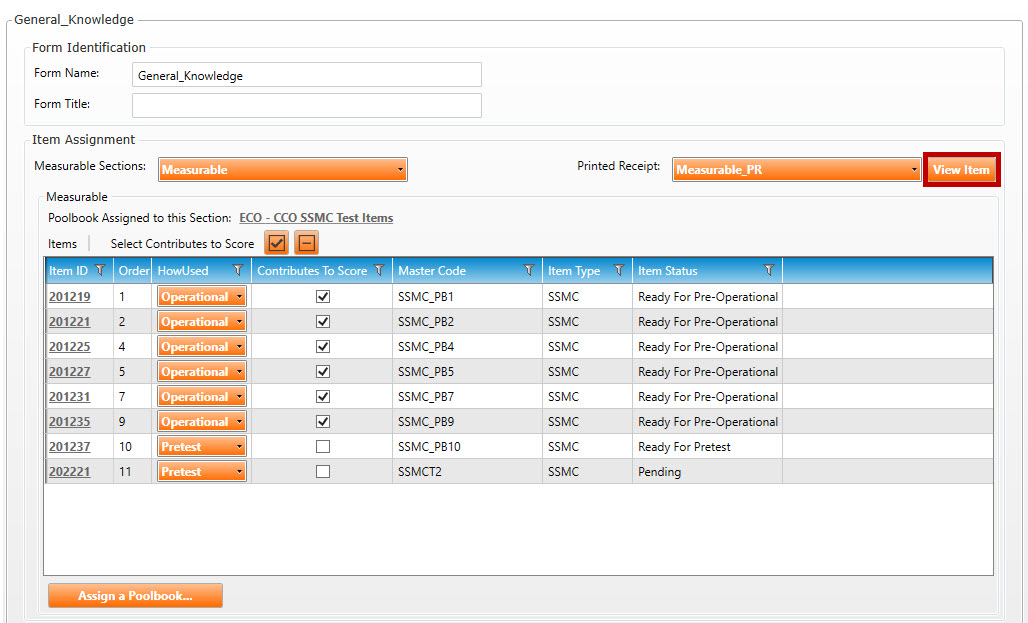
The selected printed receipt (Measurable_PR in the example, below) will populate the Printed Receipt field.
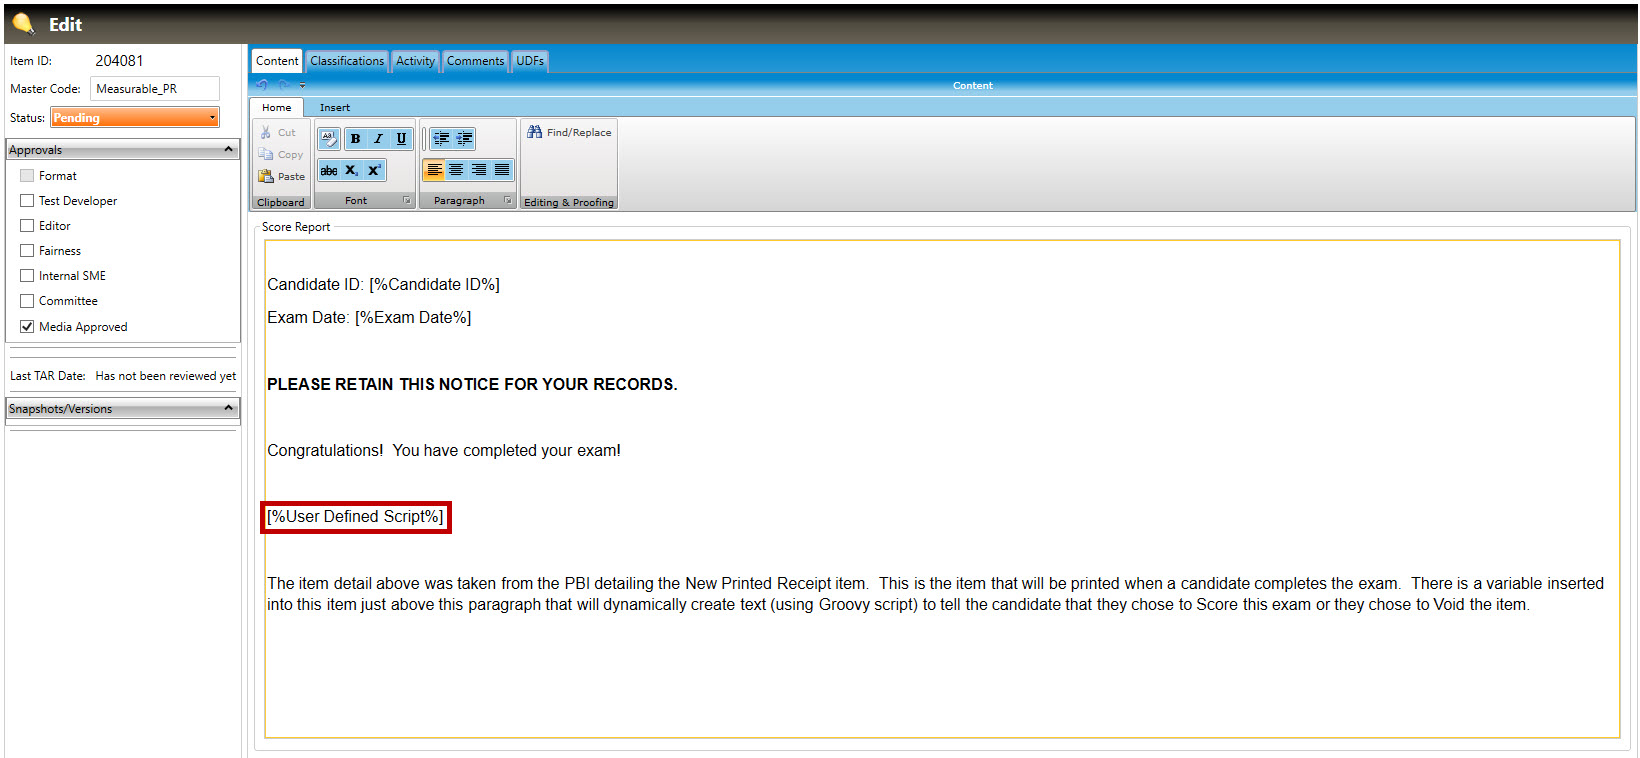
Click the View Item button (highlighted in red, above) will open the Item Detail page for the selected printed receipt.
Note: The printed receipt is authored as a score report item type.
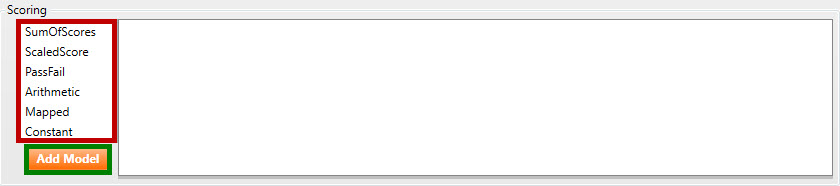
Scoring can be added to the form by selecting the available models. For a full description on creating each model refer to the Creating a score report section.
Click the Save button to save all changes.
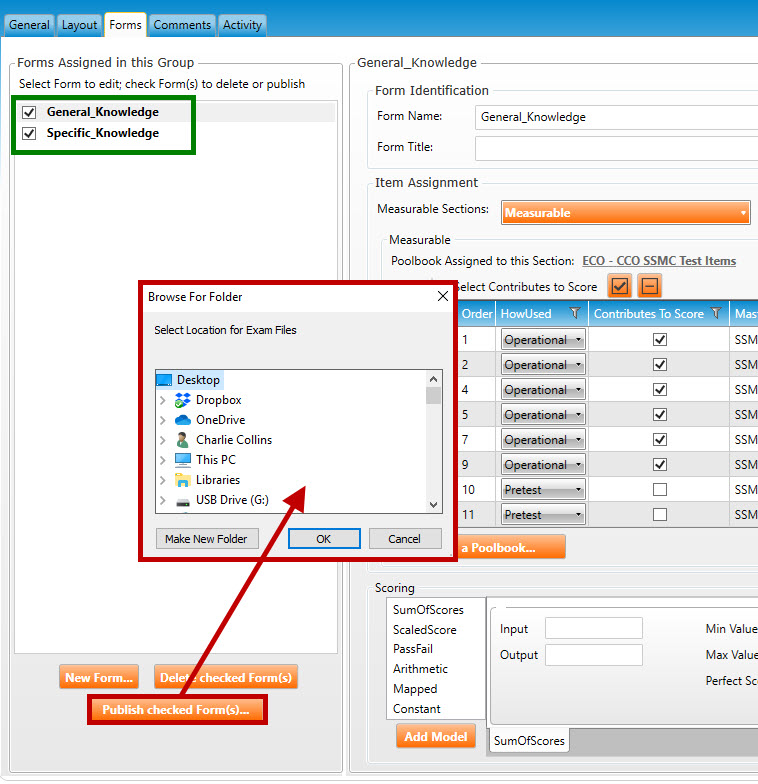
Select the form(s) you wish to publish (highlighted in green, below), and then click the Publish checked Form(s) button. A Windows browser will appear (highlighted in red, below). Select the desired output folder (or create a new one), then click the OK button. Your output files will be published to this folder.