After authoring the content of an item, you must assign classifications to the item. Pro! stores a catalog of classification sets for each section (exam title), although sections do not share classification sets.
Note:Click here for information on creating and managing classifications and classification sets.
To assign classifications to an item:
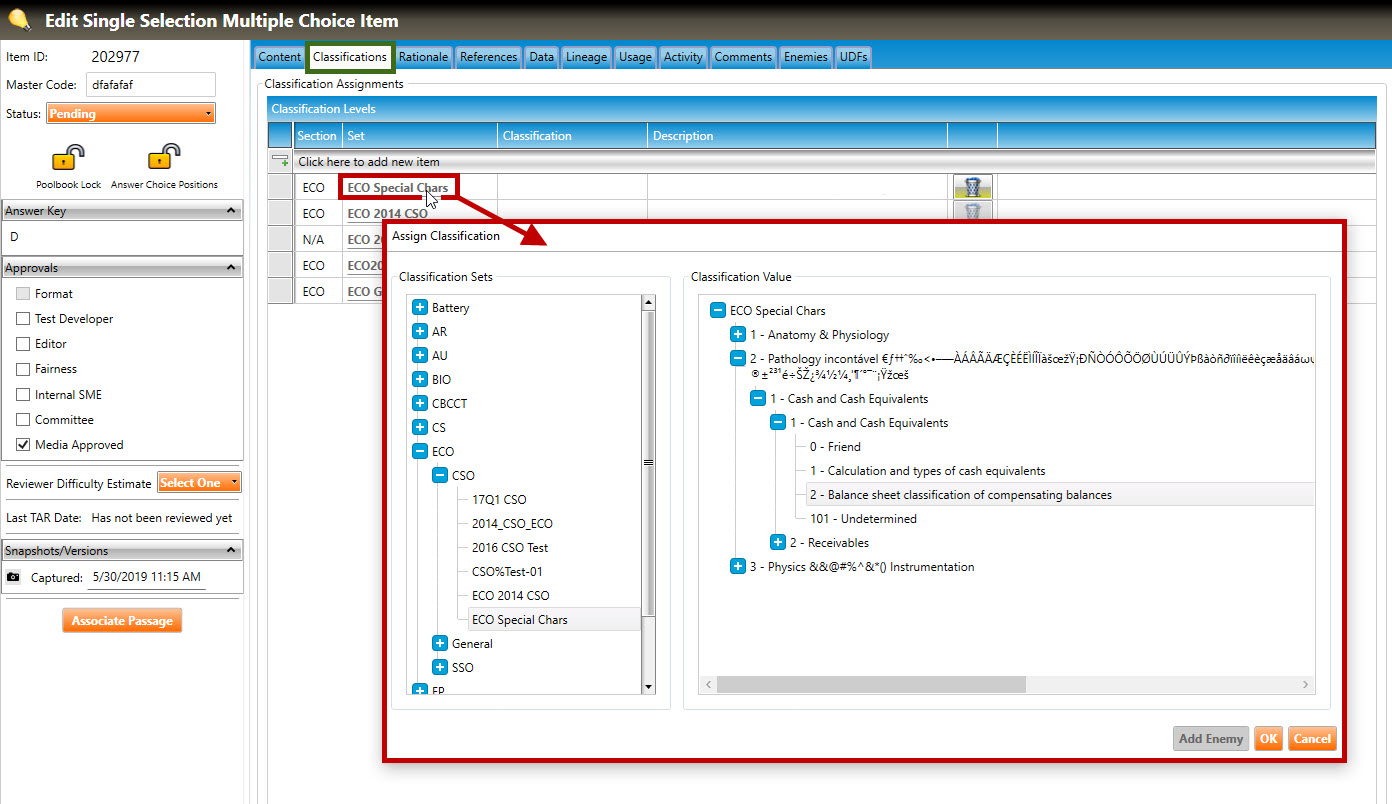
1. Navigate to the Classifications tab (highlighted in green, below).
2. Click the hyperlink for the desired Classification Set to open the Assign Classifications dialog box (highlighted in red, below). The system will automatically navigate to the Area classification hierarchy level. The full classification hierarchy is as follows:
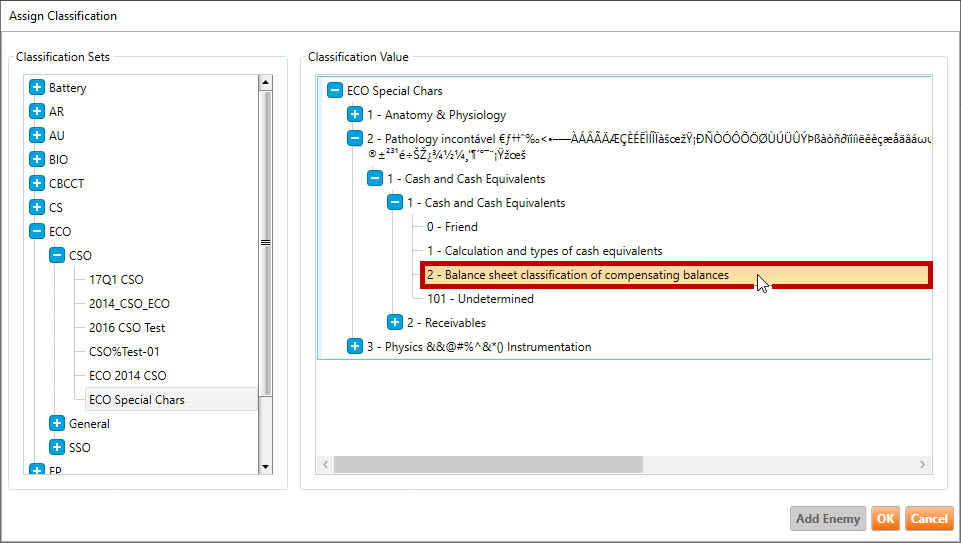
3. Click the plus signs (if needed) to drill down to the Enemy hierarchy level of the classification.
4. Select an Enemy classification value by clicking it. In the example below, the user has selected 2 - Balance sheet classification of compensating balances.
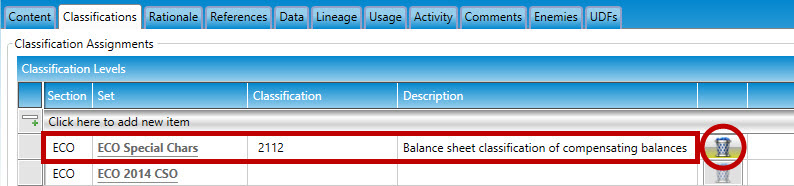
5. Click the OK button. The new enemy classification has been assigned to the item (highlighted below). To remove the newly assigned classification, click the trash can icon (circled below).