After authoring the content of an item, you must assign classifications to the item. Pro! stores a catalog of classification sets for each section (exam title), although sections do not share classification sets.
Note:Click here for information on creating and managing classifications and classification sets.
To assign classifications to an HTML item:
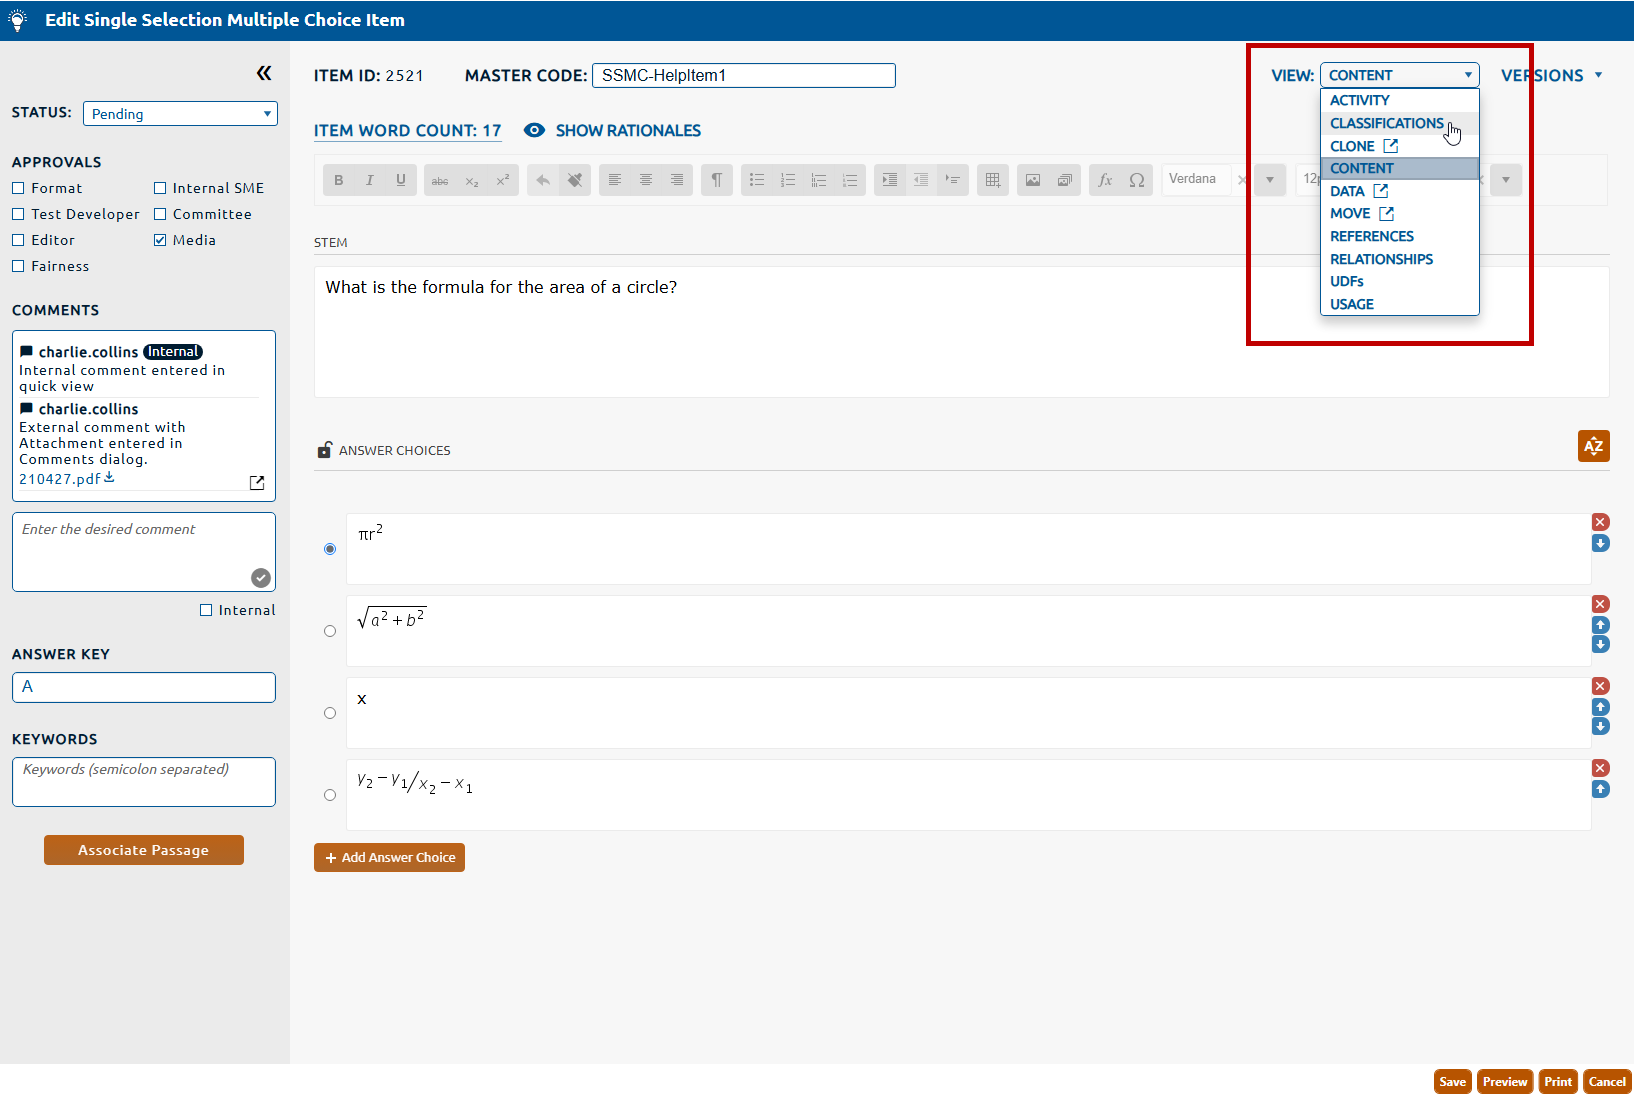
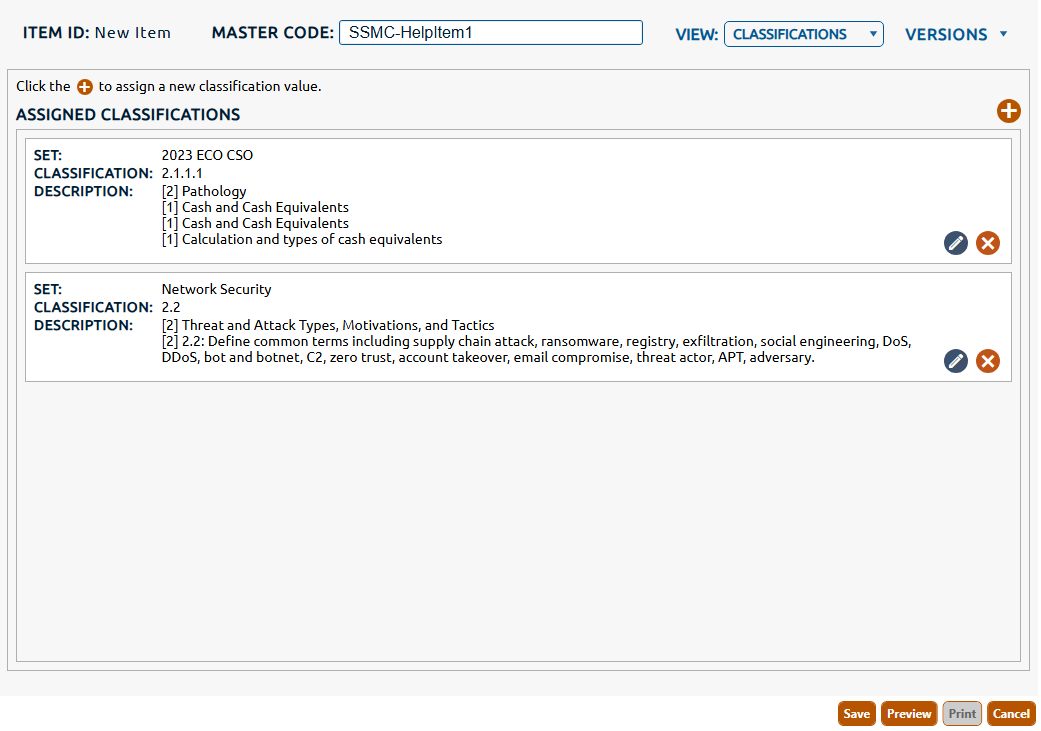
1. Select Classifications from the View dropdown (highlighted in red, below).
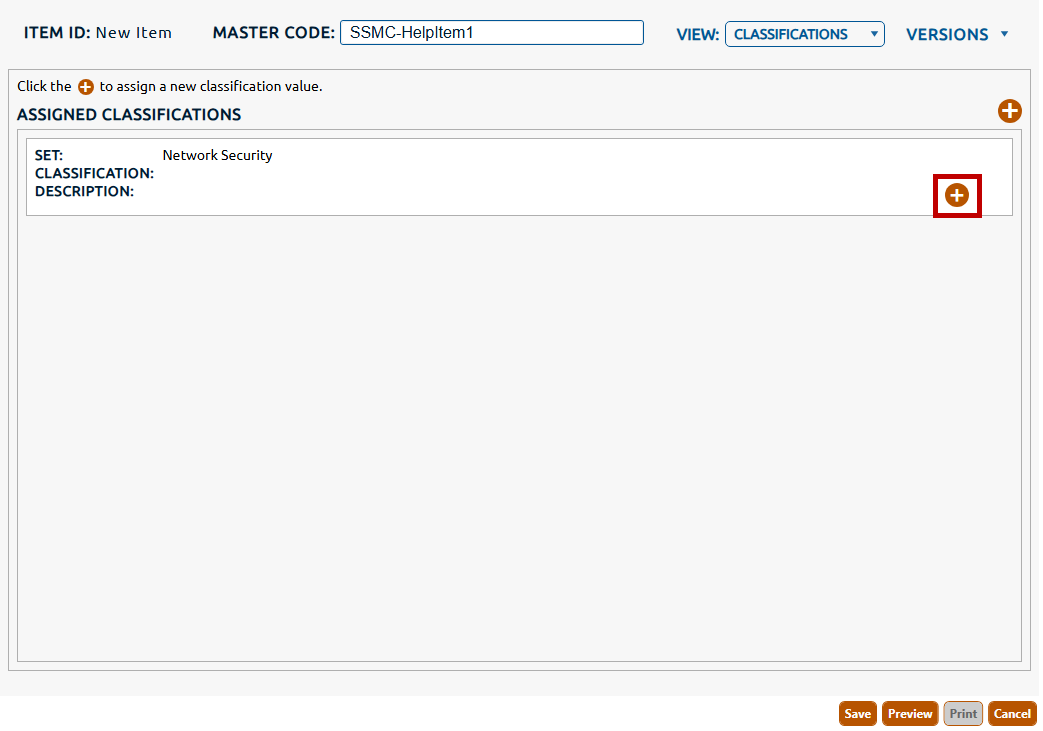
2. The Classifications view is displayed. If any default classifications are assigned to the section then they will be listed under Assigned Classifications. Click the + icon (highlighted in red, below) to assign a classification value for the default classification.
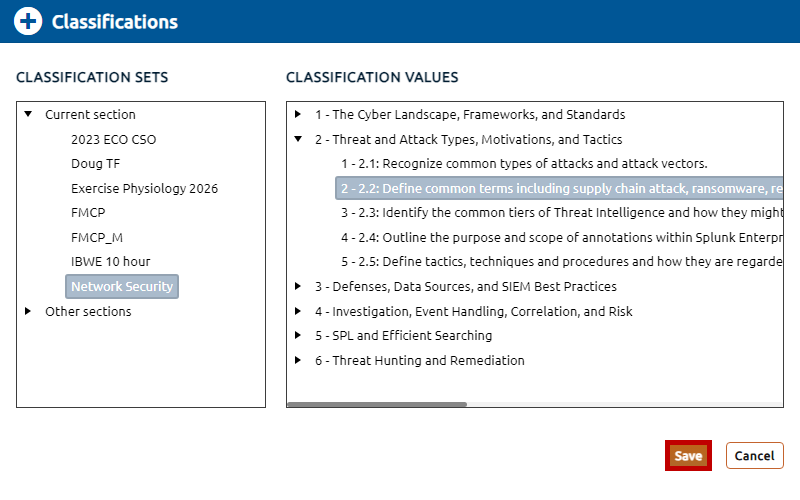
3. The Classifications dialog is opened with the a list of classification sets available, with the default classification selected from the Classification Sets list.
4. Click the chevron to expand any of the displayed Classification Values and drill down through the classification levels. Click the desired classification value to be assigned. Click the Save button to persist the classification value assignment.
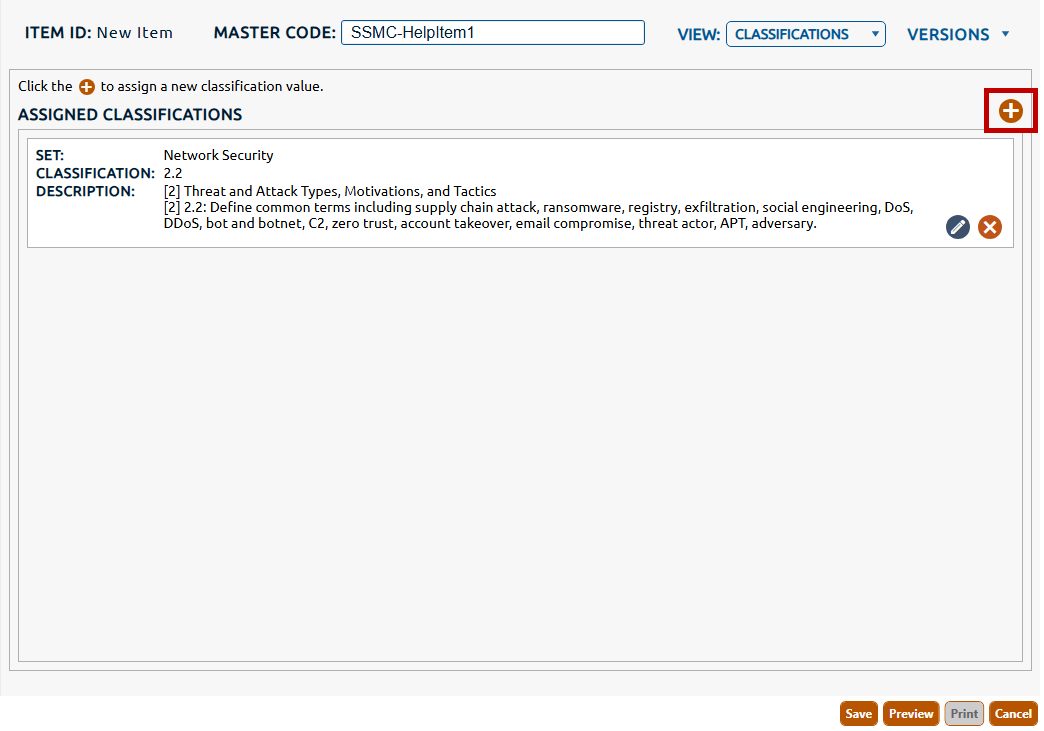
5. To assign a classifications that isn't displayed by default for the section, click the + icon (highlighted in red, below).
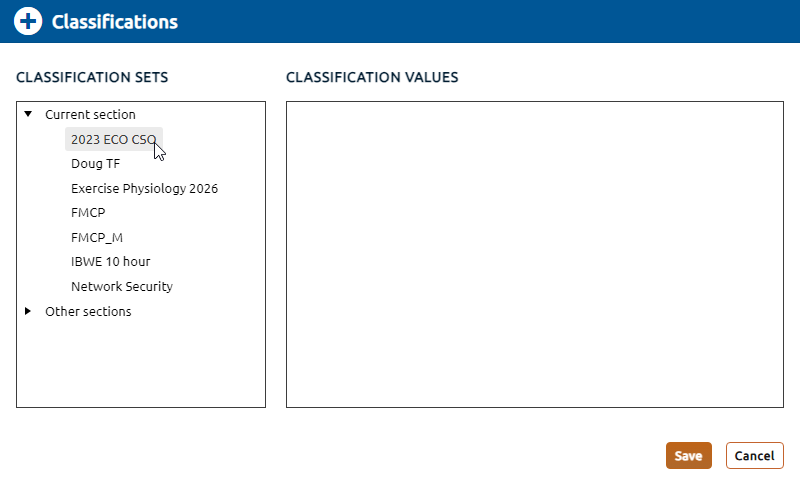
6. The Classifications dialog is opened with the a list of classification sets available, select the desired classification set from the Classification Sets list.
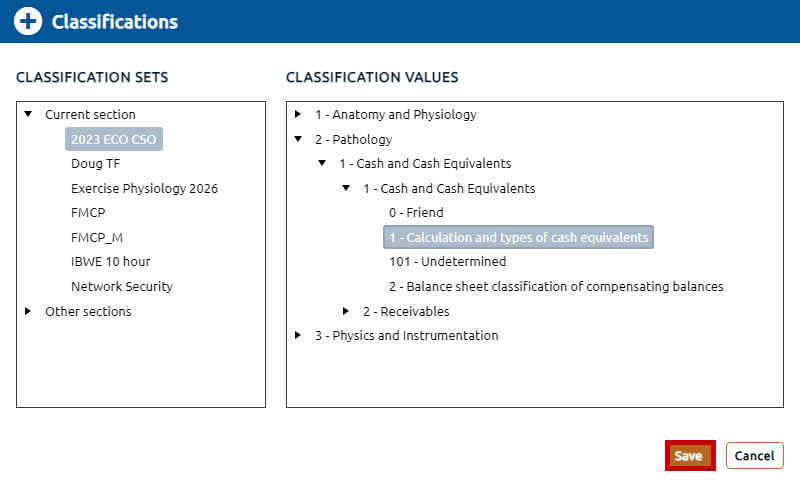
7. The list of Classification Values for the selected classification set will be displayed. Click the chevron to expand any of the displayed Classification Values and drill down through the classification levels. Click the desired classification value to be assigned. Click the Save button to persist the classification value assignment.
8. Saved classification values will be displayed in a list below Assigned Classifications.
9. You may assign additional classifications to the item by repeating the steps above.