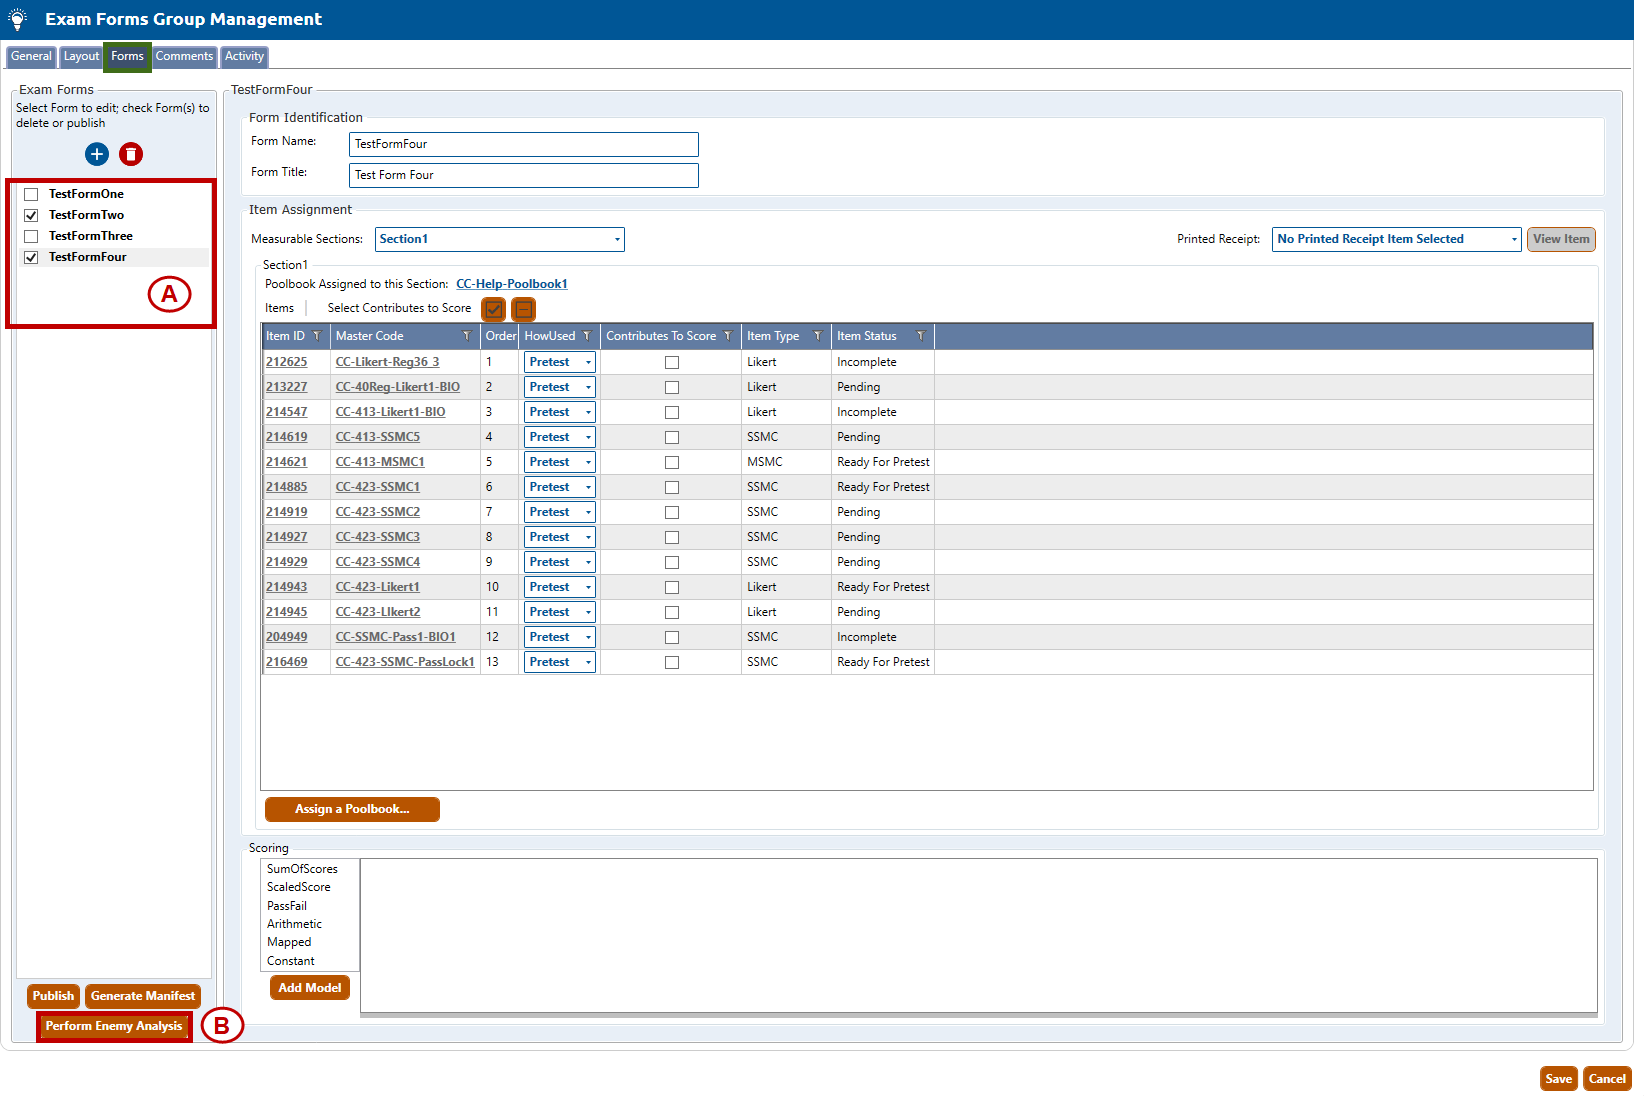
2. Navigate to the Forms tab (highlighted in green, below) for the selected exam form group.
3. Follow Steps A through B, below:
A. Select the form or forms that you wish to use in the Enemy Analysis report(s). Each form will create a separate process resulting in its own report.
B. Select the Perform Enemy Analysis button. This will open the Create Enemy Report dialog (shown below).
3. Clicking Show Advanced Setting (highlighted in red, above) enables the selection of additional settings that can be applied to the report. Select the desired report settings and click the Create Report button (highlighted in red, below)
Passage to Passage: Compares the passage content of the items selected to identify passages that are potential enemies.
Passage to Passage Item: Compares the passage content to the item content of any items with a passage association to identify potential enemies.
Include Non-Key Options: Answer choices not identified as the key will be included in the analysis.
Skip items with shared passages: Will not compare the passage to the item content of items associated with that passage.
Passage to Discrete Item: Compares the passage content to the item content of any discrete items (no passage association) to identify potential enemies.
Include Non-Key Options: Answer choices not identified as the key will be included in the analysis.
Passage Item to Discrete Item: Compares the item content of passage-associated items to the item content of discrete items to identify potential enemies.
Include Non-Key Options: Answer choices not identified as the key will be included in the analysis.
Passage Item to Passage Item: Compares the item content of passage-associated items to other passage-associated items to identify potential enemies.
Include Non-Key Options: Answer choices not identified as the key will be included in the analysis.
Skip items with shared passages: Will not compare the item content of items associated to the same passage.
Discrete Item to Discrete Item: Compares the item content of discrete items to the item content of other discrete items to identify potential enemies.
Include Non-Key Options: Answer choices not identified as the key will be included in the analysis.
Compare elements across all sections in the form: Compares the selected elements for all items across all sections within the form. When not selected the items are only compared to other items in its section.
Model: Select the comparison model from those available in the dropdown.
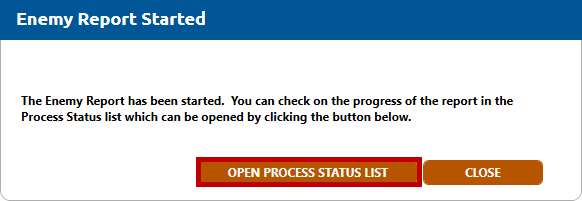
4. The Enemy Report Started dialog will open. The Enemy Analysis report will run in the as a process in Pro. Click the Open Process Status List button (highlighted in red, below) to navigate to the Process Status list screen to track its progress and view the output.
5. TheProcess Status list page will open in a new tab. The requested Enemy Analysis report(s) will appear as a row or rows in the table.