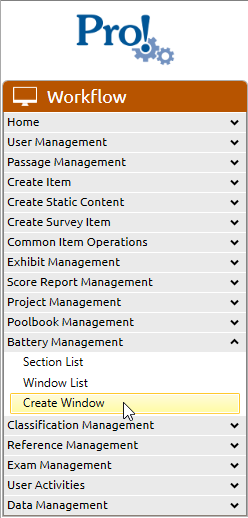
1. In the Workflow menu, click Battery Management > Create Window:
2. The Edit Window screen will appear:
3. Choose a Section for this window. This will default to the section you are currently logged into. It can be changed be selecting another entry from the list.
4. Enter a Profile Date, which is the scheduled date to generate the profile report.
5. Enter a Window Start Date, which is the calendar date when the window begins. It is pre-populated with the current date.
6. Enter a Window End Date, which is the calendar date when the window ends. It is pre-populated with the current date.
7. Enter Classification set that binds to the window.
8. Enter a window Name. It is pre-populated based on the Start Date in the YYQN format. The default name can be changed.
9. Select the This Window is a research window only checkbox if the window is a research window.
10. Note that the Lock icon (circled in red, above) displays as unlocked when the window is created.