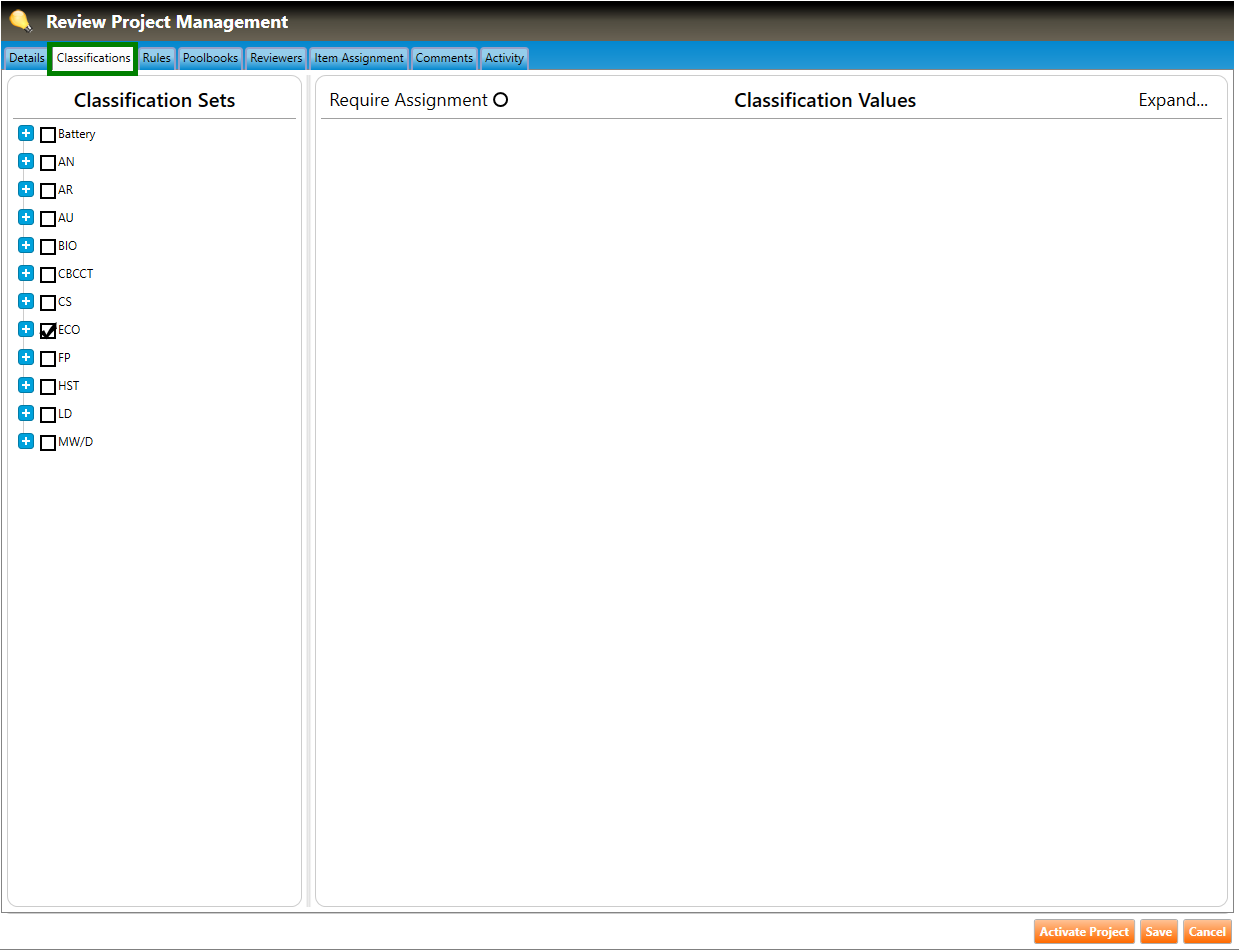
1. Navigate to the Classifications tab of the Review Project Management screen (highlighted in green below). Any section with classification sets selected for the project will appear in the Classification Sets pane with its checkbox checked.
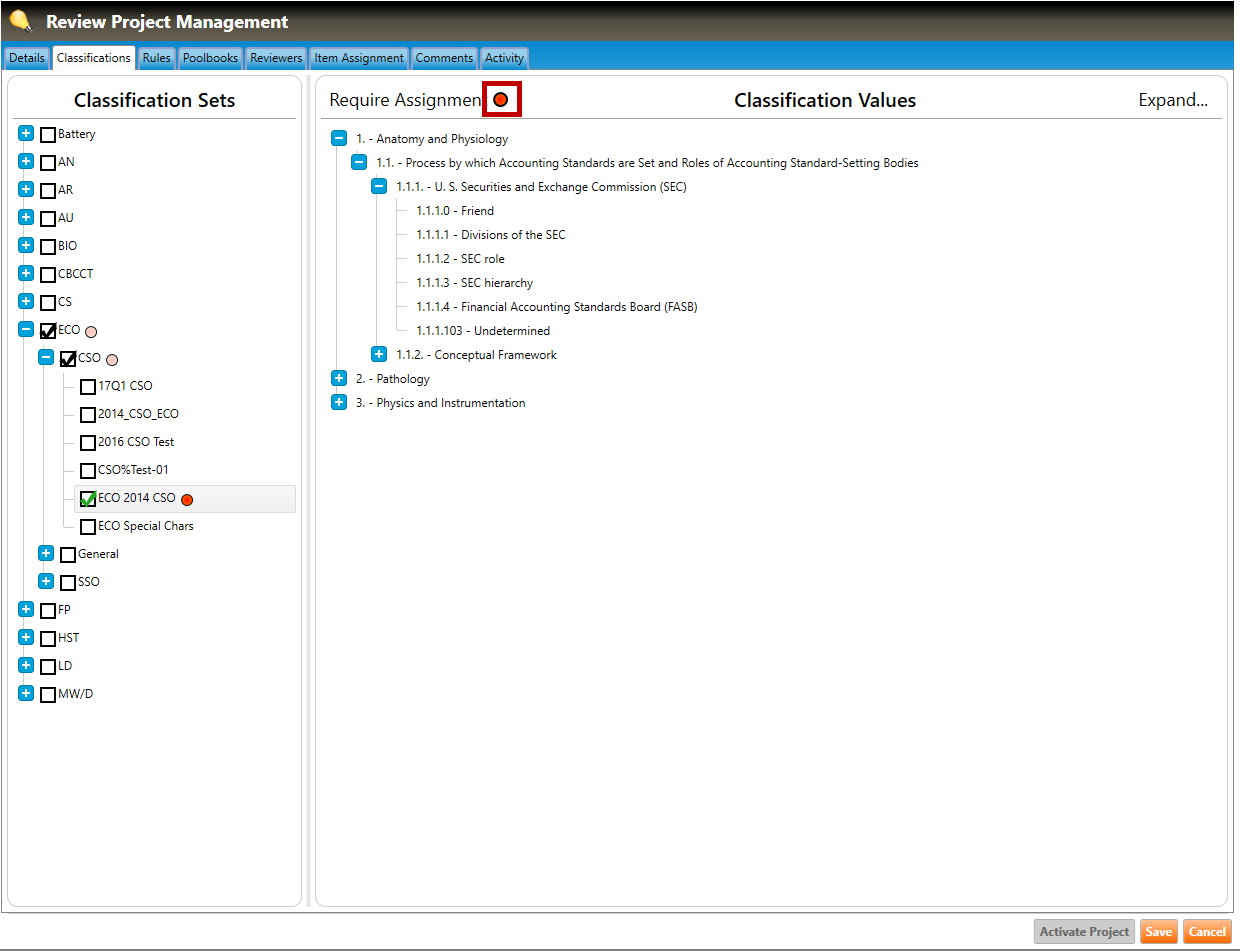
2. Click the plus signs to drill down to the classification set within the section. Any selected classification sets within that section will be identified with a green check in its checkbox.
3. Remove a classification set assignment (those identified with a green checkmark) from a project by clicking the checkbox for that set. The box becomes unchecked and the classification value becomes unassigned.
4. To add additional classifications to the project follow the instructions found here.
5. Setting new or existing classification set to be identified as required by clicking the Require Assignment icon (highlighted in red, below). This selection assigns that classification set to the review project..
6. Click Save button to save all changes.
7. The Classifications tab contains an Expand page control. Clicking this presents the following dropdown selections for expanding the classification values tree:
All - Expands all branches to their leaf nodes. All available values will be shown.
None - Collapses the tree to display only the highest level values.