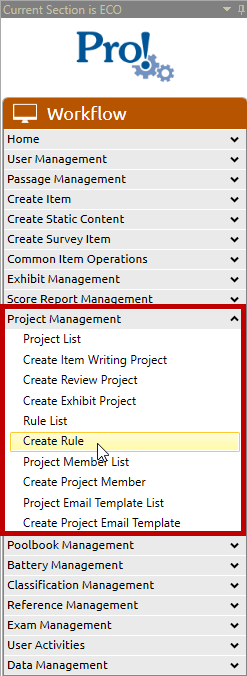
1. In the Workflow menu, click Project Management > Create Rule:
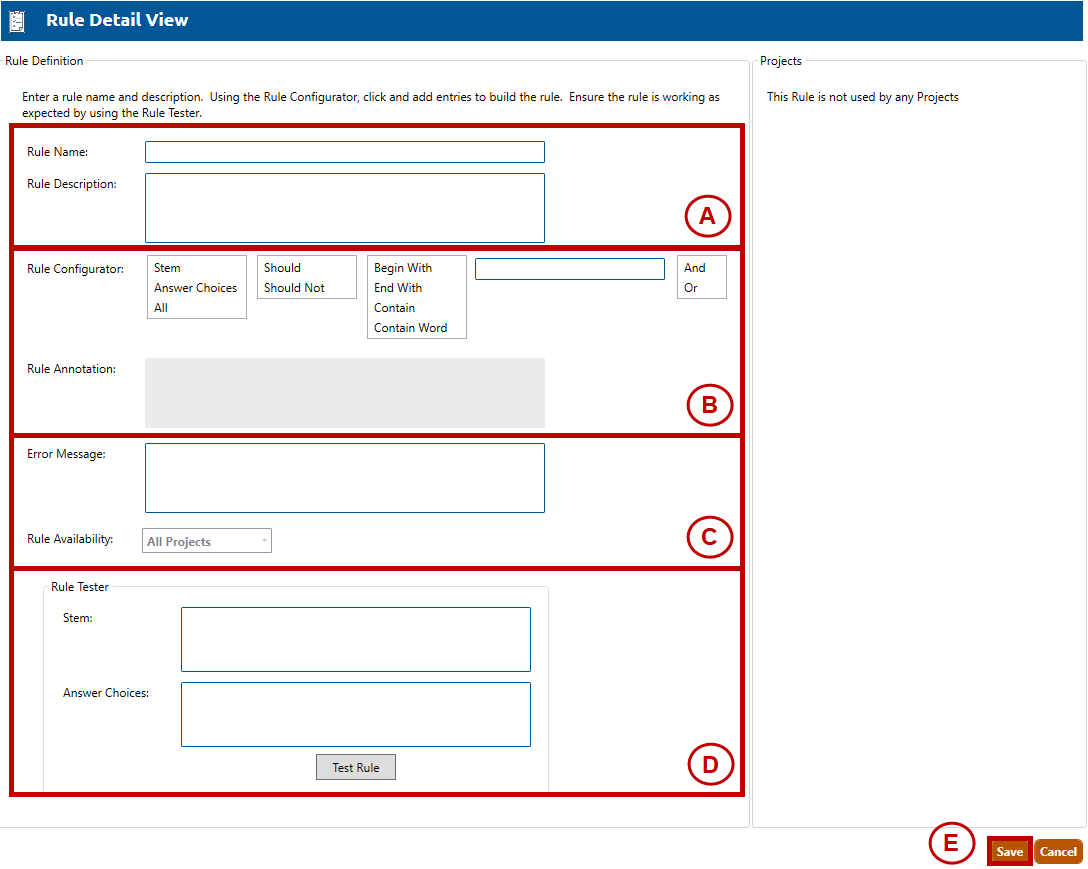
2. The Rule Detail View screen will appear (shown below). Follow Steps A through E, below, to create the new rule.
A. Enter a Rule Name and Rule Description for the new rule.
B. Using the Rule Configurator fields, click and add entries and text to build the rule. For example, suppose you want to create a rule that:
Prevents the stem and answer choices from containing the character '&'
AND
Forces each answer choice to contain the phrase 'as of year-end 2013'.
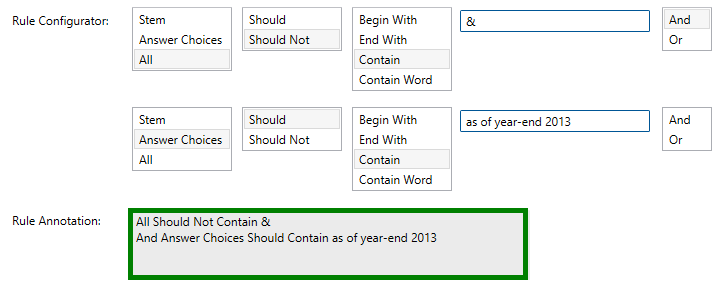
After clicking entries and adding text, the Rule Configurator would look like this:
Note that the Rule Annotation (highlighted in green, above) automatically builds the rule into a text sequence.
Note that you may add as many And and Or clauses as you wish when using the Rule Configurator.
C. Enter the Error Message that will appear if the item author violates this new rule. Using our example above, the error message might state the following:
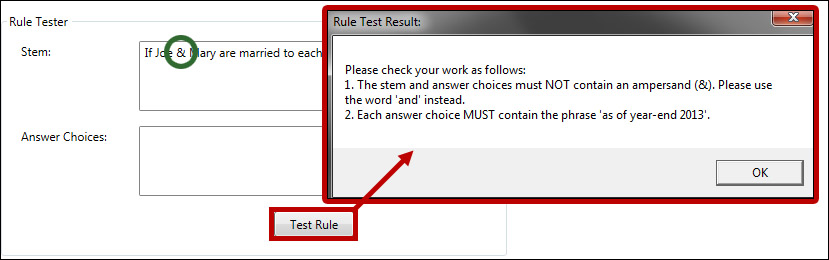
D. The Rule Tester allows you to test your new rule. By typing a stem or answer choice that violates the rule, then clicking the Test button, you can see if your error message appears. Using our example above, if we type an ampersand (&) into the Stem field (circled in green, below), then click the Test button, the Rule Test Result popup box will appear, containing the error message you entered in Step C, above. This confirms that the rule is operational.