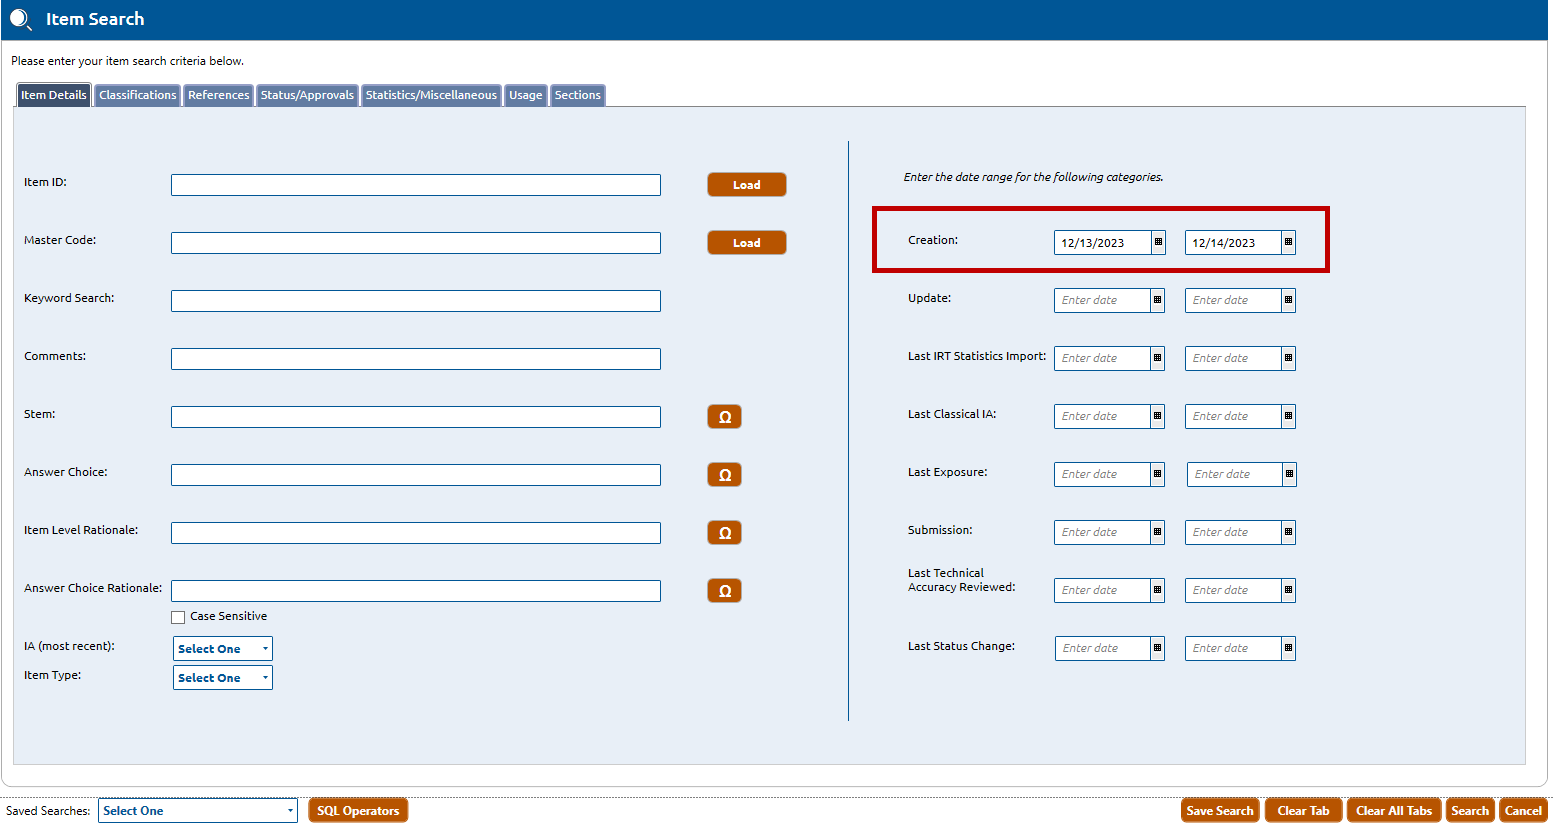
1. Perform an item search. In example below, the user is searching for items created between the date range of 12/13/2023 and 12/14/2023:
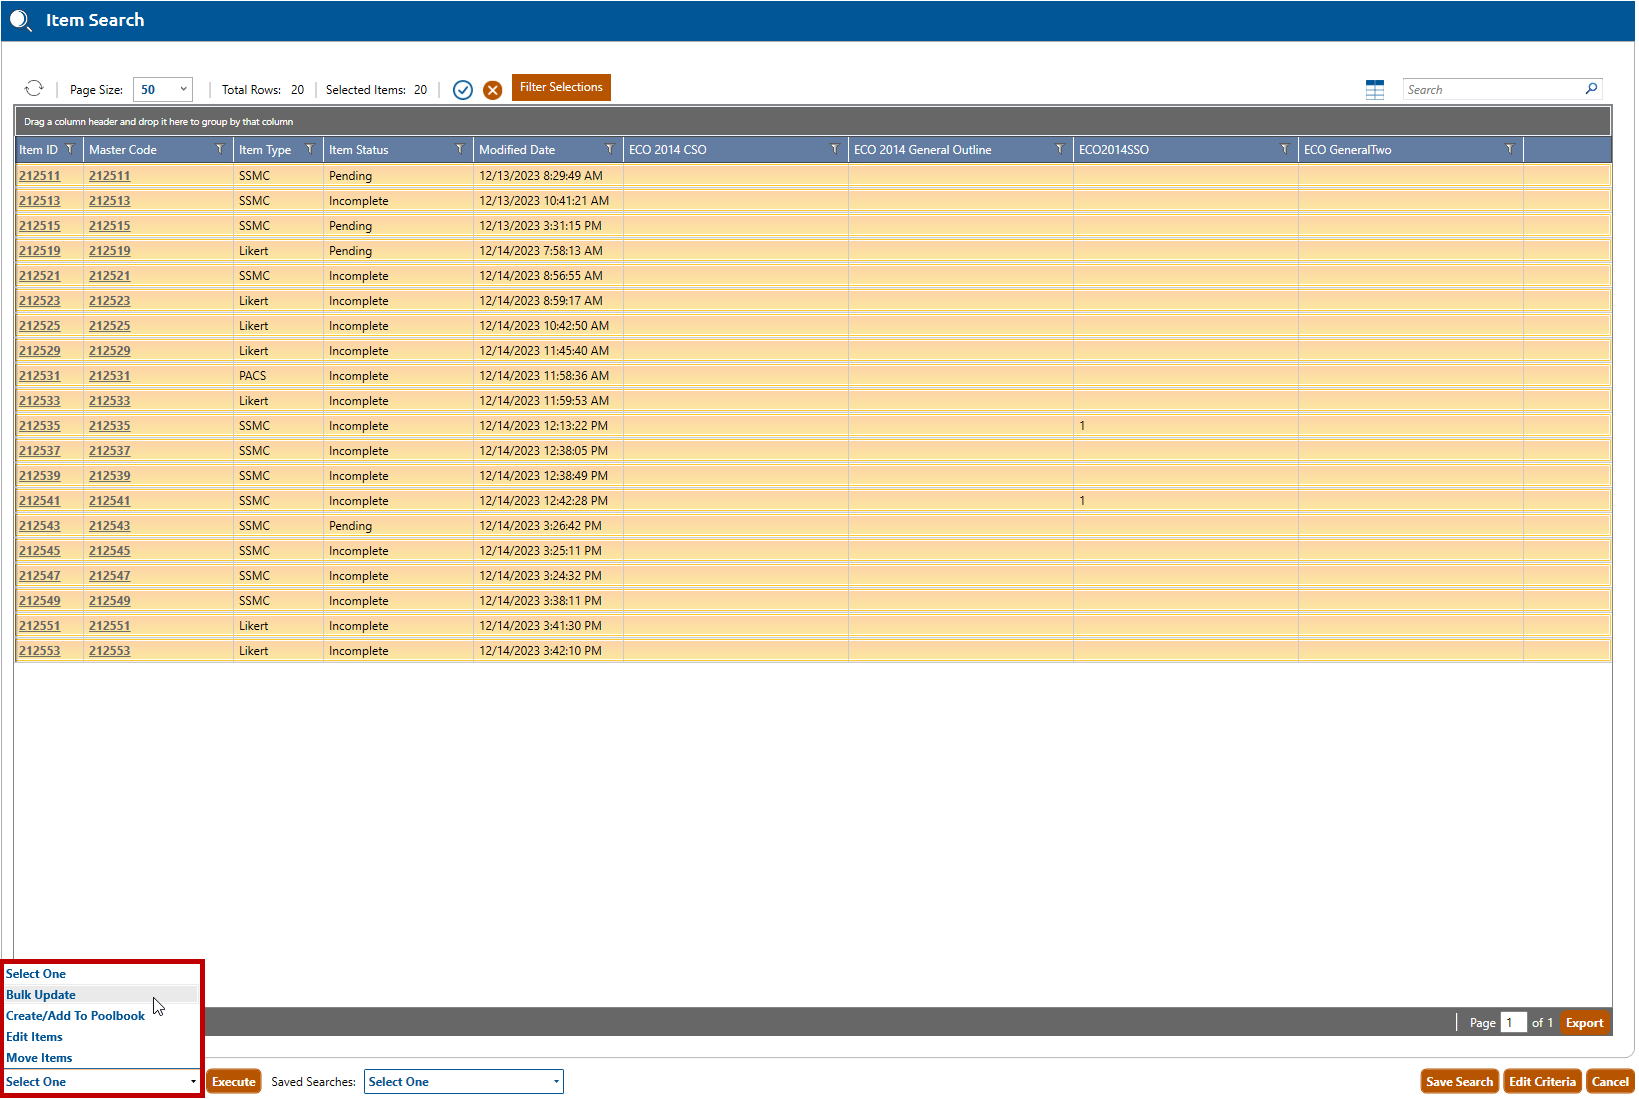
2. In the Item Search Results screen, select Bulk Update, and then the Execute button:
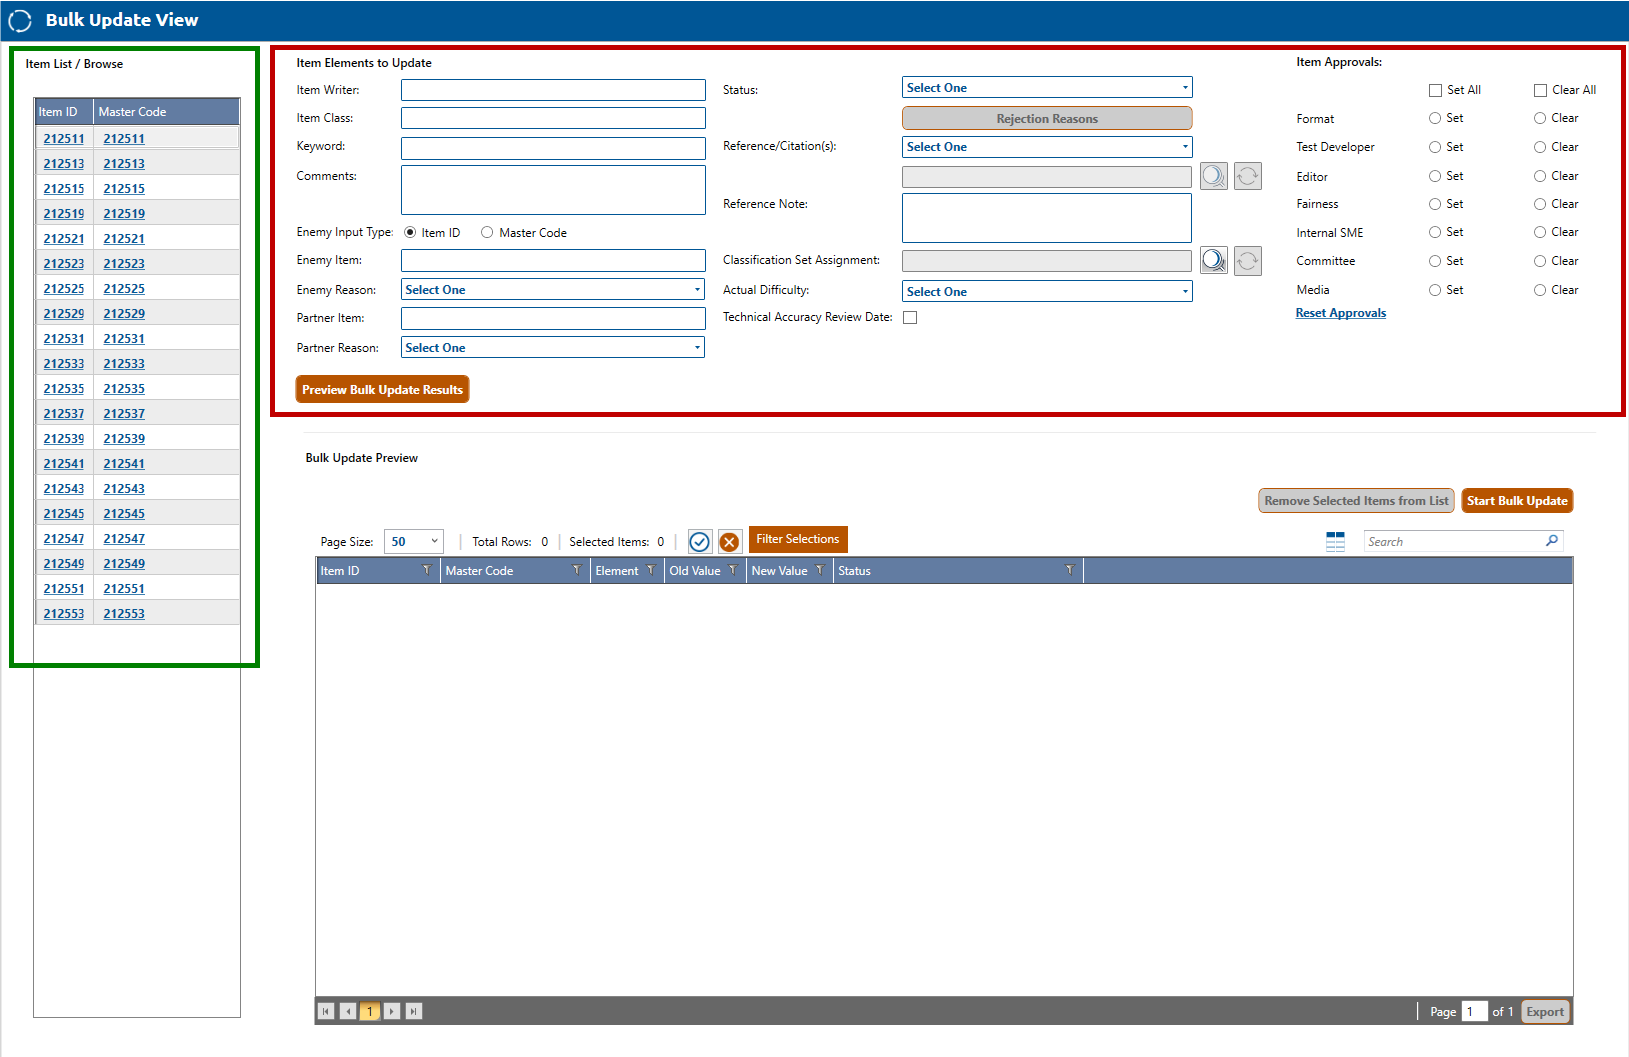
3. The Bulk Update View screen will appear, showing the selected items (highlighted in green, below):
4. Select or enter data to bulk update for the selected items (in the area highlighted in red, above). Data choices are as follows:
Item Writer: The author of the items. Note that this value will replace the existing item writer(s) for the items being bulk updated.
Item Class: Numeric value representing the class of the items. Note that this value will replace the current values for the items being bulk updated.
Keyword: Keywords or phrases associated with the items, each separated by a semi-colon (;). Note that these keywords or phrases will be appended to any existing keywords or phrases for the items being bulk updated
Comments: Comments about the items. Note that these comments will be appended to any existing comments for the items being bulk updated.
Enemy Input Type: Select either Item Id or Master Code radio button to specify the identifier used for the enemy item.
Enemy Item: Provide the item identifier (in the format indicated above) for the item that will be made an enemy of the items.
Enemy Reason: Select a reason from the dropdown to indicate why the item is an enemy of the items.
Partner Item: Provide the master code for the item that will be made a partner of the items.
Partner Reason: Select a reason from the dropdown to indicate why the item is a partner of the items.
Status (dropdown list): The system-assigned status of the items. You can change the status to any valid transition status of the items. Status changes will follow common rules for updating the status of items. Note that this value will replace the existing statuses for the items being bulk updated.
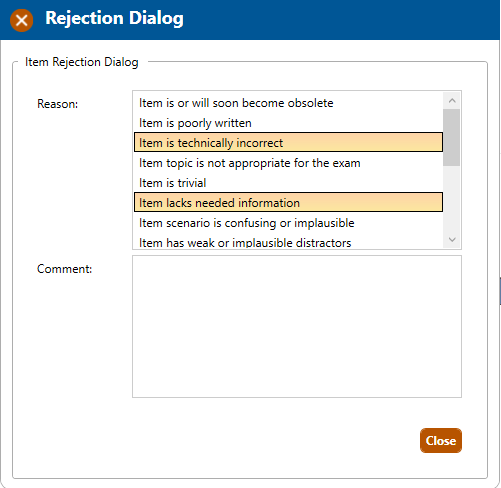
Rejection Reasons: If you choose a status of "Rejected" from the Status dropdown list (bullet above), the Rejection Reasons field will become active. Clicking it will open the Rejection Dialog box (see below). Click one or more rejection reasons from the list, then click the Close button. Note that, if “Other” is selected, a comment is required to explain the rejection. The Rejection Reasons dialog box can be used to edit previously-entered reasons and comments.
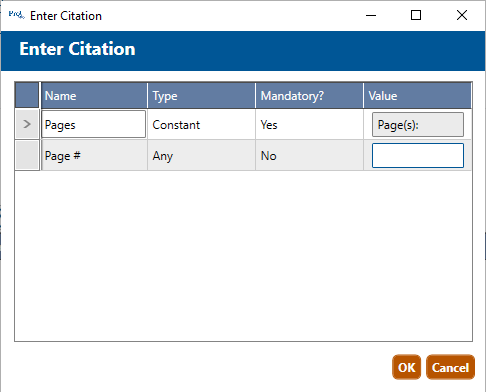
Reference/Citation(s): Title of the reference and value of the citations for the items. Citations are entered by clicking on the binoculars button next to the text box to open the Enter Citation window (see below). Note that citation values are only required when flagged as mandatory. Also note that the values entered will be appended to any existing reference/citations for the items being bulk updated.
Reference Note: Supporting information about the reference. Note that these reference notes will be appended to any existing reference notes for the items being bulk updated.
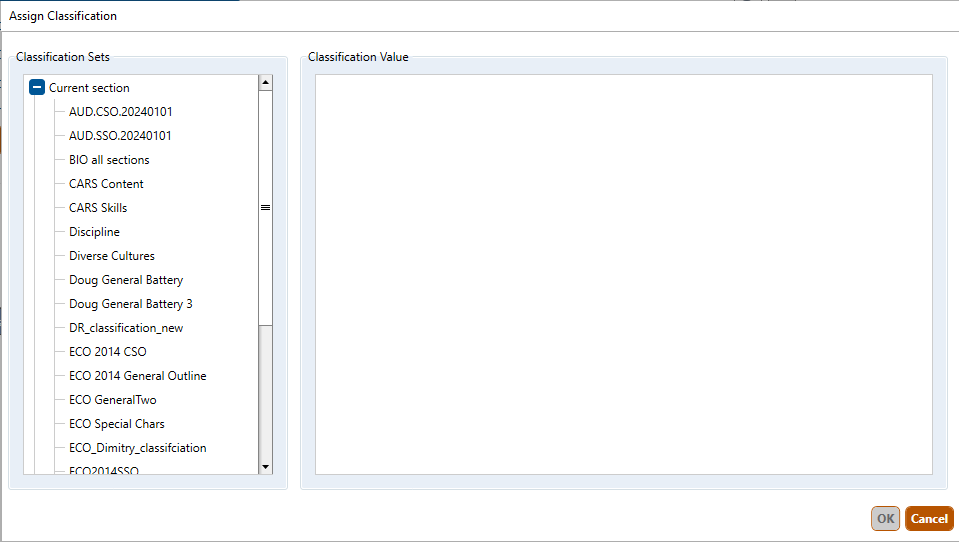
Classification Set Assignment: The classification definition and values assigned to the items. Clicking on the binoculars button opens the Assign Classifications window, which allows you to make your selection(s).
Actual Difficulty: The actual difficulty (Low, Medium, or High) as determined by the system through test results. Note that this value willreplace the current values for the items being updated.
Technical Accuracy Review Date (checkbox): The last date an item was reviewed for technical accuracy. If the checkbox is checked, the current date will be displayed. This date will replace the previous TAR date for the items being bulk updated.
Item Approvals: Set or Clear the approvals (Format, Test Developer, Editor, Fairness, Internal SME, Committee and Media) for items in pending status by clicking the desired radio button. The option exists to Set All or Clear All approvals by selecting the appropriate check box. In the event or an incorrect selection click the Reset Approvals hyperlink, to clear all selections.
5. After entering the data to bulk update (in the example below, highlighted in green, the user wants to update all of the selected items with an additional reference, "A Fetal Echocardiography"), click the Preview Bulk Update Results button (highlighted in red, below):
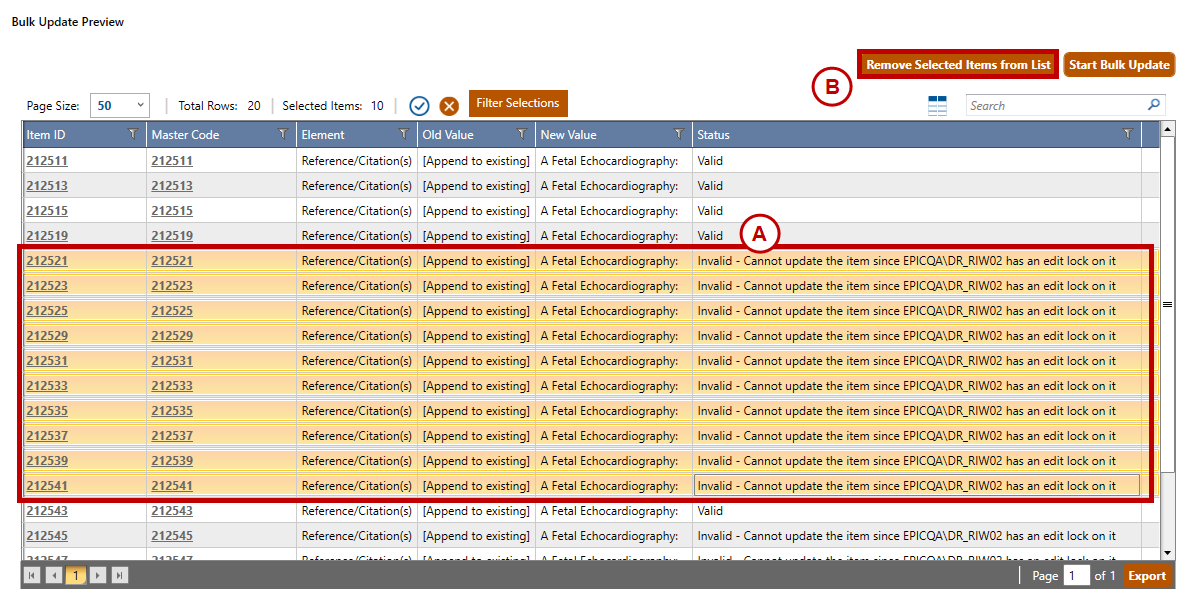
6. In the Bulk Update Preview section of the screen (shown below), the tabular display will list the changes about to be made. The Status column will indicate which selected items will be Valid or Invalid after the bulk update. To remove invalid items from the bulk update:
A. Click on each item you want to remove from the bulk update process.
B. Click the Remove Selected Items from List button.
7. Click the Start Bulk bUpdate button. A Confirm Bulk Update dialog box will appear (see below). Enter any comments about the bulk update, then click the OK button to initiate the bulk update process:
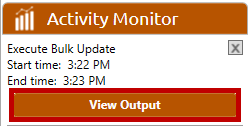
8. When the bulk update is complete, click the View Output button that appears in the Activity Monitor:
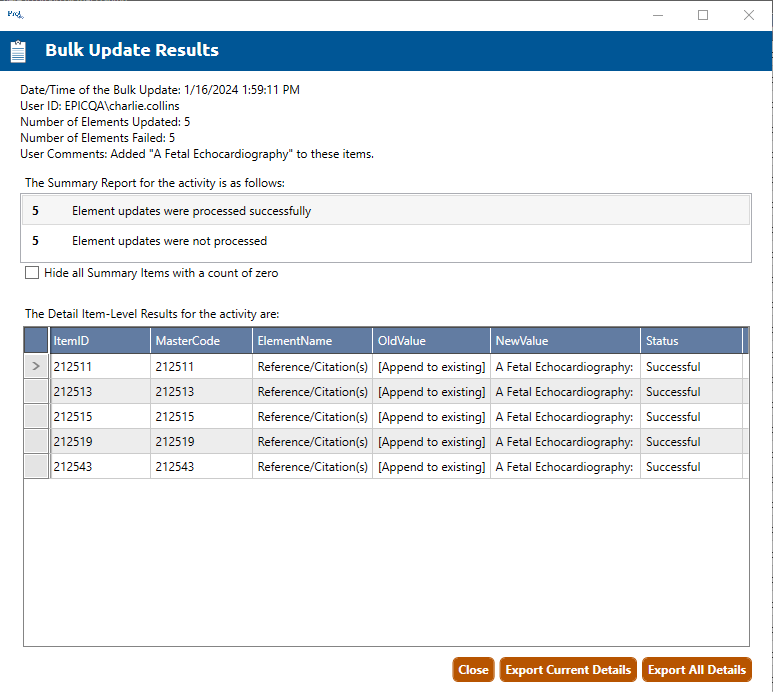
9. A Bulk Update Results window will appear, showing the results of the update: