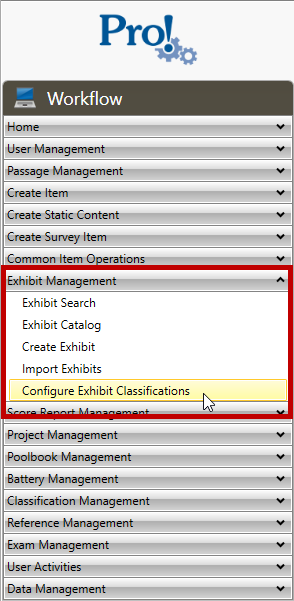
1. In the Workflow menu, click Exhibit Management > Configure Exhibit Classifications:
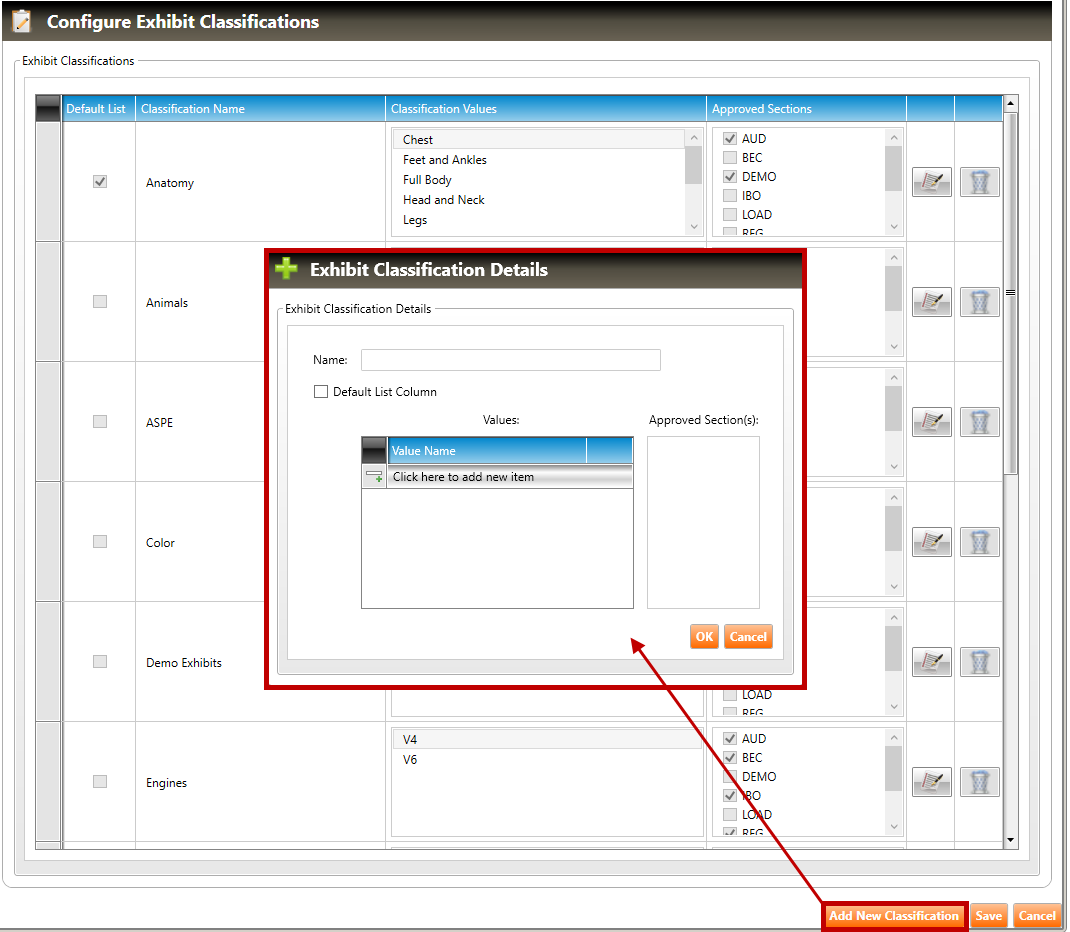
2. When the Configure Exhibit Classifications screen appears (see figure below), click the Add New Classification button to open the Exhibit Classification Details pop-up window.
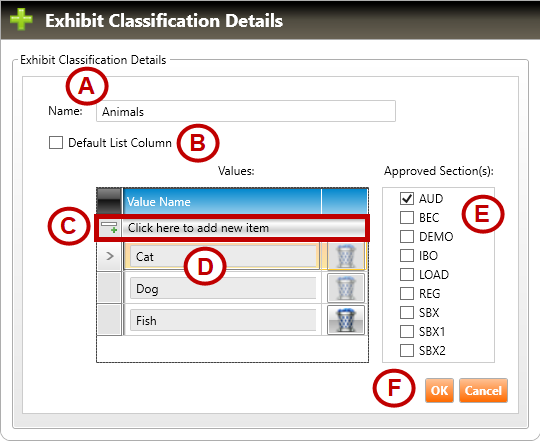
3. Follow Steps A through F, below, to create the new exhibit classification:
A. Enter a Name for the new classification. In the example above, the user has entered 'Fruits.'
B. Click the Default List Column checkbox to add this new classification to the list of default exhibit classifications.
C. Click the Click here to add new item line to add a blank line to the Value Name table.
D. Enter a name for the new value. In the example above, the user has entered 'Apple.'
REPEAT Step C and Step D, above, for as many values you wish to add to the new classification.
E. Select one or more Approved Section(s) for the new classification.
F. Click the OK button to save the new classification.
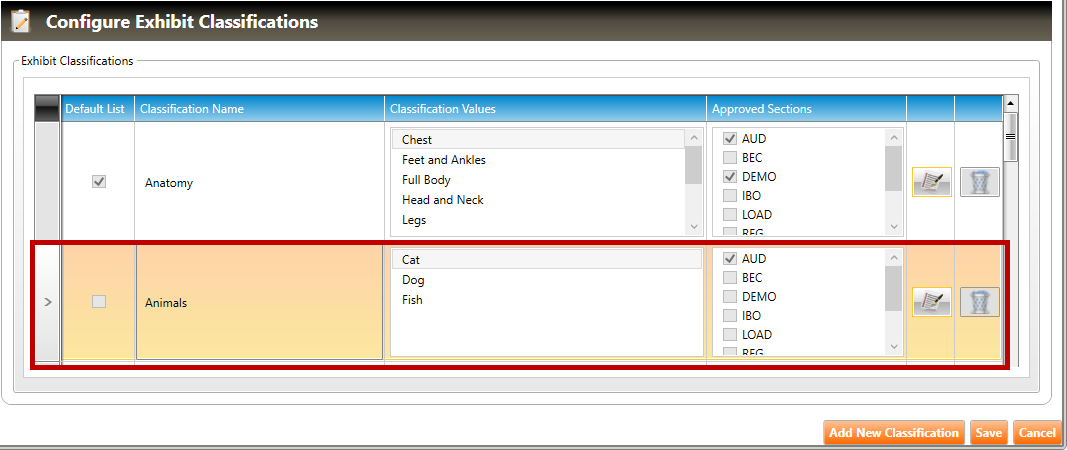
4. The new classification will appear in the Configure Exhibit Classifications screen:
5. Click the Save button to save the new classification.