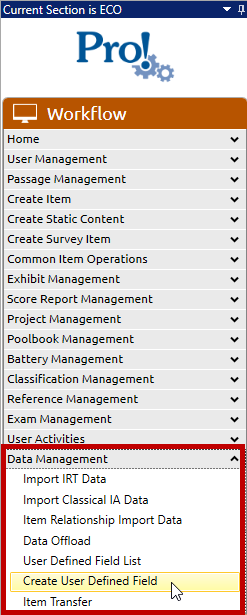
1. In the Workflow menu, click Data Management > Create User Defined Field:
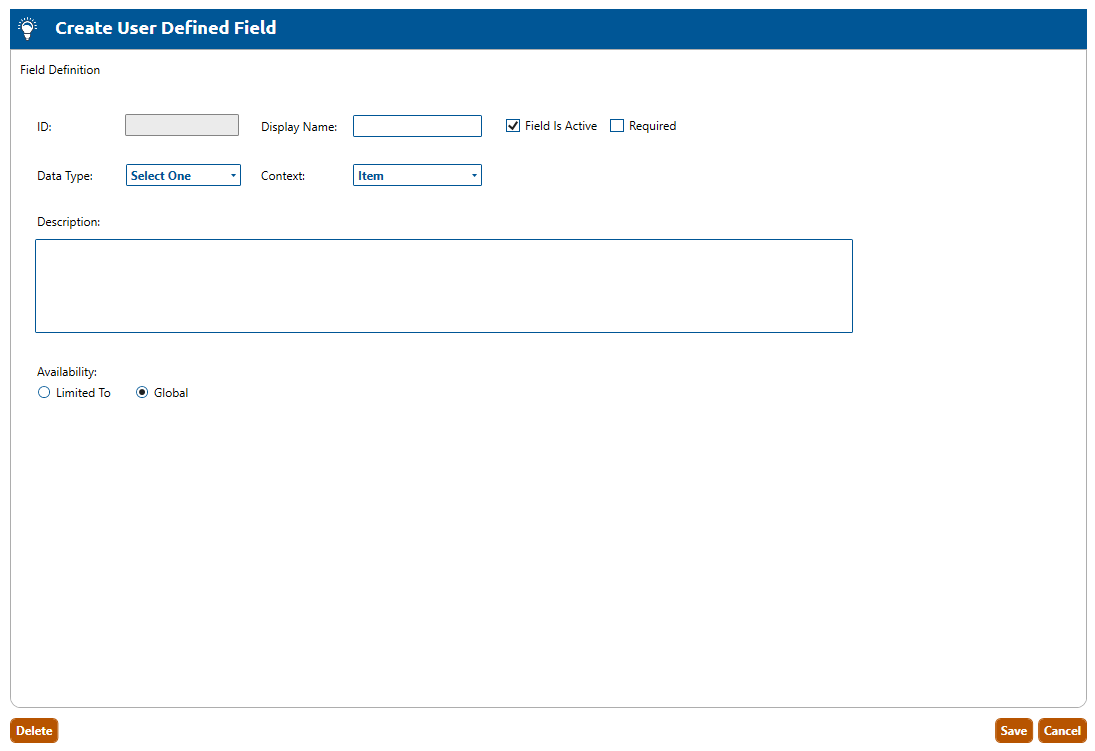
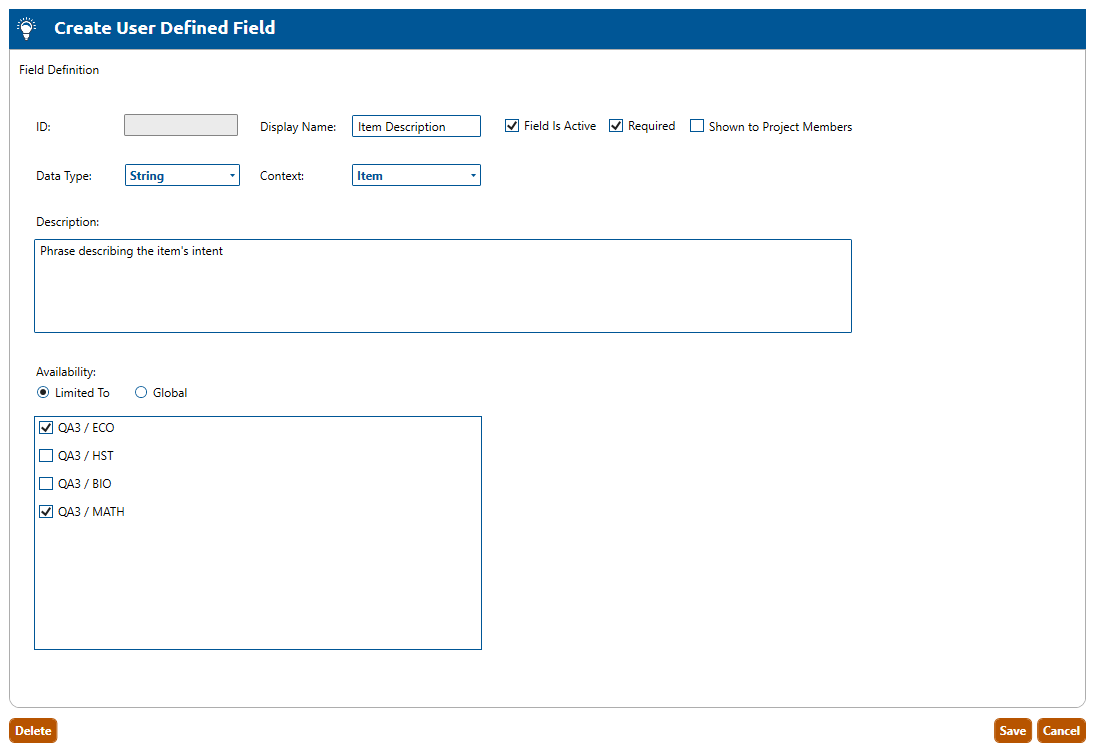
2. The Create User Defined Field dialog box will appear:
3. The ID field will be systematically populated on save of the UDF.
4. Enter a Display Name for the UDF. This is what the item writer will see when they enter info for this UDF.
5. The Field is Active checkbox is selected by default, making the new UDF active.
6. The Required checkbox should be checked if the UDF value must be populated when promoting an authored item to a Pending status.
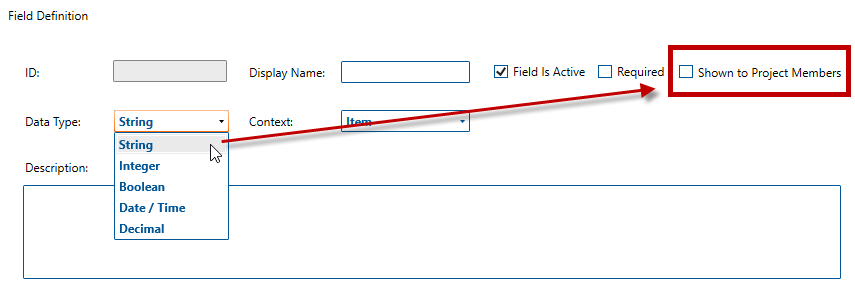
7. Choose a Data Type for the UDF (String, Integer, Boolean, Data/Time, or Decimal).
8. If String is selected from the Data Type dropdown then a Shown to Project Members checkbox is added to the page. Checking this box will allow the UDF to be populated by Remote Item Writers when authoring items in a project.
9. Select the Context for the item (defaults to Item).
10. Enter a Description for the UDF. The item writer will not see this description when they enter info for this UDF.
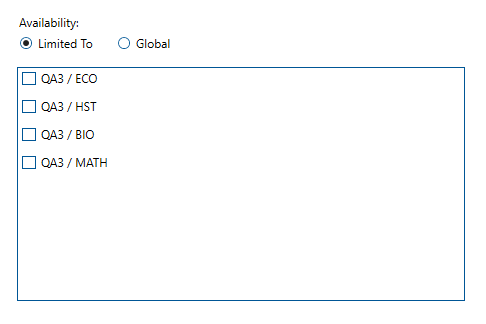
11. Select the Availability for the UDF. Either select Global, or select Limited to then select the desired checkboxes from the list of available sections:
12. In the example below, the user has created an Active and Required String type UDF with a Display Name of Item Description. The UDF will be available in the ECO and MATH sections.