Note: The displayed settings are based on the selected target test delivery driver type.
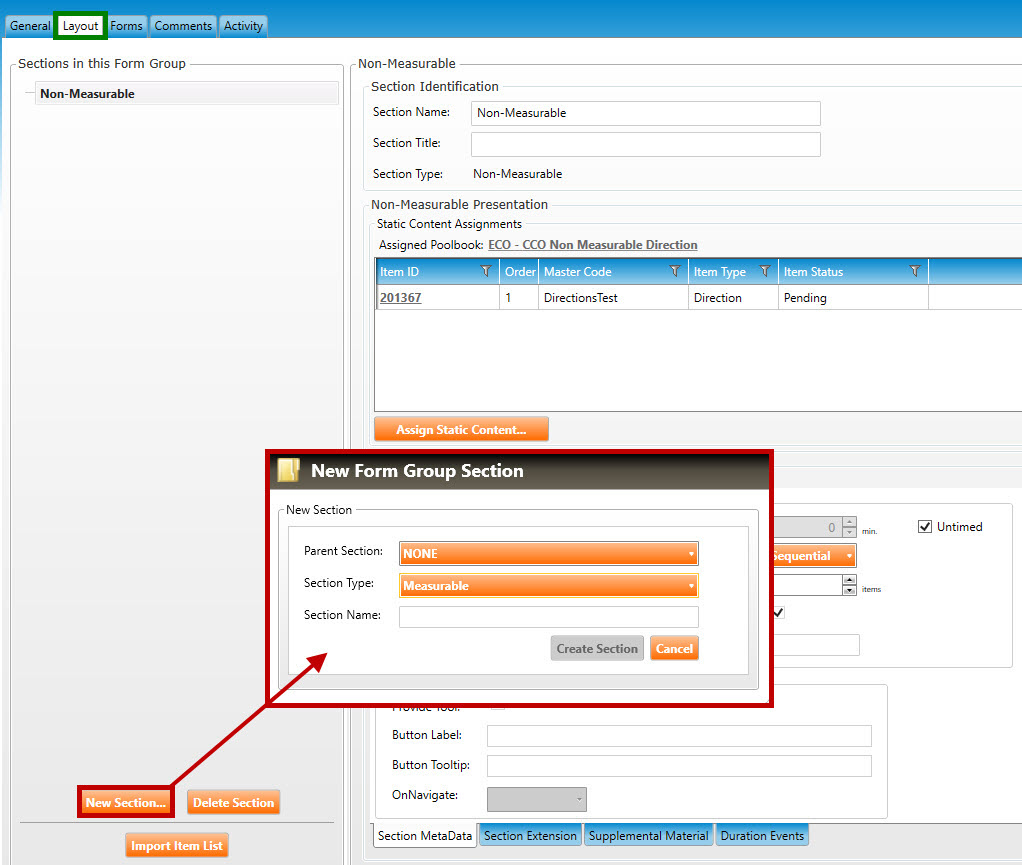
Navigate to the Layout tab (highlighted in green, below), and click the New Section button to open the New Form Group Section popup window (highlighted in red, below).
Select a Parent Section for this new form group, or select NONE. Selecting a parent means that this new section will become a child section within the parent section.
In the Section Type dropdown, select Measurable (i.e., a scored section).
Enter a Section Name for the new section.
Click the Create Section button.
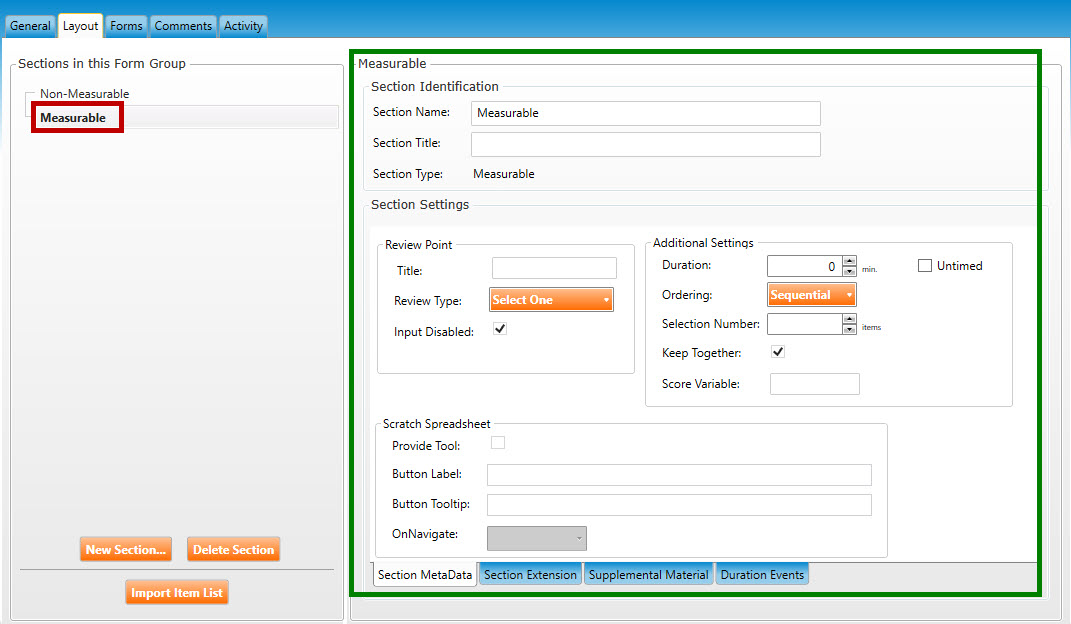
The Layout tab will populate with the new section (see figure below). The new section name (called Measurable in the example below) is listed on the left side of the screen (highlighted in red), while the details of the section are listed on the right side (highlighted in green).
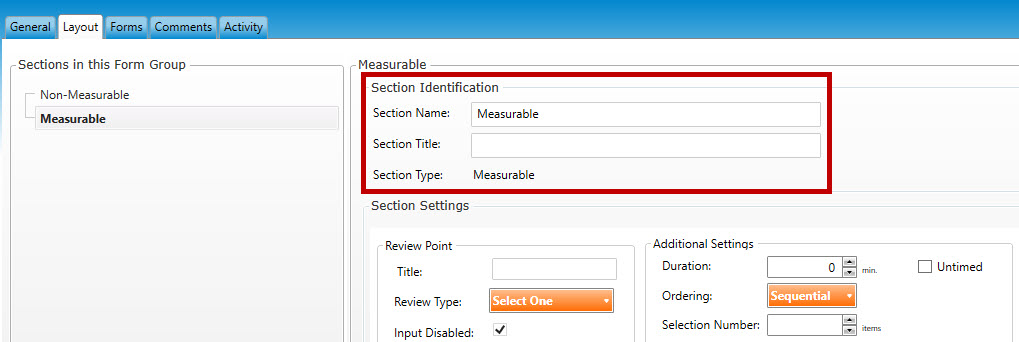
Enter the following information for Section Identification (highlighted in red, below):
You may edit name of the section in Section Name field.
Enter a Section Title for this section.
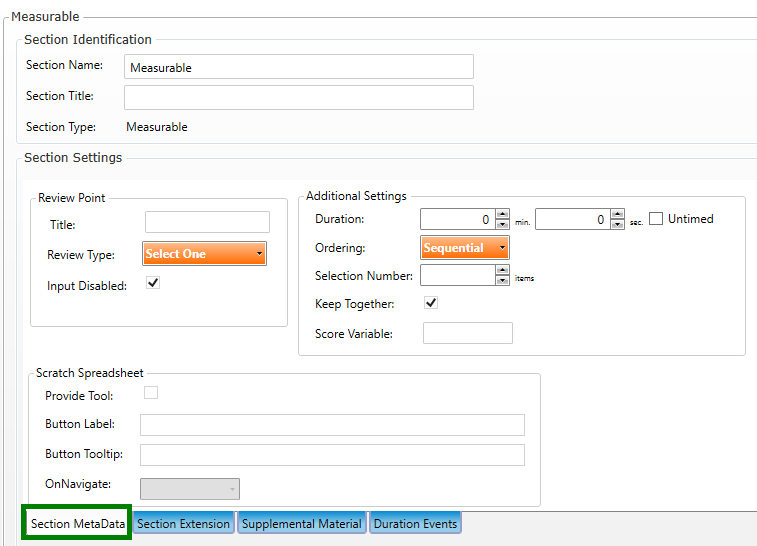
Click the Section MetaData subtab (highlighted in green, below), and complete the following fields:
Review Point:
Title: Specifies the title for the review that is displayed at the top of the review page.
Review Type: Select one of three options. Prescore indicates that the review screen should show the completed status of the items being reviewed. Postscore indicates that the review screen should show the correctness of the items being reviewed. Comment indicates that the candidate can comment on the items being reviewed.
Input Disabled: Specifies whether candidates are allowed to update their responses on items during the review.
Additional Settings:
Duration: Indicates how long the candidate will have to complete the exam (in minutes and seconds or untimed).
Ordering: Indicates whether the items in this section will be listed in sequential order or randomly ordered.
Selection Number: Specifies the number of items or sections in this section to select during delivery. If sequential ordering is used, the first x number of items/sections will be delivered. If random ordering is used, the test driver will randomly select x number of items/sections to deliver during the test.
Keep Together: Indicates whether or not the system will mix the items into different sections.
Scratch Spreadsheet:
Provide Tool: Indicates whether a scratch spreadsheet will be provided to the candidate.
Button Label: Name of the spreadsheet that will be viewable to the candidate.
Button Tooltip: What the tooltip reads when the candidate hovers over the Button Label.
OnNavigate: Determines whether the spreadsheet will be available as the candidate navigates from one screen to the next.
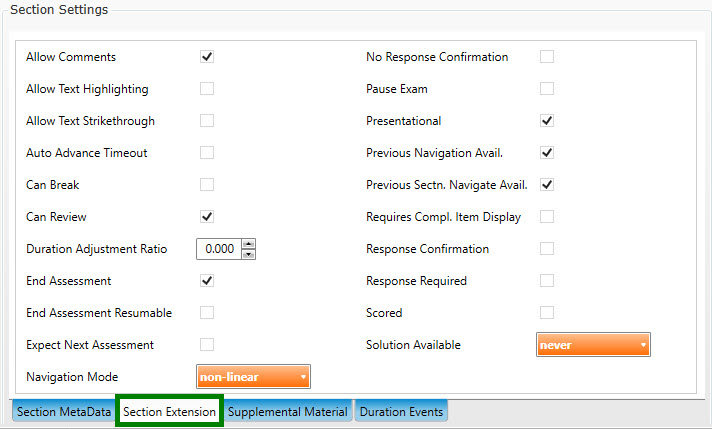
Click the Section Extension subtab (highlighted in green, below), and complete the following fields:
Allow Comments: Indicates whether the candidate can make comments on the items in this section as they are taking the exam.
Allow Text Highlighting: Indicates whether the candidate can highlight text on the items in this section as they are taking the exam.
Allow Text Strikethrough: Indicates whether the candidate can use text strikethrough on the items in this section as they are taking the exam.
Auto Advance Timeout: Select to advance to the next timed section without displaying a message to the candidate
Can Break: Indicates whether the candidate is allowed to take a break and resume the exam upon return.
Can Review: Indicates whether the candidate is able to go back to review their item responses within the exam.
Duration Adjustment Ratio: This field takes a value between 0.0 and 1.0. This number indicates the ratio of how much of the time limit adjustment this section will consume if a time limit adjustment is available for the exam. A time limit adjustment is the extra time added to the exam for a specific reason. This time adjustment needs to be set up by the Program Manager and Test Publisher. For example, suppose there are two sections in an exam with a time adjustment of an extra 10 minutes. If Section 1 has a duration adjustment ration (DAR) of 0.4 and Section 2 has a DAR of 0.6, then the candidate will receive 4 extra minutes for Section 1 and 6 extra minutes for Section 2.
End Assessment: Indicates whether the candidate will be able to end to exam from the current section (i.e., an End Exam button will be available to the candidate).
End Assessment Resumable: Indicates whether the candidate is able to access the exam after they have completed it.
Expect Next Assessment: Indicates which button will be displayed to the candidate when they get to the last item in the section. If this checkbox is selected, a Next button will be displayed. If unselected, an End button will be displayed.
Navigation Mode: This drop-down list can have one of two values: Linear and Non-linear. Linear means that the candidate is only limited to navigating the items via Next and Previous buttons. Non-linear means that the candidate can jump to any item in a section at any time. When the Navigation Mode is set to Non-linear, the candidate will have access to a Navigator button that will display a pop-up window that presents all of the items within the defined scope. This, in turn, allows the candidate to jump to any item.
No Response Confirmation: Indicates whether to display a message to the candidate to confirm their intention to navigate away from an item without responding to it (or without completing it).
Pause Exam: Set to allow candidates, who are granted the pause the exam accommodation, to pause the section.
Presentational: Indicates whether the test driver should present the items in a section as a distinct part of the exam structure (e.g., through ordinal and cardinal numbering of its items), or make it seems part of a larger grouping from the candidate’s perspective.
Previous Navigation Avail.: Indicates whether the user can navigate to previously presented items.
Previous Sectn. Navigate Avail.: Indicates whether the candidate is able to navigate back to the previous section of the exam.
Requires Compl. Item Display: In the Pearson driver, the default behavior is two-fold: 1. If a candidate navigates to an item for the very first time, they are required to view the entire item content before answering the item (i.e, the candidate may have to do some scrolling to see all of the content), and 2. If the candidate returns to the item, they are not required to view the entire item again. However, If the Requires Compl. Item Display checkbox is selected, this default behavior is overridden (i.e., the candidate must always scroll to see the entire content, no matter how many times they return to the same item).
Response Confirmation: Indicates whether to display a message to the candidate to confirm their response on every question in the assessment/section before going on to the next question. This flag can be applied at either the assessment or section level.
Response Required: Indicates whether the candidate is required to enter a response for the item.
Scored: Indicates whether the items in this section should be used in scoring evaluation.
Solution Available: This drop-down list is used to restrict access to response feedback and solution material. The three possible values are: Never, Always, and Answerfinal. Always means that solution material is always available. Never means that solution material will never be available. Answerfinal means that the solution material will only be available once the candidate can no longer change their response.
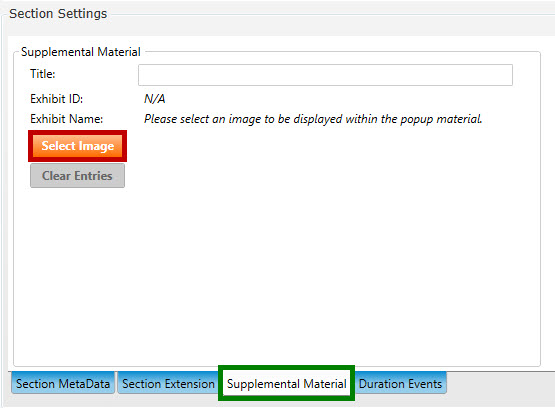
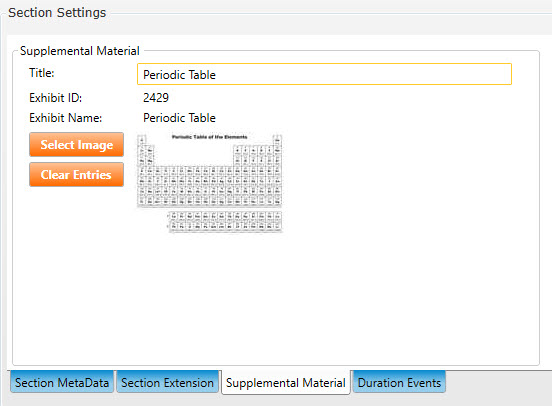
J. To assign supplemental material to a section click the Supplemental Material subtab (highlighted in green, below):
Title: Enter a title for the supplemental material to be available in this section of the exam.
Clickthe Select Image button (highlighted in red, above):
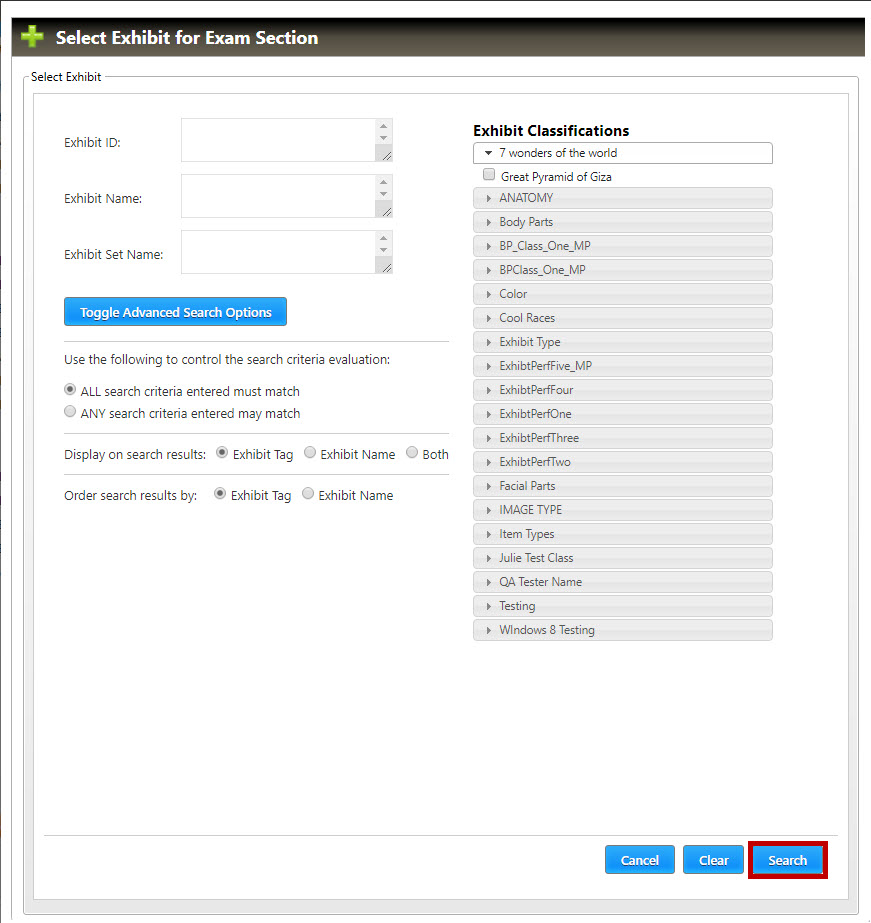
Enter or select values in any of the search criteria fields and select the Search button (highlighted in red, above):
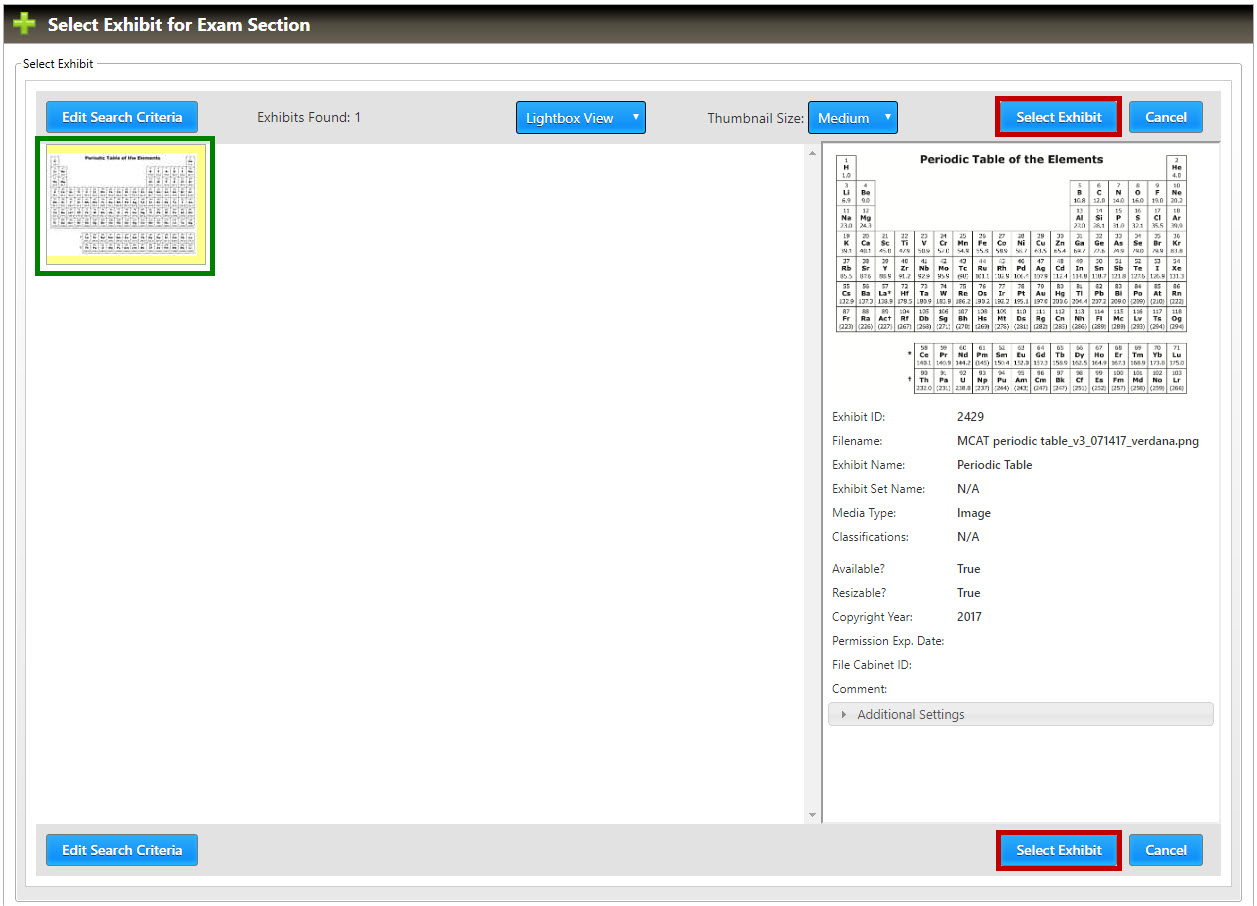
Click on the icon (highlighted in green, above) for the exhibit to be used as the supplemental material in this section of the exam and click one of the Select Exhibit buttons (highlighted in red, above):
The Exhibit ID and Exhibit Name fields will be populated with the selected exhibit values. A preview of the supplemental material is also available.
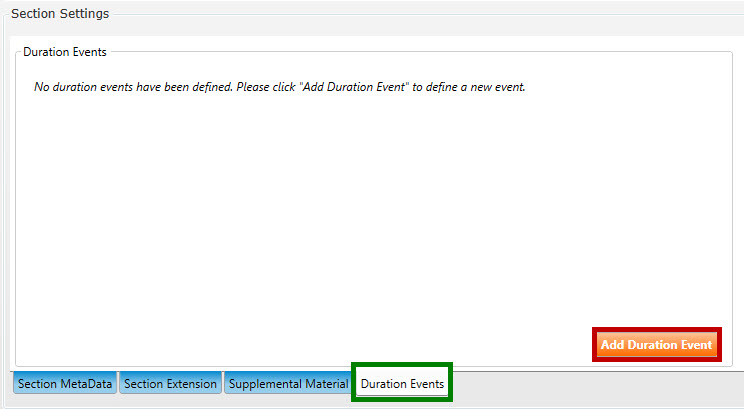
K. To assign a duration event to a section click the Duration Events subtab (highlighted in green, below). This may be repeated mulitple times as more than one duration event can be set for a section:
Clickthe Add Duration Event button (highlighted in red, above):
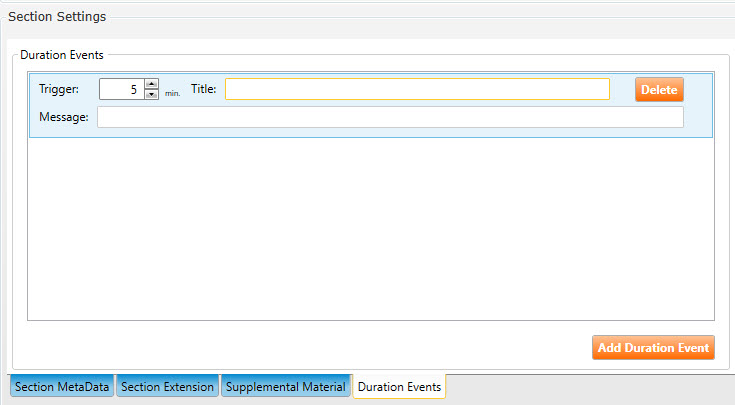
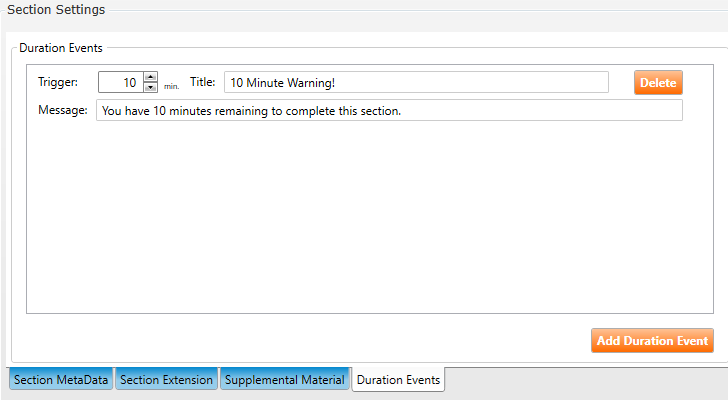
Trigger: Set the value for the minutes remaining in the section when the duration event message will be displayed.
Title: Enter a title for the duration event.
Message: Enter the message to be displayed for the duration event.