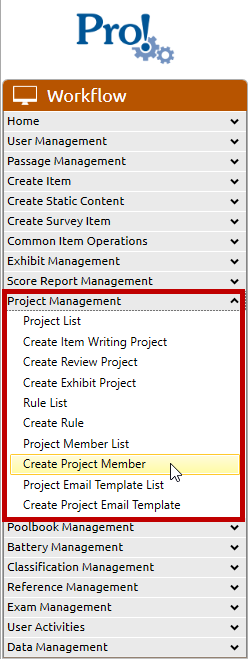
1. In the Workflow menu, click Project Management > Create Project Member:
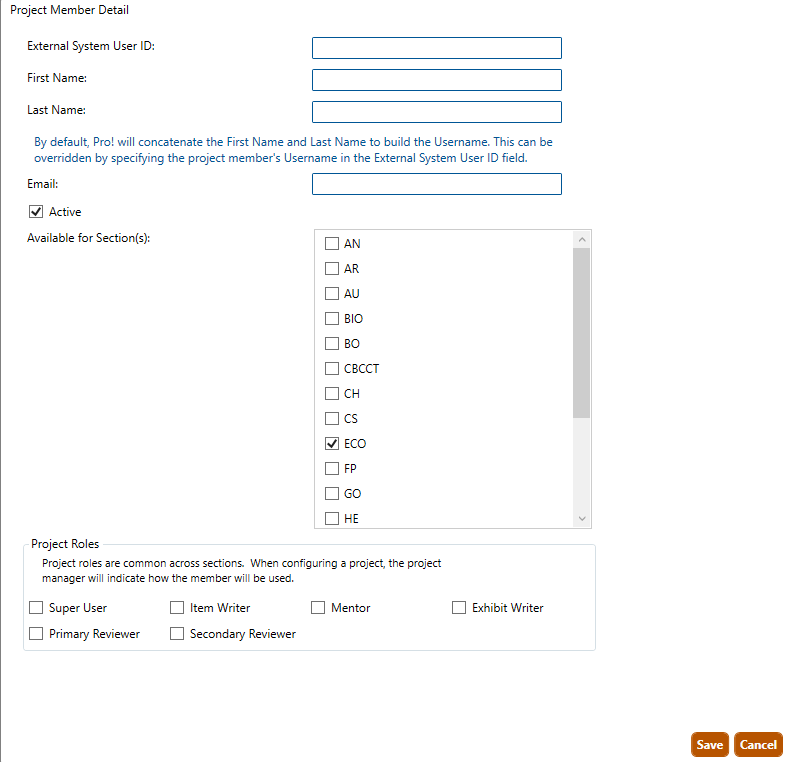
2. The Project Member Detail View screen will appear (shown below).
3. Enter the following information about the new project member:
External System User ID: A unique alphanumeric string that identifies the project member. This field is not required.
Note: If you wish to set the Pro! username for this project member, then enter it in the External System User ID field. If you leave this field blank, Pro! will concatenate the First Name and Last Name of the user. For example, if you enter a First and Last Name of John Doe, Pro! will create a username of 'JohnDoe.'
First Name: First name of the project member.
Last Name: Last name of the project member.
Email: Project member's email address.
Active: Make the project member active in Pro! (selected by default).
Available for Section(s): Select the sections that available to the project member.
Super User: This role allows the user to have full access to all unsubmitted items within an item writing project.
Item Writer: Indicates whether the project member can author items for an item writing project.
Mentor: Indicates whether the project member can mentor another writer in an item writing project.
Exhibit Writer: Indicates whether the project member can author exhibits for an exhibit writing project.
Primary Reviewer: Indicates whether the project member can serve as primary reviewer on a review project.
Secondary Reviewer: Indicates whether the project member can serve as secondary reviewer on a review project.
In the example below, the user has entered all fields for the new project member.
4. Click the Save button to save the new project member.